The holiday season is upon us, and what better way to spread cheer than with a delightful and creative DIY project?
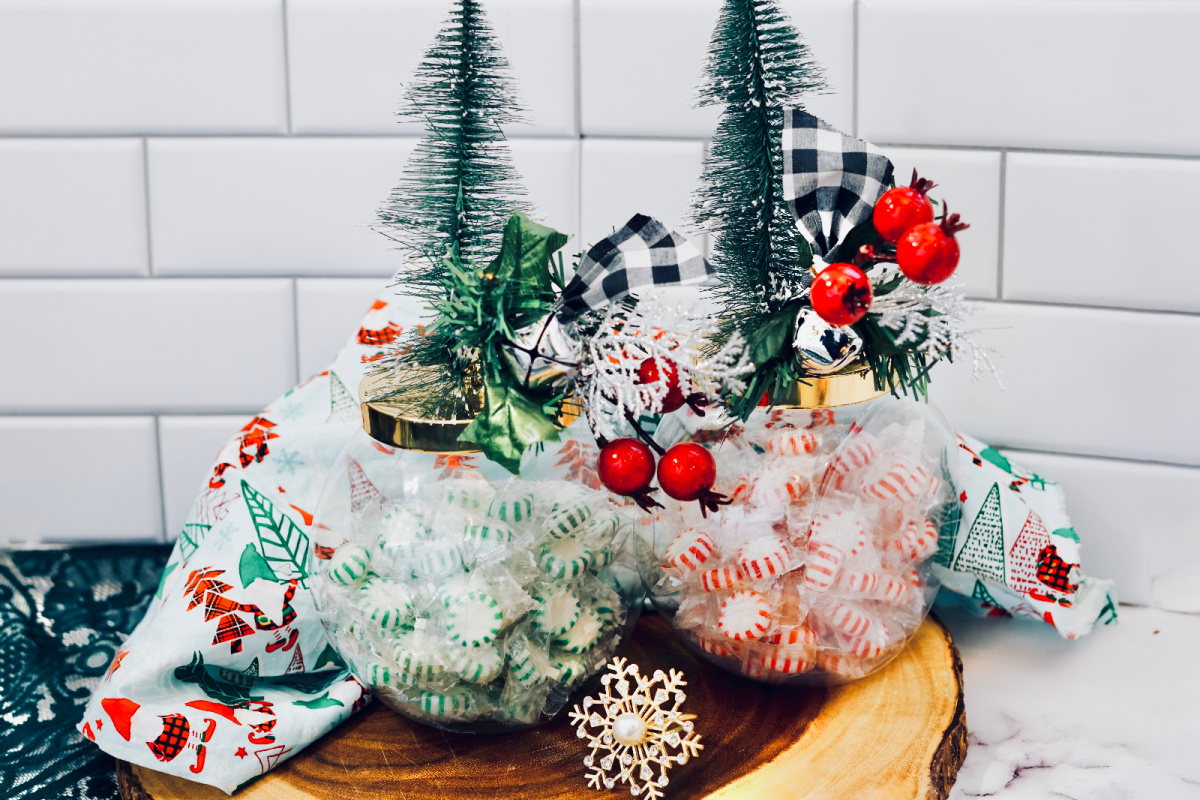
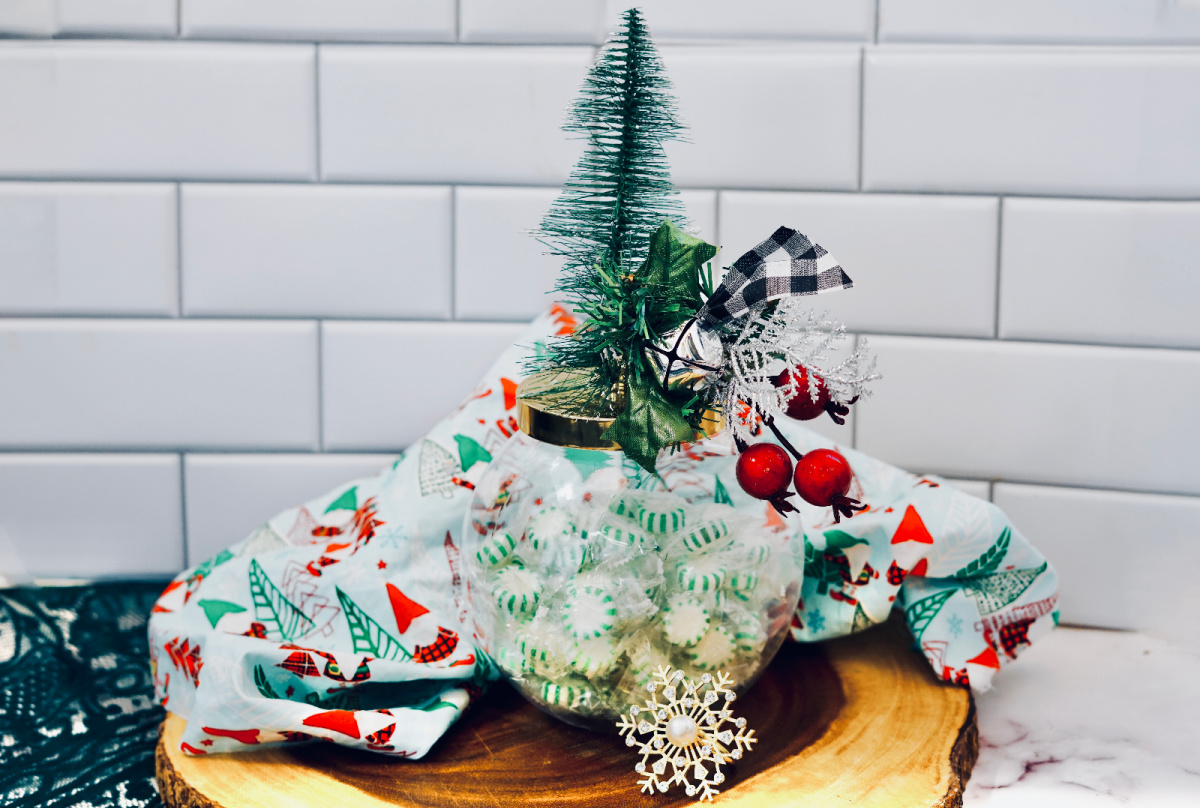
These DIY Christmas Candy Jars make a great gift for those people you want to do a little something for, but don’t necessarily want to get them a big gift.
Links may be commissioned.
How to Make DIY Christmas Candy Jars
Follow these simple instructions to bring a sprinkle of joy to your holiday decorations.
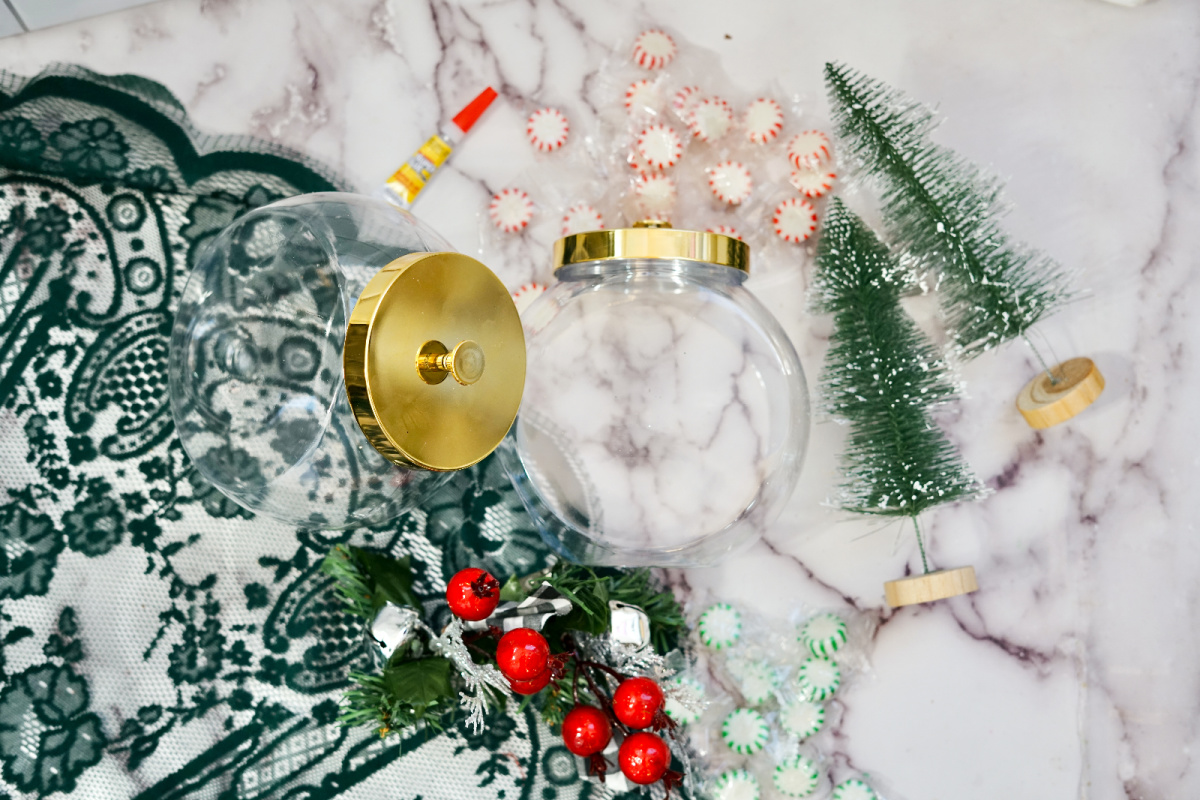
Materials You’ll Need
- Candy Jars – We used small apothecary jars, but you could use something like a mason jar, too.
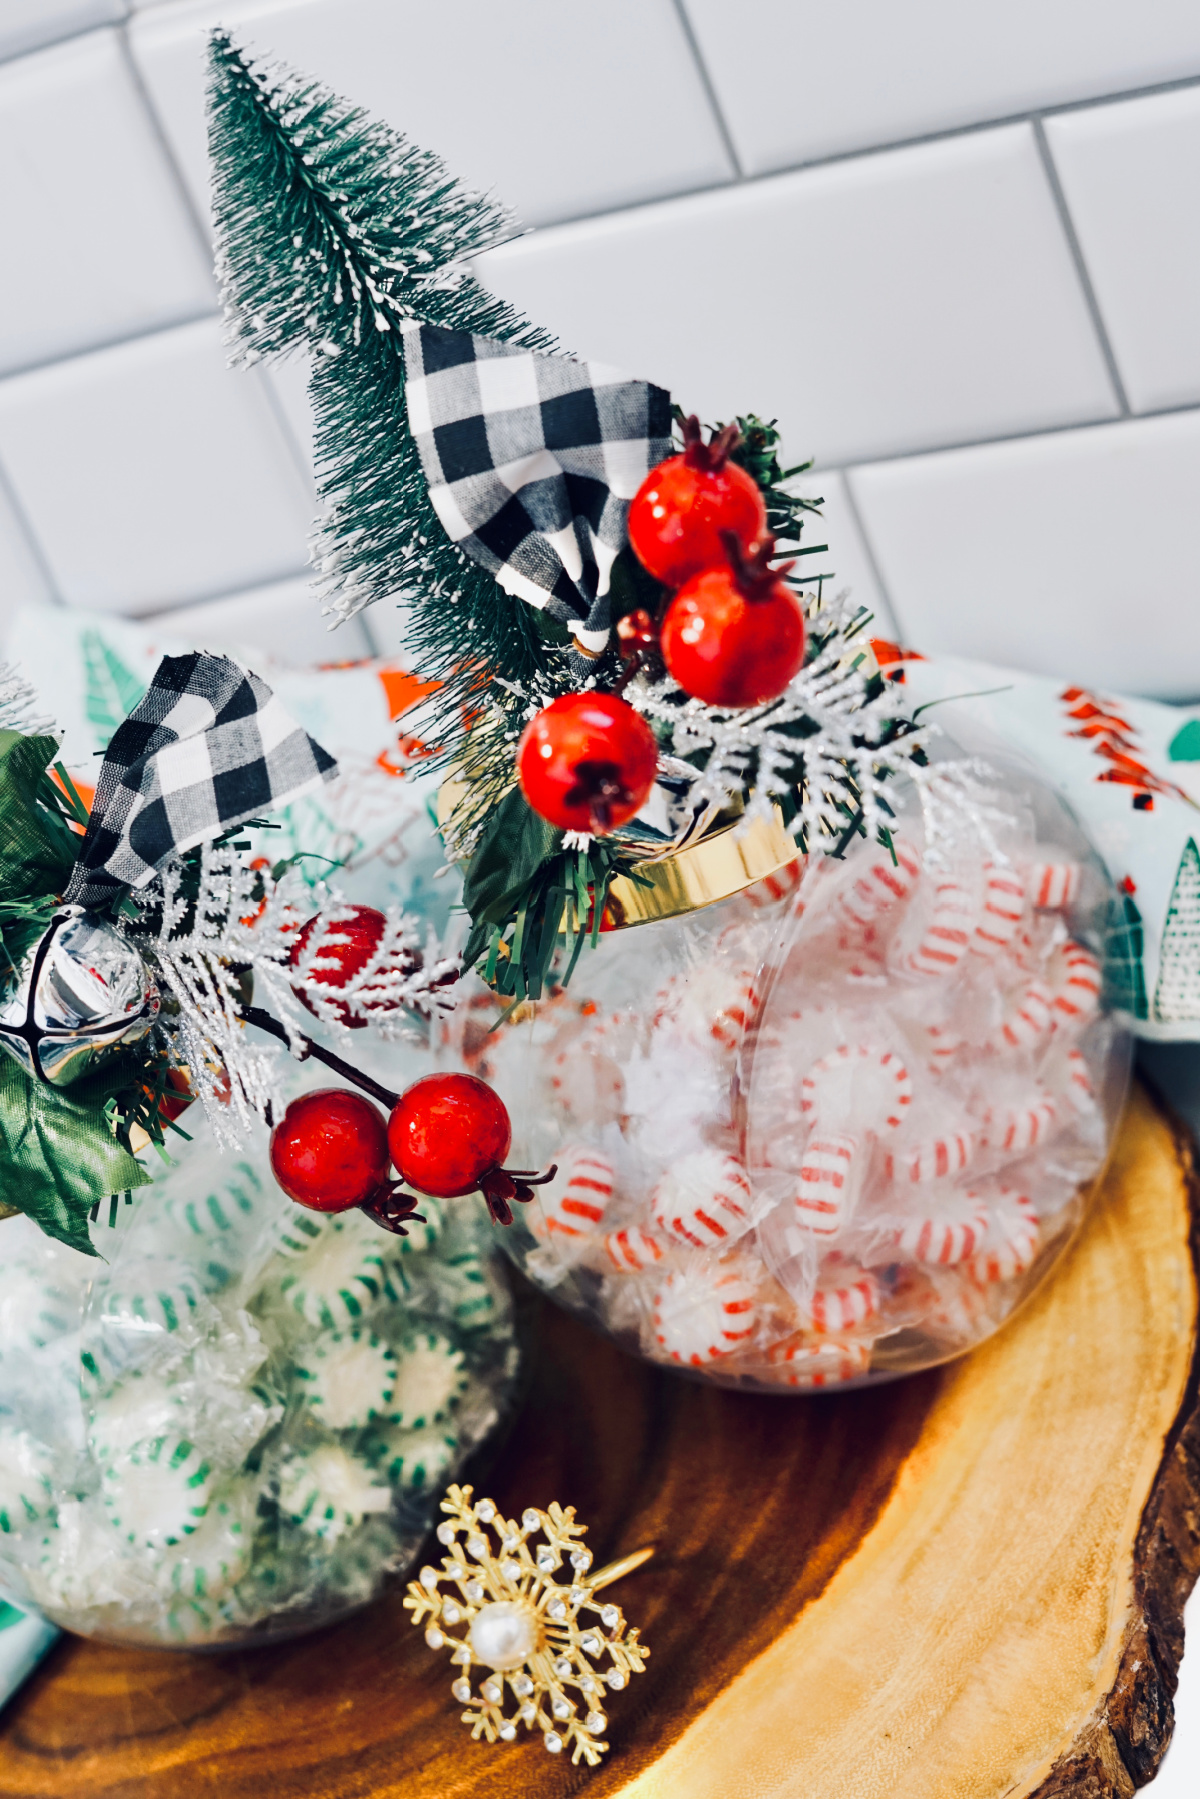
- Candy. We used starlight peppermints because they’re so festive.
- Mini Bottlebrush Christmas Tree. Our trees are about 3 inches in height.
- Clip Ornaments
- Super Glue
Directions
Step 1: Prepare the Candy Jar
Start by ensuring your candy jars are clean and dry. There’s no telling what kind of grease and grime are on your jars from the manufacturing and transportation processes.
Step 2: Attach the Mini Christmas Tree
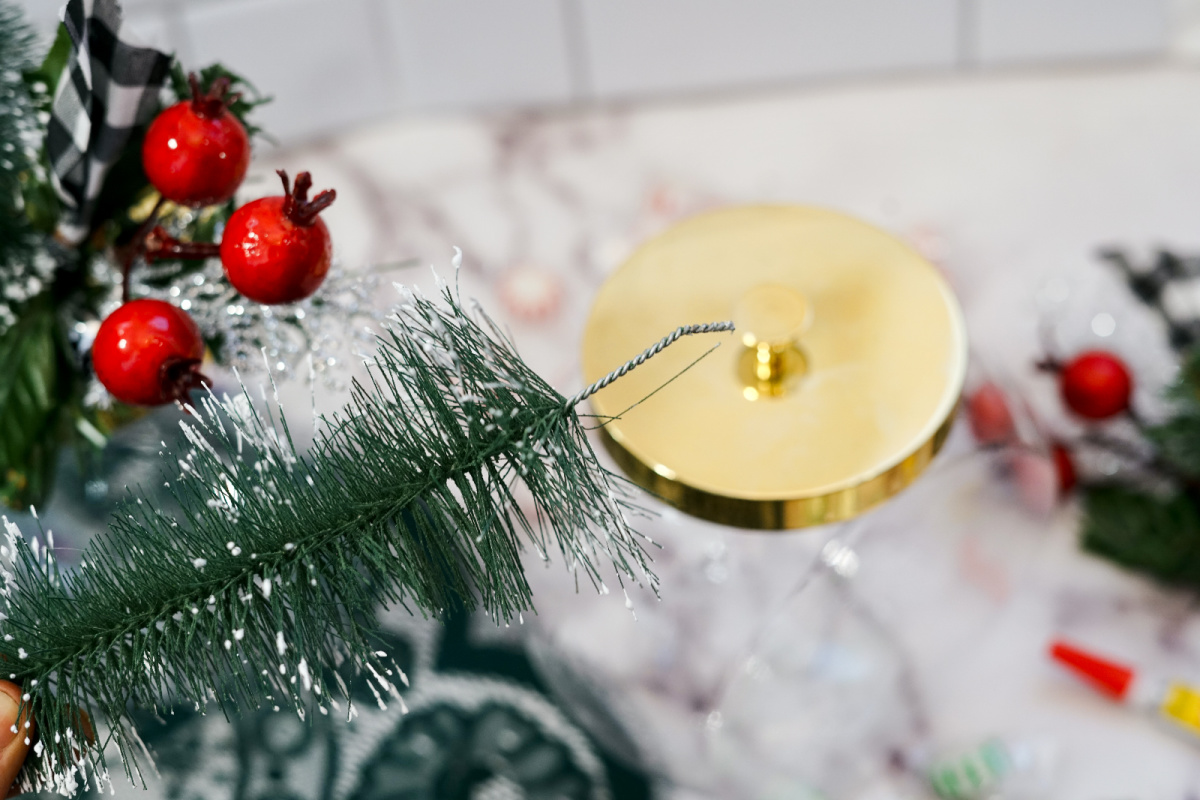
Use super glue to affix the mini Christmas tree to the lid of your candy jar. Apply glue to the base of the tree and press it firmly onto the center of the lid. Allow the glue to dry completely before moving on to the next step.
Step 3: Add Clip Ornament
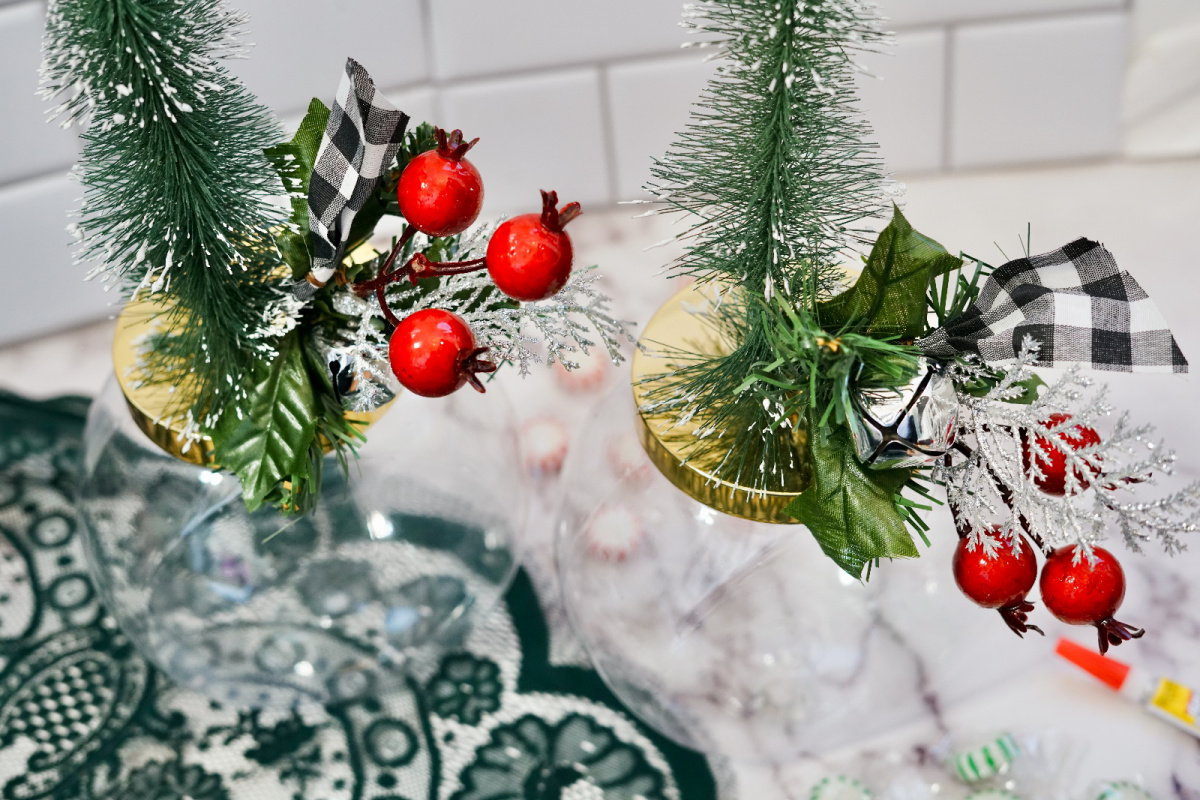
Once the mini Christmas tree is securely attached, let your creativity shine by adorning it with a clip-on ornament. Attach the clips to the base of the bottlebrush tree, below where the branches start.
Step 4: Fill with Candy
Open the candy jar and fill it with an assortment of your favorite Christmas candies. We used Starlight mints, because they’re so fun and festive, and just say Christmas. Pillow mints, Hershey Kisses, or something similar would also be a great option.
Step 5: Secure the Lid
Place the lid, now embellished with the mini Christmas tree and clip ornaments, onto the candy jar. Ensure it is securely closed to keep your candies fresh.
Step 6: Display Your Creation
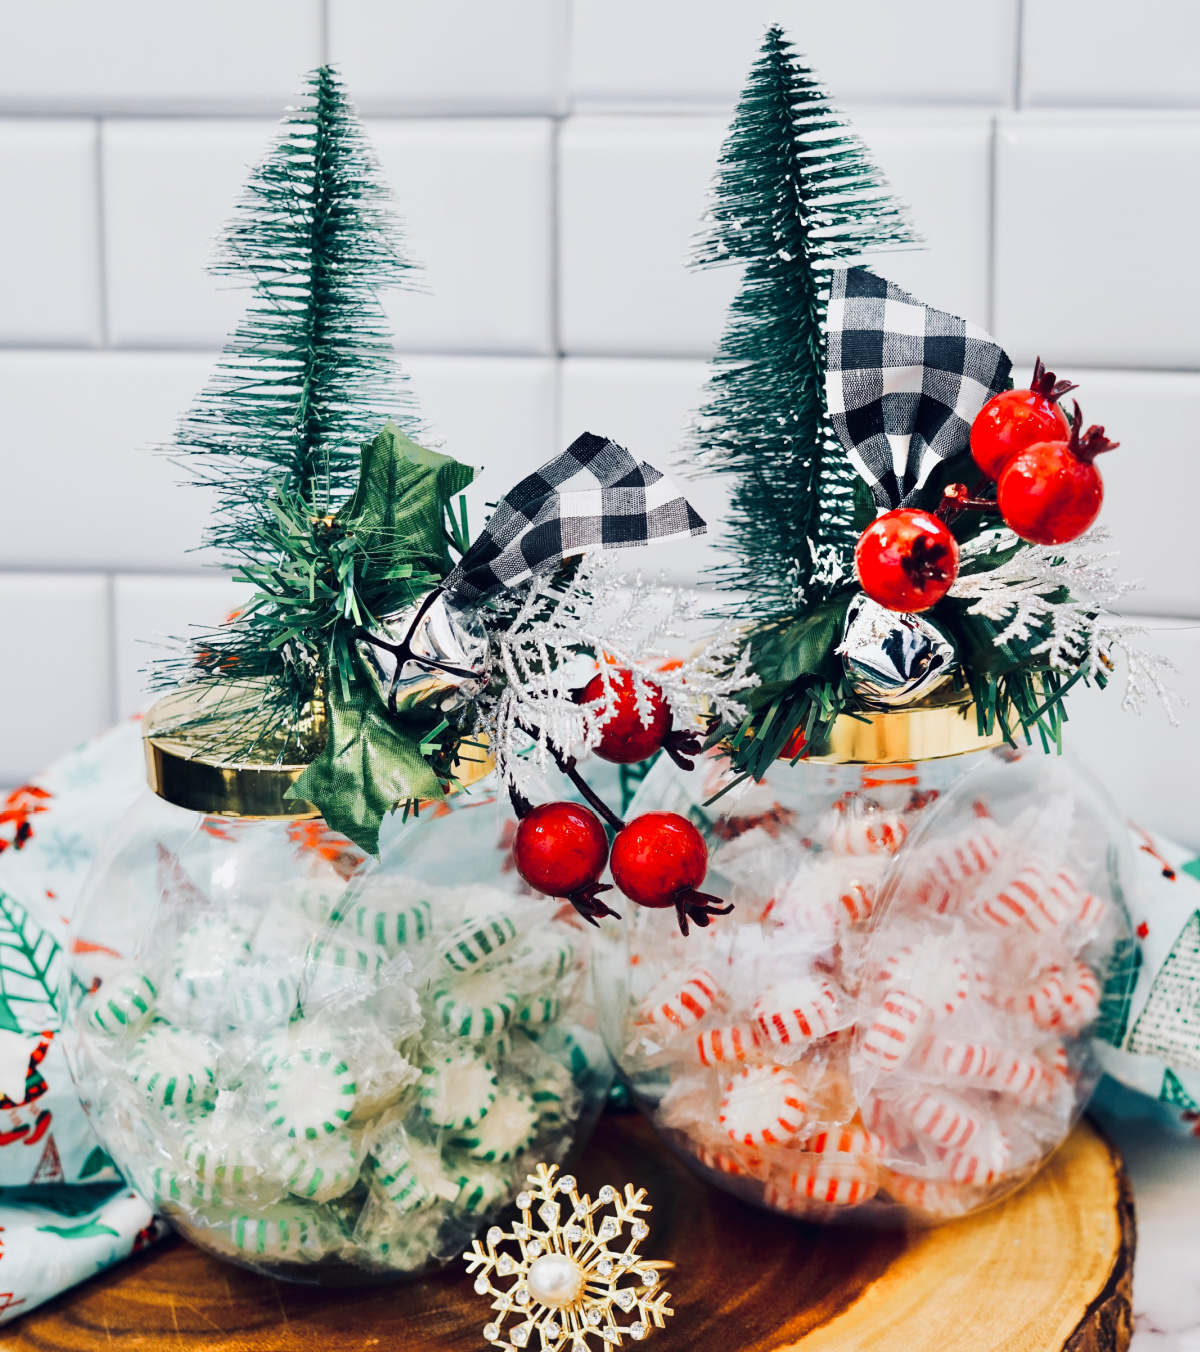
With everything in place, find the perfect spot to showcase your DIY Christmas candy jar. Consider creating multiple jars with different candy and ornament combinations for a varied and fun holiday display.
Other Great Christmas Ideas:
- Tips to make a DIY Wreath look expensive
- Boozy Peppermint Hot Chocolate Pudding Shots
- Cranberry Lime Ranch Water Cocktail
- DIY Sugar Cookie Sugar Scrub Bars
Additional Tips for a Perfect Finish
Personalize with Themes
- Consider choosing a color theme for your candy and ornaments. We used subdued colors, but using vibrant colors would have changed our choice of candy.
- Add a personal touch with themed ornaments or personalized name tags.
Safety First
- Supervise the gluing process, especially if working with children.
- Be mindful of allergies and dietary restrictions when selecting candies.
Experiment with Jar Sizes
- Mix and match jar sizes for an interesting and tiered display.
Gift-Wrapping Ideas
- Wrap the candy jars in festive paper or place them in a decorative gift bag, especially if you’re giving them as a gift.
- Attach a small card with a heartfelt holiday message for a personal touch.
Sustainability
- Opt for recyclable candy wrappers and packaging.
- Encourage recipients to reuse the jars for other purposes.
Enjoy the Process
- Make it a group activity to share the joy of crafting with friends and family.
With these additional tips, your DIY Christmas candy jars are sure to be a festive hit. Enjoy the creative process, and may your holiday season be filled with warmth, joy, and delicious treats.
Leave a Reply