I don’t know about you, but I’ve been seeing this new trend of nail polish marbled items all over the place. I’ve seen mostly small ring dishes and mugs. I wanted to try the technique, but wanted to do something different.
What to do…what to do… Enter these pretty amazing nail polish marbled coasters. Oh yes, it’s that time again – Pinterest remakes!
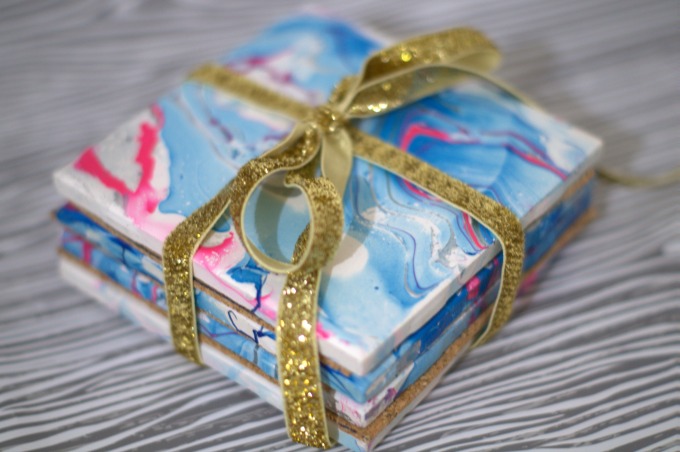
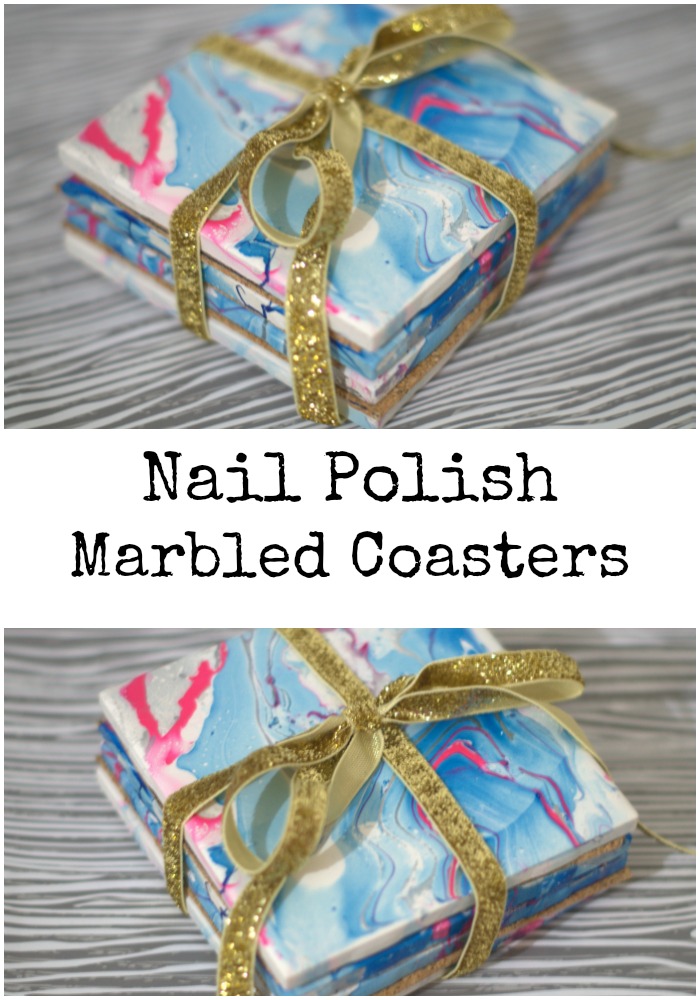
Nail Polish Marbled Coasters
Links may be affiliate links
Supplies
- Ceramic Tile – I’m making a set of 4, and used 4 inch tiles. They’re like $0.15 at your local home improvement store.
- Nail Polish – We’ve alllll got those colors sitting around. The ones we won’t use, don’t like, or are duplicates. Use ’em up!
- Cork. I’m using a roll of cork that I trimmed to fit the backs of the tiles. You could use little cork coins or even felt coins.
- E6000 Glue
- Spray Sealer
- A container for water. – I used a plastic bin.
- A tray to dry the coasters. I used the lid for the bin above.
- Paper towels.
- Newspaper or other big scrap paper for your work surface.
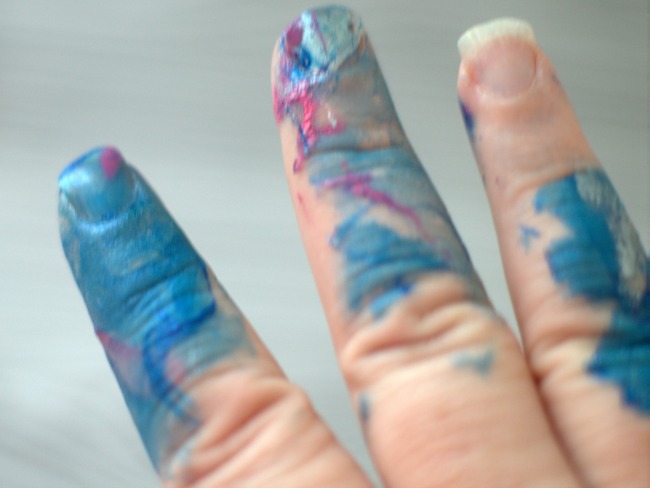
- Rubber gloves. Making nail polish marbled coasters is a messy project.
Directions
Cover your work area with newspaper or other large scrap paper.
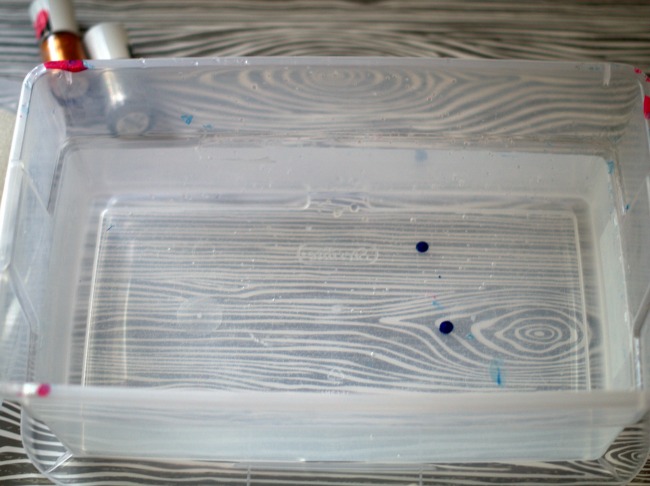
Fill your plastic bin with lukewarm water.
Line a tray with paper towels for your tiles.
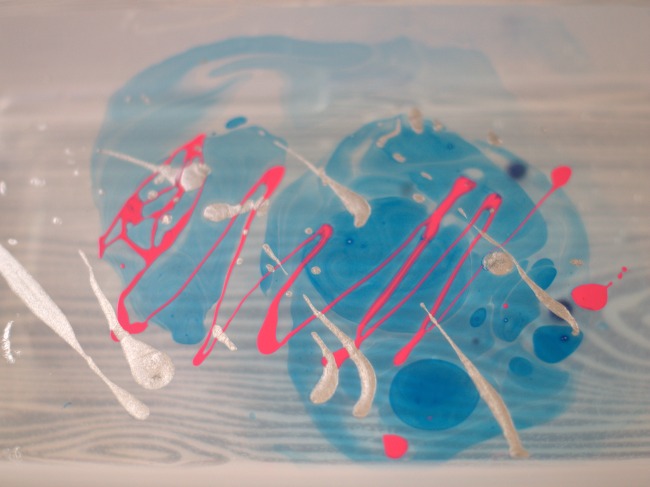
Drizzle nail polish into your water. I’m using a blue, pink, and silver.
Put rubber gloves on. If you don’t, your hands will look like this.
Carefully dip your tile into the water and pull it out. Set on the paper towel lined tray.
Repeat with each tile. I added more nail polish after every two tiles.
Let dry completely.
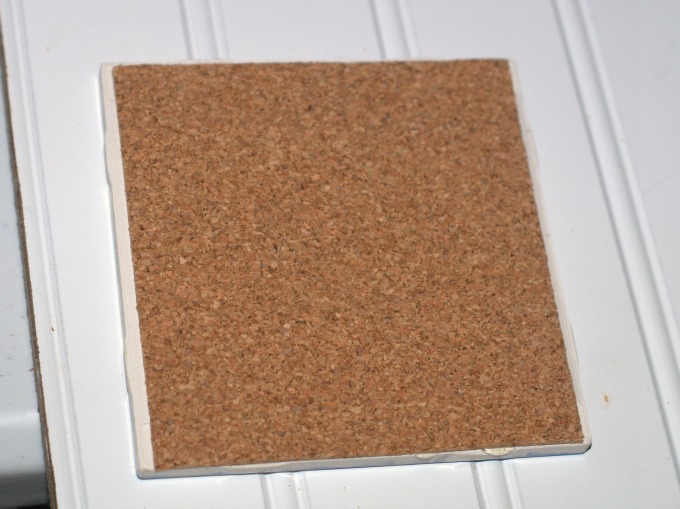
Once your nail polish marbled tiles are dry, add cork to the back. Trace around the tile and cut the cork out. You may need to trim the cork down a little more to get a good fit for the back.
Squeeze out a liberal amount of E6000 on the back of the tile, and spread it out. I like to use a toothpick or scrap business card for this.
Apply the cork and smooth it down. Do one tile at a time, as E6000 can set up fairly quickly. Let dry about an hour.
If you want to, you can add a coat or two of spray sealer. I think that the nail polish marbled coasters will stand up to normal use, but you can never be too careful.
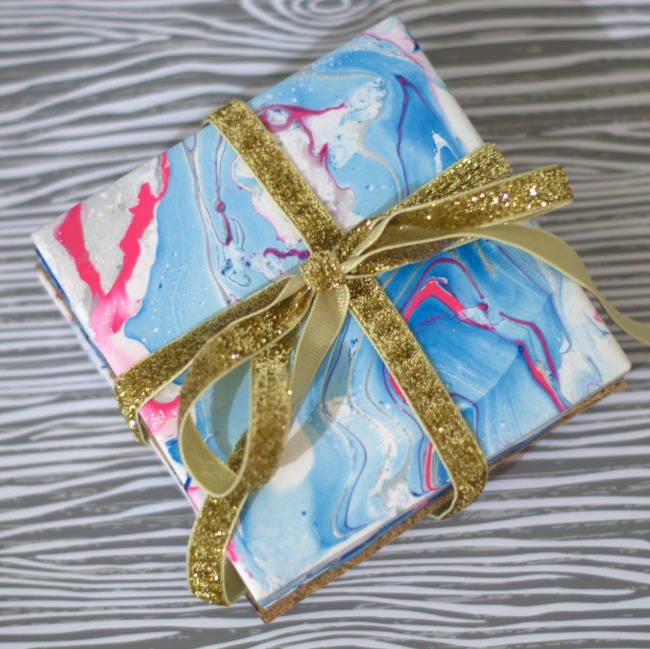
Congrats! You’ve now made a pretty great set of nail polish marbled coasters. Try playing with colors of tile, nail polish colors, and even some fun stuff like glitter.
For more Pinterest remakes, visit a few of my favorite bloggers:
- Creamy Citrus Power Burst Smoothie by Confessions of an Overworked Mom
- Thumbprint Flower Pot by Upstate Ramblings
- Fruity Pebbles Treats Recipe by Mom Always Finds Out
- Faux Gilded Easter Eggs by How Was Your Day?
- Flourless Banana Oatmeal Muffins by Food Fun Family
- Strawberry Meringue Dream Clouds by A Day in Motherhood
- Crock Pot Ham Recipe by Just 2 Sisters
- Baseball Subway Art Printable by Kids Fun Reviewed
- Tuna Noodle Casserole the Whole Family Will Actually Love by Views from the Ville
- Coconut Oil Fudge by Jen Around the World
- Cheesy Irish Soda Bread by Mom Does it All
- Strawberry Mojito Cupcake Recipe by 2Boys+1Girl=OneCrazyMom
- Dr. Seuss Hand print Craft: Thing 1 and Thing 2 by Beyond Mommying
- Taco Pizza by Sincerely Mindy
- Mini Irish Flag Fruit Skewers for St. Patrick’s Day by Baby Loving Mama
- Beeswax and Coconut Oil Tart Melts by Savvy Saving Couple
- Packing the Perfect Plane Bag by The Guavalicious Life
- Easy Homemade Hand Scrub Recipe by The Socialite’s Closet
- Easy Breakfast Burrito Recipe with Potatoes by Roasted Beanz
- BLT Pinwheels by Sugar, Spice and Family Life
- How to make Easter Blondie Bites by Mommy Snippets
Those came out gorgeous! I keep reading about this technique and definitely need to try it!
These are gorgeous. And I hope your hands came clean!
I love these. Such pretty colors too. I pinned!
What a great gift idea. You make it look easy so I hope this “uncrafty” lady can handle it. Oh and I will be wearing gloves.
Thanks for telling us about dipping them twice before you added more. Also I like the cork backing to it. I want to do some to match my eggplant (purple/pinkish) Christmas theme and this would be perfect. The color I need i hope I can find. I have some old OPI and I just tried it on the water and it is a perfect color. Now to find a second color.
These are very nice! I wish I was this crafty!!!
This is a fantastic DIY holiday gift idea. I love how easy it looks and think I can do it!
Those would make great gifts. I promise to use gloves…..
Those are really pretty. What a thoughtful and great gift idea!
These are so pretty looking good
Very cool idea, thanks for sharing!
These are really pretty, and I already have the extra nail polish that I would need. Maybe I will wear gloves though