I’m a huge fan of handmade soap, and the benefits it has. Did you know you can make your own soap, and it’s super easy to do?
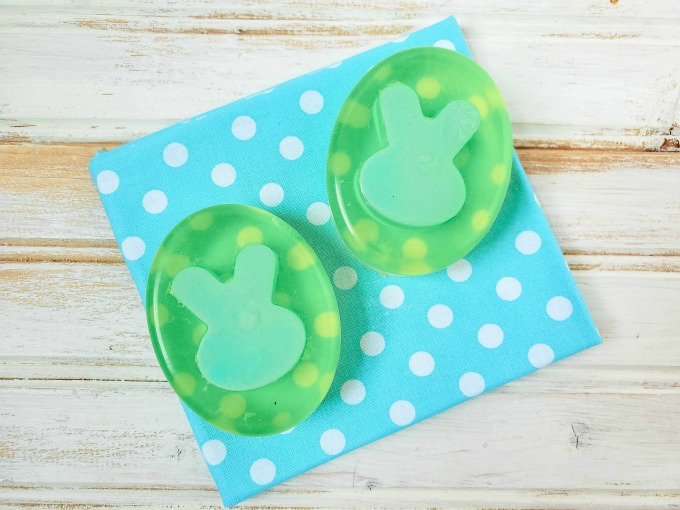
Yes, it’s true! These DIY Bunny Handmade Soap Bars are so cute, and such a great project for Spring.
They’re a little more complex than making regular handmade soap, but they’re not difficult at all. This homemade soap tutorial is a great homeschool project, or even a fun DIY project.
Even better, you can get all the supplies on Amazon. Yep, that’s right. You don’t even have to leave the house to make these fun DIY Bunny Rabbit Soap Bars.
DIY Handmade Bunny Soap Bars
Links may be commissioned.
This handmade soap recipe uses melt and pour soap base. It’s easy, and practically no fail. Some may view this as cheating, but you don’t nee to make a lye soap for this project. Even a lot of your favorite artisan soapers use a melt and pour base. We used Lilac fragrance in these, but there’s so many scents that would work well. I think a cotton candy scent would be especially fun for Easter.

Supplies
- ¼ lb Goat’s Milk Melt and Pour Soap Base
- ¾ lb of Clear Glycerin Soap Base
- Lilac Fragrance Oil (optional)
- Turquoise Soap Colorant
- Lemon Soap Colorant
- Oval Soap Mold
- Bunny Silicone Mold
- 2 – 4 cup measuring cups
- Spray bottle with rubbing alcohol
- Knife or soap cutter.
- Cookie sheet
- non metallic spoon or Popsicle sticks to stir.
Directions
Cut your soap base into one inch cubes, and place the Goat’s Milk Melt and Pour Soap Base in one measuring cup, and the Clear Glycerin Soap Base in the other measuring cup.
Place the measuring cup filled with Goat’s Milk Melt and Pour Soap Base in the microwave and heat for 30 seconds on high. Stir. If needed, heat for additional 10 second increments until fully melted, stirring in between.
Remove from microwave, stir well.
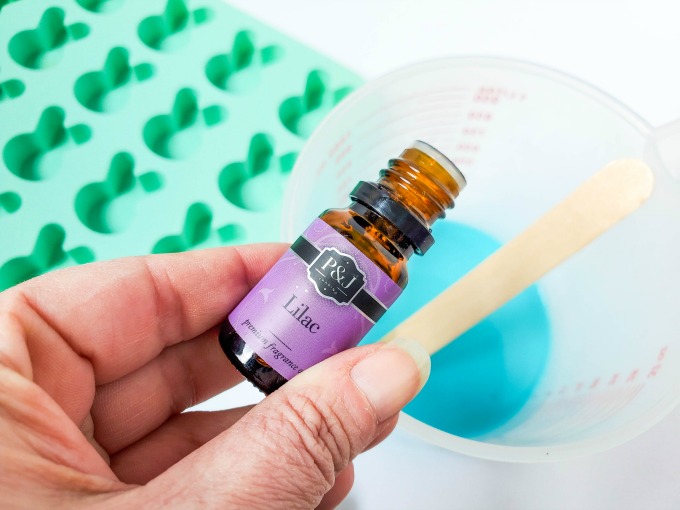
Add 10 drops Lilac Fragrance Oil and 2-3 drops Turquoise Soap Colorant. Stir well until a solid color forms.
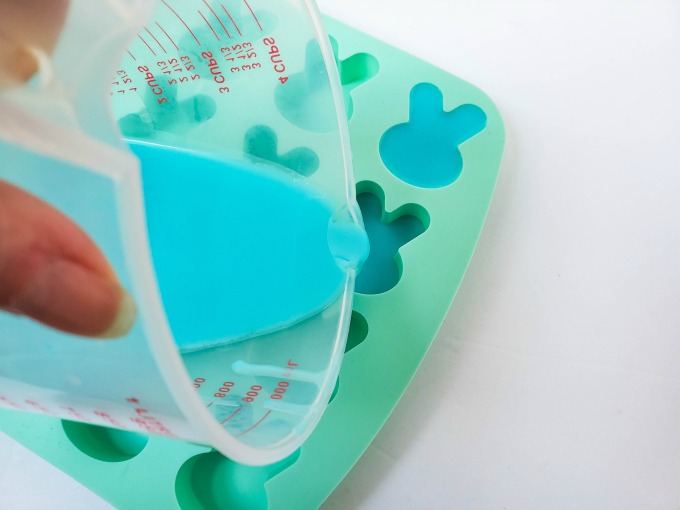
Place your bunny mold on a firm surface, like a cookie sheet. Pour soap into bunny mold, filling 6 of the cavities.
Let set for about 30-60 minutes until soap is cooled and solid bars have formed. Remove from mold.
Place the measuring cup filled with Clear Glycerin Soap Base in the microwave and heat for 30 seconds on high. Stir. Heat for additional 10 second increments until fully melted, stirring in between.
Remove from microwave, stir well.
Add 20 drops Lilac Fragrance Oil and 1-3 drops Lemon Soap Colorant. Stir well until the color is solid.
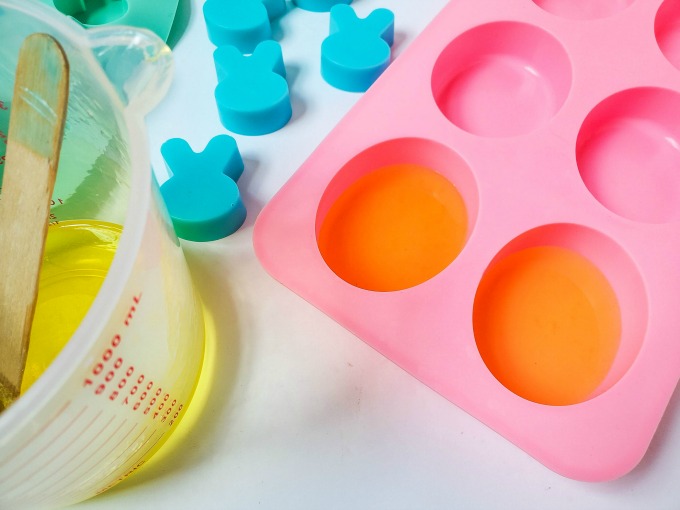
Place the oval soap mold on a firm surface, like a cookie sheet. Pour a small amount of soap base into the oval soap mold, just covering the bottom of it.
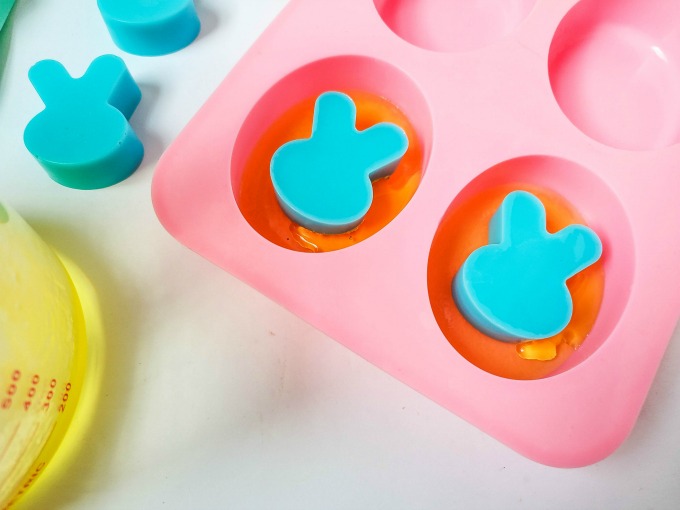
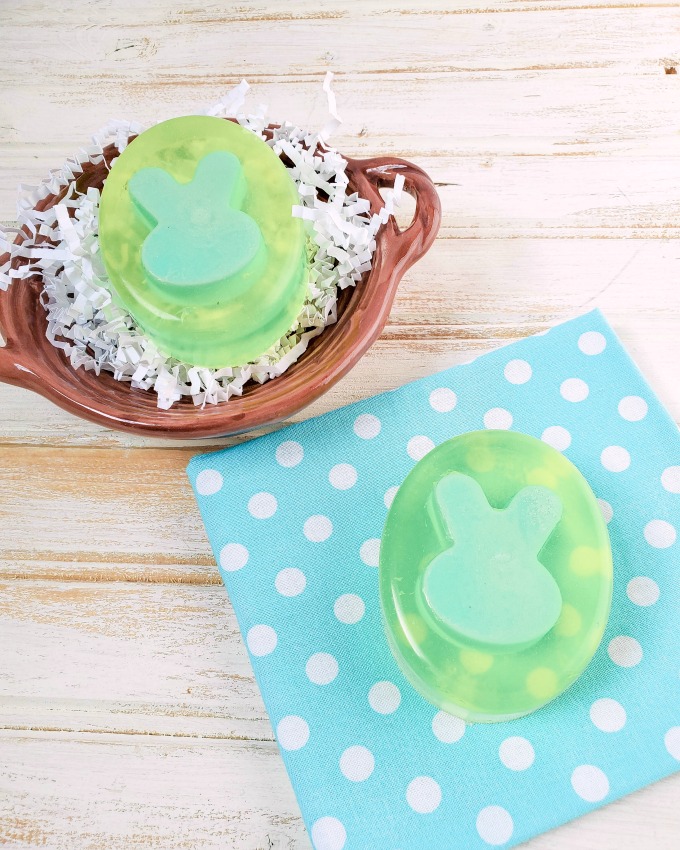
Place a bunny soap upside down into the center of the oval soap cavity (on top of the layer you just added), and Pour the melted glycerin soap base around it, until it covers the bunny and reaches the top of the mold.
Spray with rubbing alcohol to reduce bubbles.
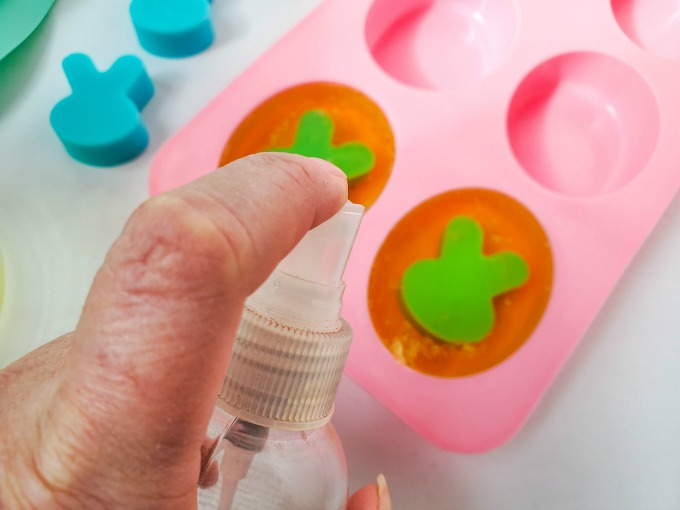
Repeat steps 10-12 until all 6 soap cavities are filled. If the soap base starts to form a thick layer or a skin, you may need to reheat it again.
Let soap bars set until they’re cooled, about 1-2 hours and remove from mold.
Let set a good 12-24 hours to let them cure and harden before packaging.
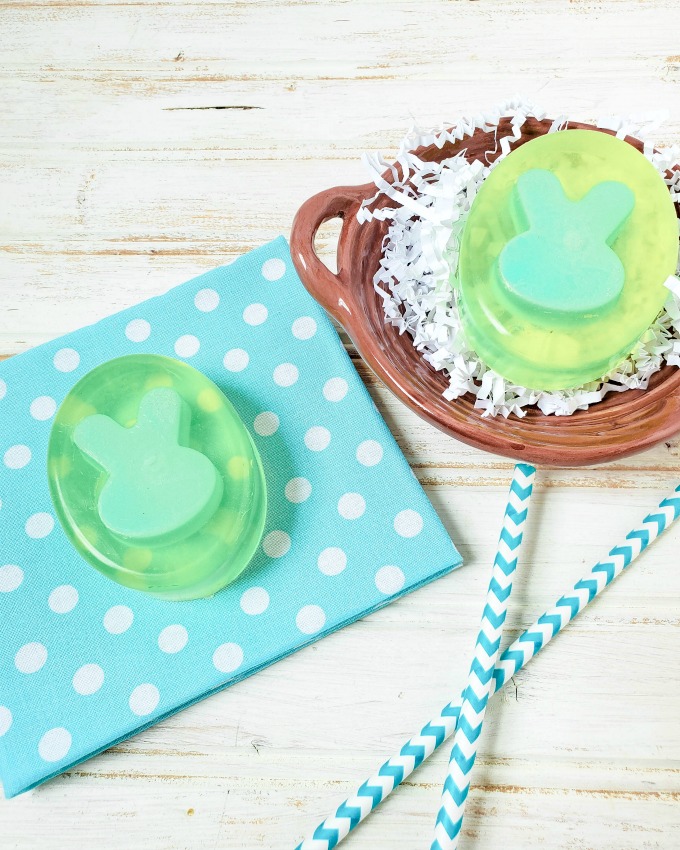
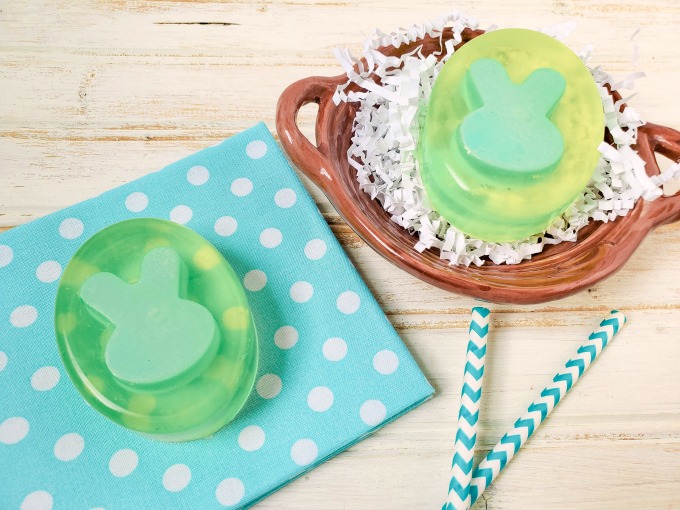
These homemade layered bunny rabbit soaps have several steps, but they’re not difficult at all. They make a perfect gift for people of all ages. I know I’d love to see these in my Easter basket!
More fun Easter projects
[mv_create key=”65″ thumbnail=”https://styleonmain.net/wp-content/uploads/2020/03/DIY-bunny-soaps.jpg” title=”DIY Layered Bunny Rabbit Soap” type=”diy”]
You make this look so easy I am thinking even I could do this. I would so love to make my own soap and put them in gift baskets to friends thanks for sharing this one.
I love these! I’ve done something similar but not with bunnies. Adorable!