The Upcycled Duct Tape Box DIY Project was inspired by Scotch Duct Tape. Editorial samples were provided.
I am a sucker for little boxes, bowls, and tins. Who couldn’t use more places to keep small treasures or trinkets? Sometimes, though, you come across packaging that is too good to throw away, but is unattractive for anything other than the package it was originally.
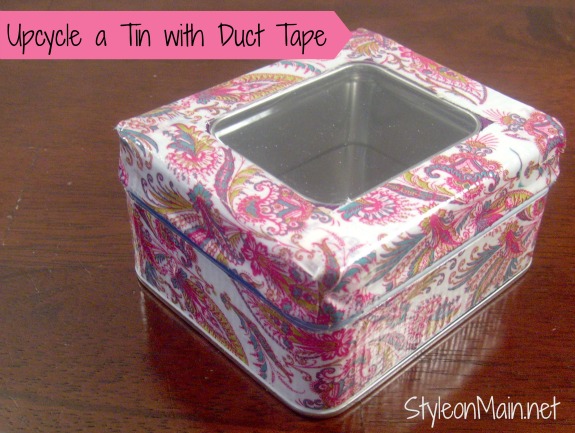
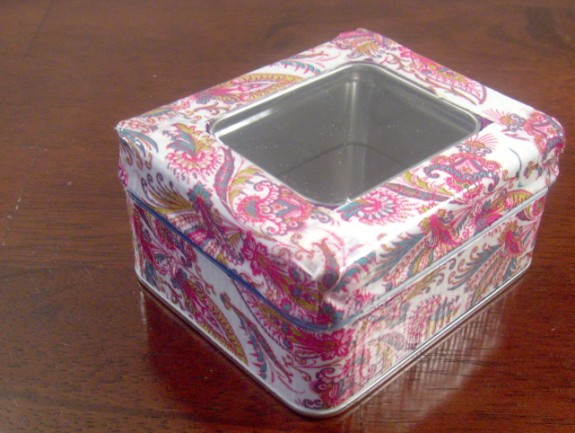
The good news is, this is easy to change! With a little creativity, you can make that into an upcycled Duct Tape Box. I’m using patterned duct tape from Scotch Brands to do so. This is available in about a bajillion colors and patterns nowadays. You’re sure to find something everyone likes.
How to Make an Upcycled Duct Tape Box
Materials Needed
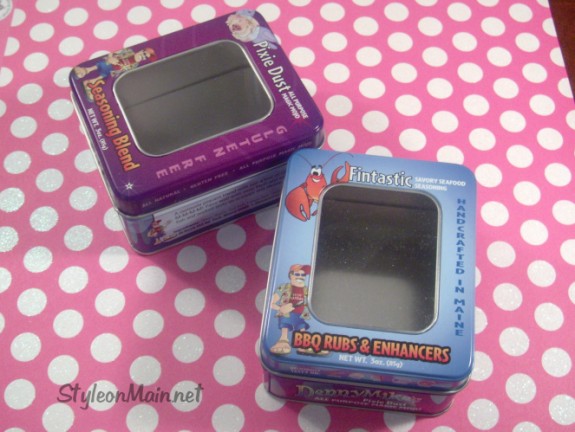
- Item to cover. I’m using a window-top metal box.
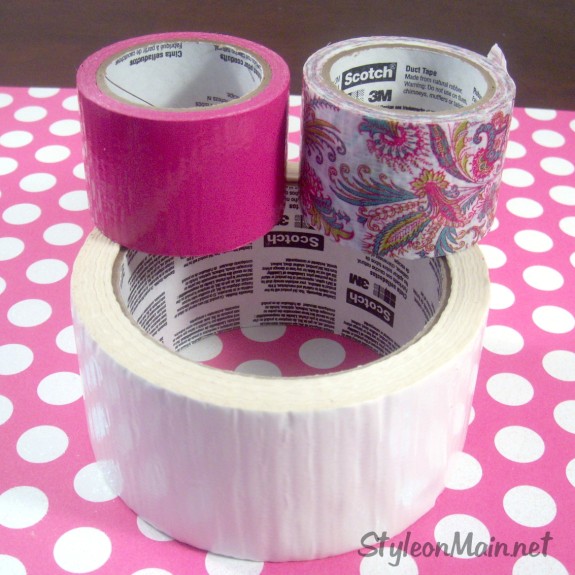
- Duct Tape in pattern of your choice. I’m using the fabulous paisley pattern from Scotch brand.
- Spray paint or a solid color duct tape in a coordinating color. Optional
Tools Needed
- Xacto knife – scissors don’t work very well & get gunked up.
- Cutting mat
- Ruler
- Pen
- Bone folder or credit card (optional)
Duct Tape Box Directions
Take your metal box and make sure it’s clean and free of grease or any other debris. Clean it if necessary. My spices came in an interior bag, so I didn’t have to worry about any of that residue.
Once your box is clean and dry, measure to see how much tape you need. You can use a string to wrap around the box, and measure it. Or you can measure the sides of your box and add them together. Orrr…you can kind of eyeball it. I eyeballed it
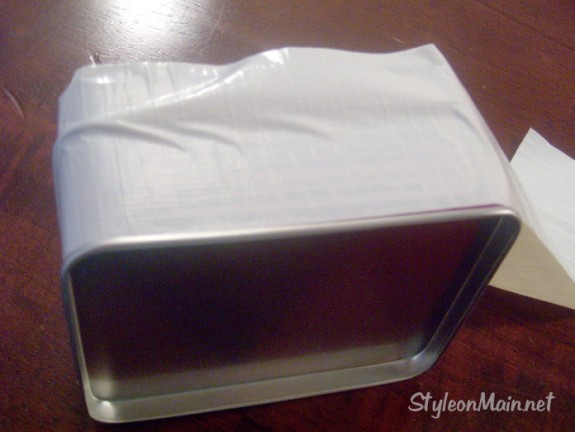
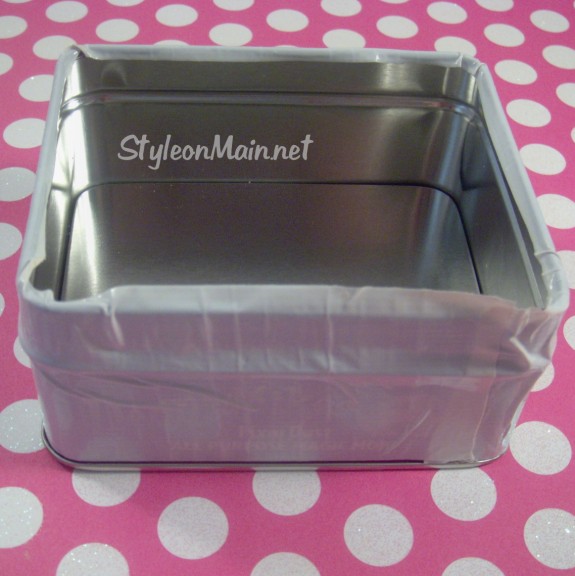
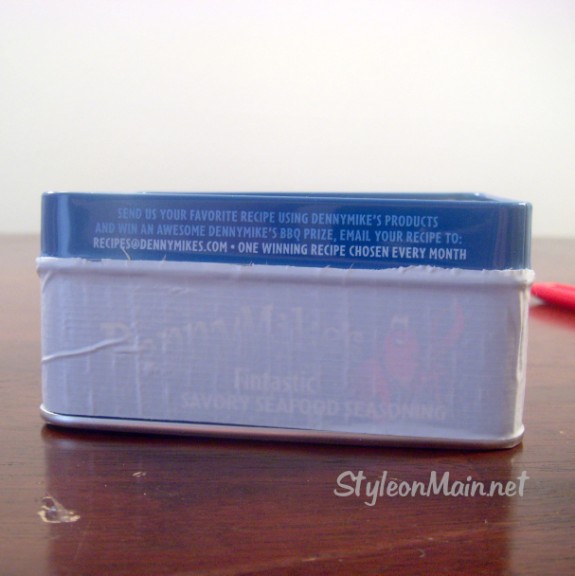
Because my paisley tape is slightly translucent, and the advertising is very vibrant, I started with a base of white tape. You could also spray paint the tin.
Starting in the middle of a short end, I placed the tape and aligned it with the rim on the bottom of the tin. Continue slowly wrapping the tape around the tin, adjusting as you need to. Be sure to smooth out the air bubbles and wrinkles as you go. I chose to work directly from the roll of tape, rather than cutting a length of tape and working with it.
Once you get it wrapped all the way around the box, overlap the ends slightly. I overlapped mine about ½ to ¾ of an inch. I cut my tape at this point.
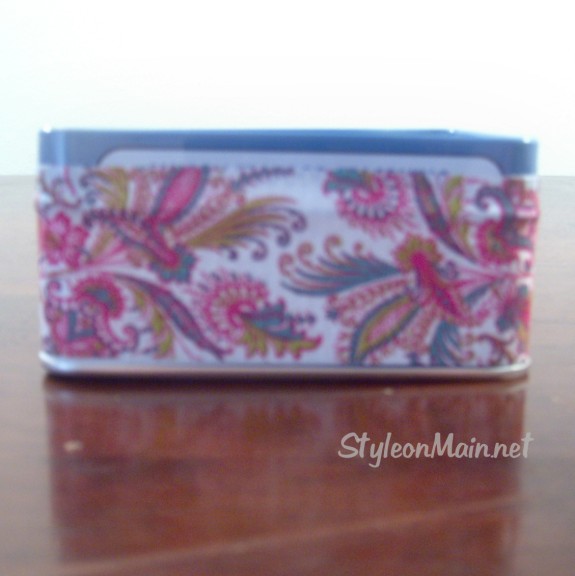
Take your patterned tape, and repeat the tape wrapping step. Be sure to smooth as you go.
If you would like to use the lid from the box –
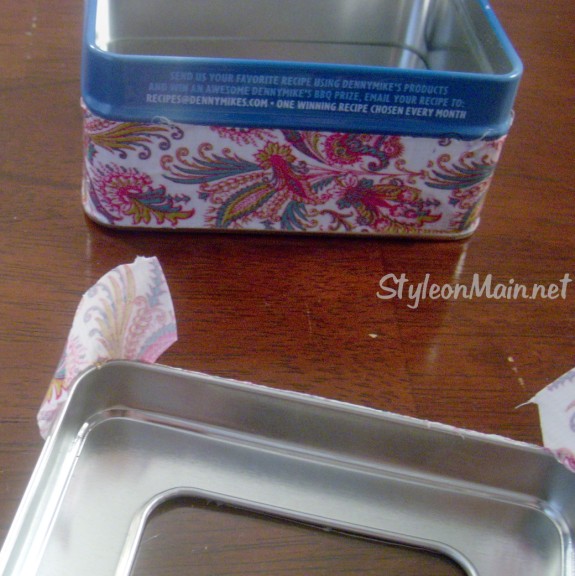
Trim the top of the tape to just below the ridge of the tin. Run your knife along this ridge, and peel the excess tape off.
If your container doesn’t have this handy ridge, measure the height of the lid. Mark that on the top of your tin, and cut and peel.
If you don’t have a lid, or don’t care about using it –
Make a few small cuts in the tape that overlaps the top of the tin. Fold over the top edge for a finished top.
To cover the lid –
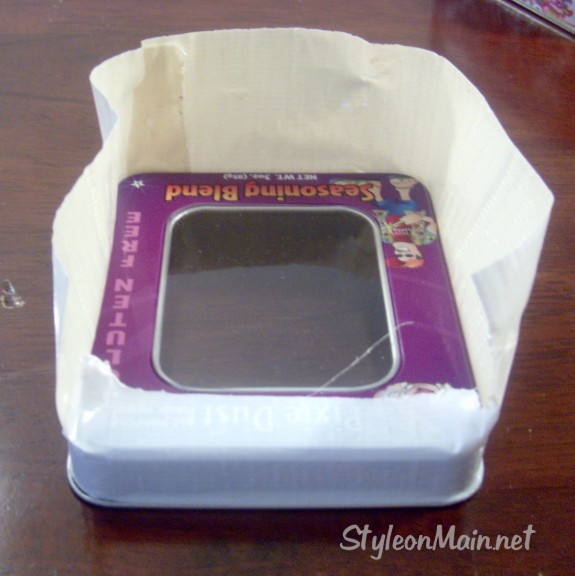
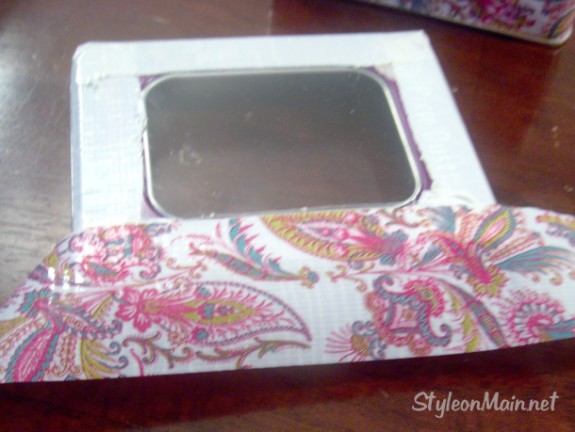
Cover the lid the same way you covered the base with a layer of white tape. Slice the corners so that it folds over the top nicely. You may need to trim around the window in your lid. Do this carefully, as you don’t want to cut through the window itself.
Measure one side of the lid, and cut a piece of tape that length, plus a couple of inches. Line the tape up along the window in the lid.
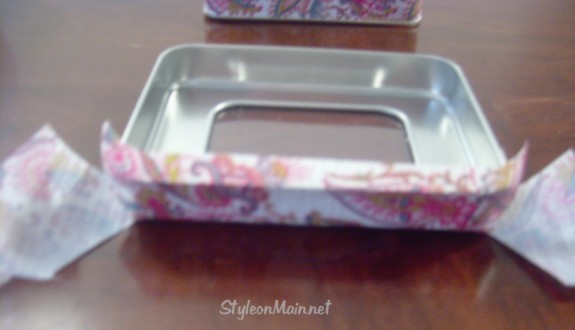
Slice the corners before folding the edges over. You’ll want to do this so that the corners fold nicely.
Fold the edges over first. Trim the excess along the straight edges. If your lid has a rolled edge, you can use that as a guide. If it doesn’t have a rolled edge, just trim along the edge of the lid.
Fold the corners down, trimming the excess.
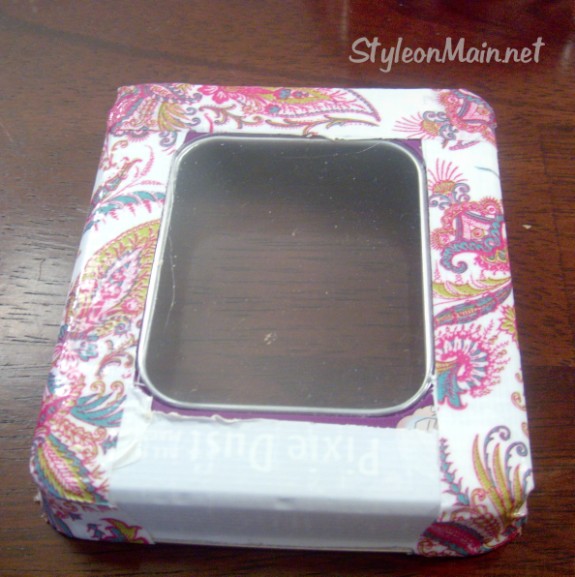
Repeat for the other long side, then the two short sides.
Smooth down all edges.
Voila! You have now transformed an ugly ol’ piece of junk into a cute little treasure tin. Who knew that you could make a spice tin into a cute project, with duct tape.
Cost: The small rolls of Scotch Duct Tape are approximately $3-4 for a two-pack of coordinated colors. You could easily cover 4-6 of these boxes with the small rolls.
Time: About 15-20 minutes

Oh I like that! I have several of those boxes laying around!
What a fun and creative idea!
Ooh how clever! I have been wanting to creating something with duct tape, but haven’t figured out what yet. This is a great idea! So cute and I love that it’s also upcycled!
Oh that is really cute! I haven’t seen duct tape in that pattern before! It is really pretty!!
How neat – my son is a duct tape freak – I’ll have to show him this one! Pinned & Tweeted!
Neat! I’m gonna have to go find me some pretty duct tape! Great idea! Pinned & Tweeted!
What a cute idea! And the perfect way to pretty up my craft room organizer tins.
This is so cute, and I like the colored duct tape that I can buy now. What a stylish box that I can put jewelry or other items in. Thanks for the instructions, I would have never thought about doing this!
Love the paisley pattern! What do you plan on using the tins for now? I think it would be a great gift box!
I don’t know yet. I may line the inside and use it for large pieces of jewelry or small cosmetics.
This is a cute idea for goodies boxes!
I didn’t realize Duct Tape comes in different patterns.
I freakin’ love duct tape!