Here is another super easy, super cute Easter nail art tutorial. This time, we’re doing Easter eggs. This Easter egg nail art tutorial is so easy, and so quick, that even those with an unsteady hand can have amazing results.

Gather up a few colors of nail polish, some dotting tools or toothpicks, and let’s get to work. Be sure to check out our Bunny with a Tail and Carrot nail art tutorials, too,
Easter Egg Nail Art Tutorial
What you’ll need:
- Base Coat
- Light blue nail polish
- Pink nail polish (or color of your choice)
- 3 colors of your choice for dots
- Nail dotting tools, nail art brush, regular paint brush with small bristles, or toothpick
- Clear top coat
Instructions:
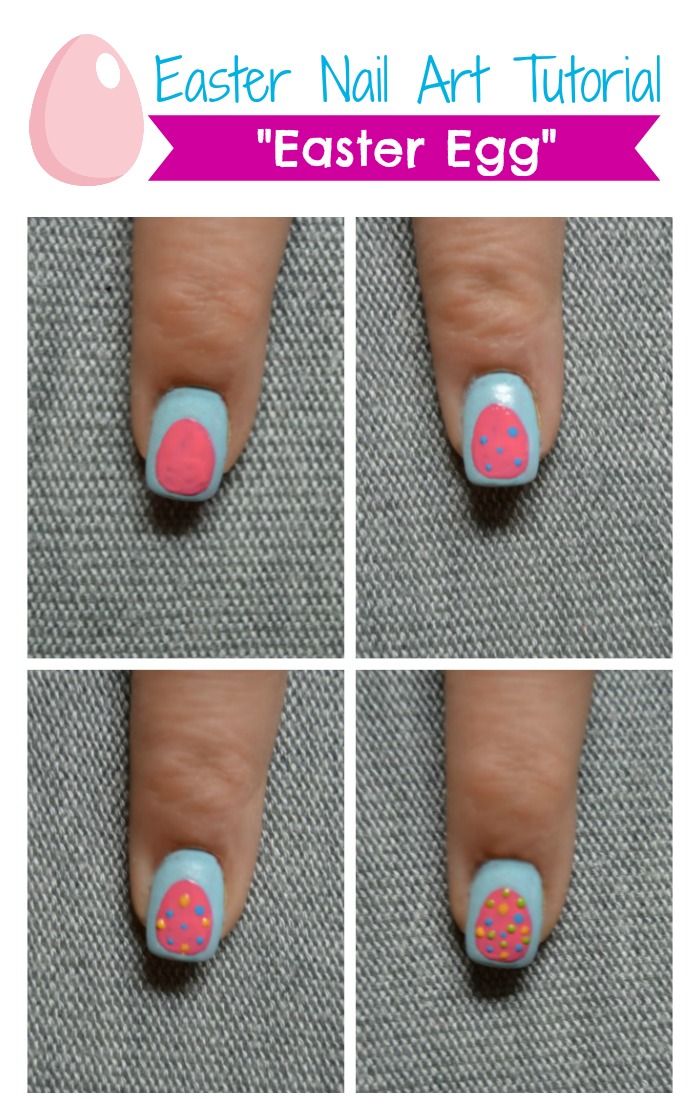
Start with clean and dry nails that are free from oils or grease. Apply a base coat and 2-3 coats of a pale/pastel light blue nail polish. Let these dry before you start your Easter egg nail art. Make sure you let the polish dry between each step of the Easter egg nail art, too.
Make an oval egg shape with the pink polish. Let this dry. Using a nail dotter tool or toothpick, make little dots of each of the other 3 colors. These can be just about any color, so it’s a perfect time to use those weird nail polishes that are collecting dust. Let dry really well and apply a clear top coat to help protect your Easter egg nail art. If you’re feeling particularly sassy, I think an iridescent glitter top coat would look fantastic.
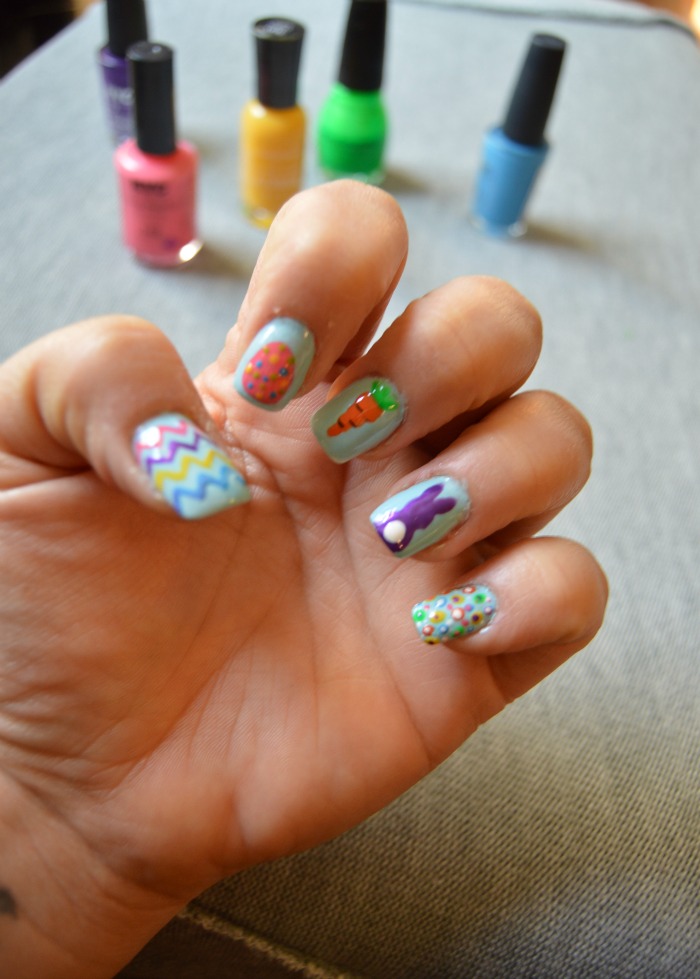
Don’t forget to check out our other Easter themed nail art tutorials. Like this one for a Peeps inspired Bunny with a Tail or the fab Carrot nail art tutorial. Looking for additional inspiration? These great Easter nail art tutorials may be up your alley!
These are so cute and it looks fairly simple to do in the pictures but I’m sure it would be difficult for me simply because I’m not artistic.
What a creative manicure! Lovely!