Style on Main

Style, Beauty, and Fashion | for Real People

  • Beauty
  • Fashion
    • Jewelry
  • Entertaining
  • DIY
  • About
  • Media + PR Kit
You are here: Home / DIY / How to Make a Wire Wrapped Beach Glass Pendant

How to Make a Wire Wrapped Beach Glass Pendant

August 25, 2014 by Greta Brinkley 12 Comments

wire-wrapped-beachglass-pendant-tutorial

Beach Glass and sea glass is so pretty. It’s hard to believe that these pieces used to be trash that has now been tumbled by the ocean for so many years. Since it’s such a treasure, beach glass should be treated as such. A wire wrapped sea glass or beach glass pendant is the perfect way to show off a treasured piece.


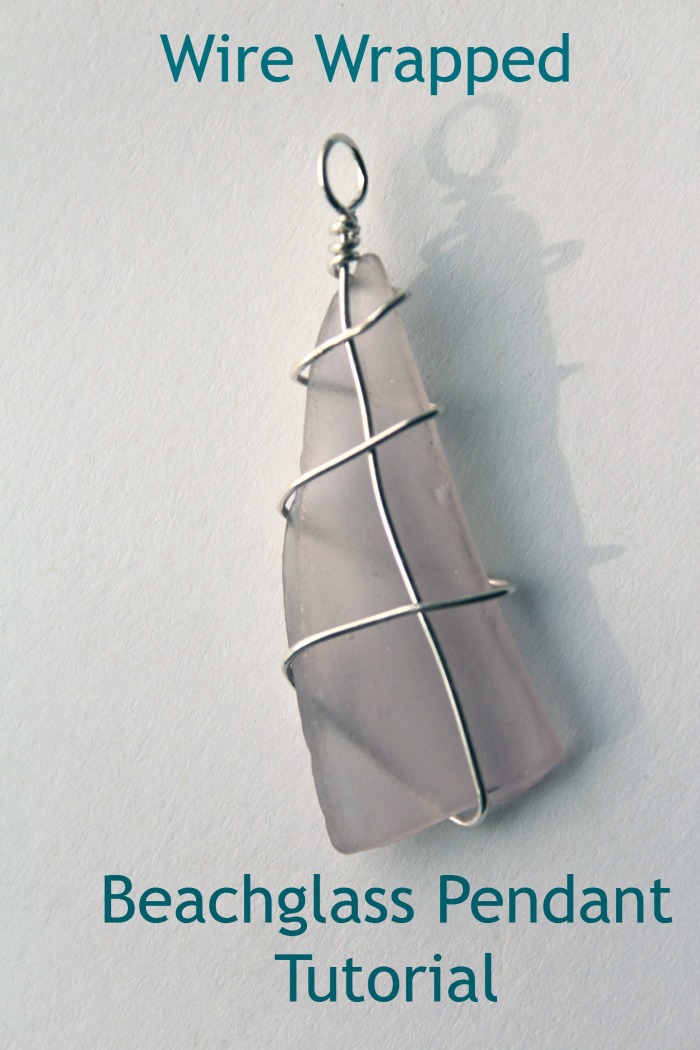
Wire Wrapped Beach Glass Pendant Tutorial

Links may be commissioned. Thanks for shopping through them and supporting our site.

Tools & Materials

  • Flush cutters
  • 18-gauge wire
  • 1-inch sea glass piece
  • Necklace chain
  • Clasp
  • Round-nose pliers


 Steps to Create a Beach Glass Necklace Using Wire Wrapping

1.) Cut an approximately 3-inch piece of the 18-gauge wire with flush cutters. Create a wire bail at one end and place that at the top back side of sea glass. Simply form a loop with the round nose pliers.

Sea_Glass_Jewlery-wrap1

2.)  Make sure the bail is wide enough for the chain’s clasp. The bail loop should run perpendicular to the beach glass pendant. This will allow the necklace chain to slide through the bail and the pendant to lie flat for viewing. The remaining length of wire will trail down the back side of the sea glass pendant.

beach-glass-pendant-2

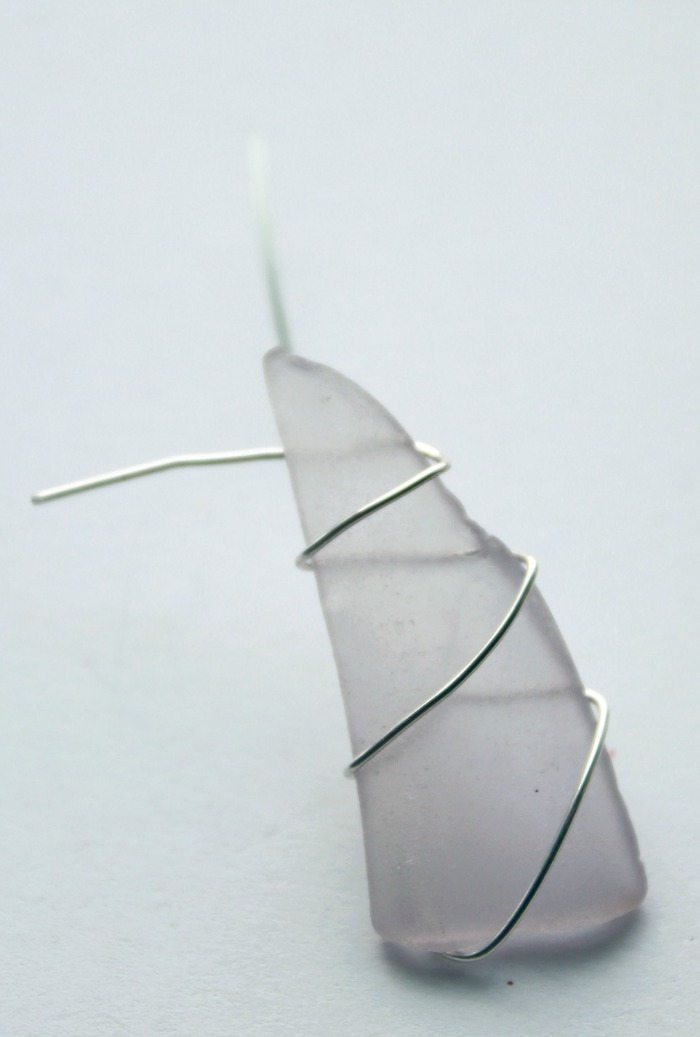
3.) Then spiral wrap the wire around the front side of the beach glass pendant and follow all the way up the piece of sea glass toward the bail. Wrap the remaining wire two to three times around, just underneath the bail.

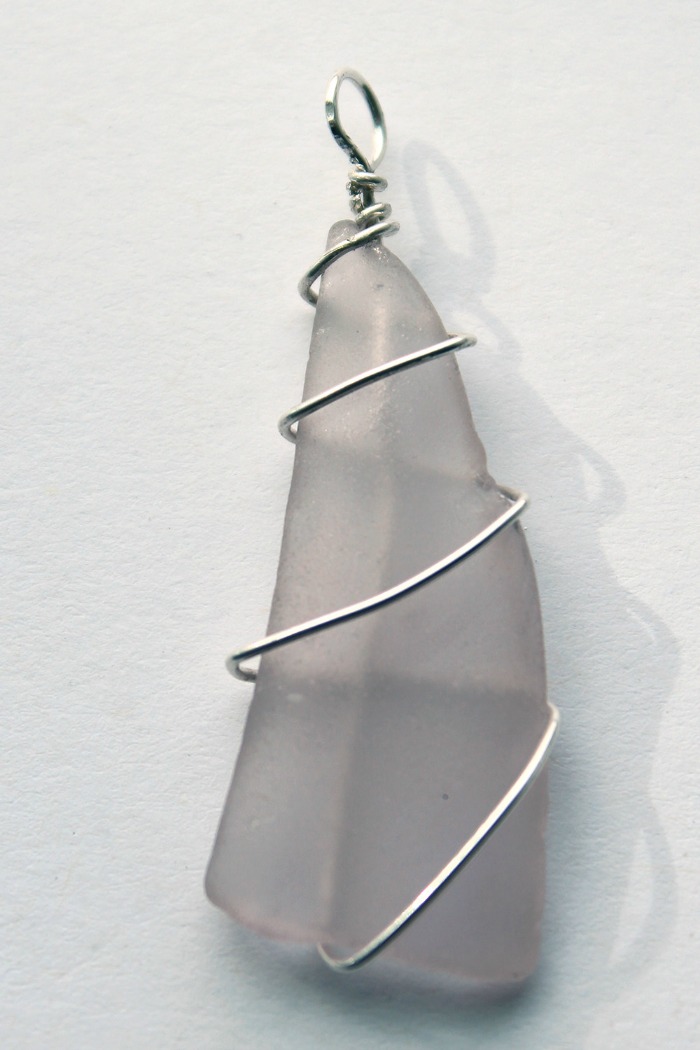
4.) Cut off the remaining wire and squeeze the wire’s end with round-nose pliers or needle-nose pliers. Otherwise the sharp edge may scrape skin or catch hair.

Sea_Glass_Jewlery-wrap3

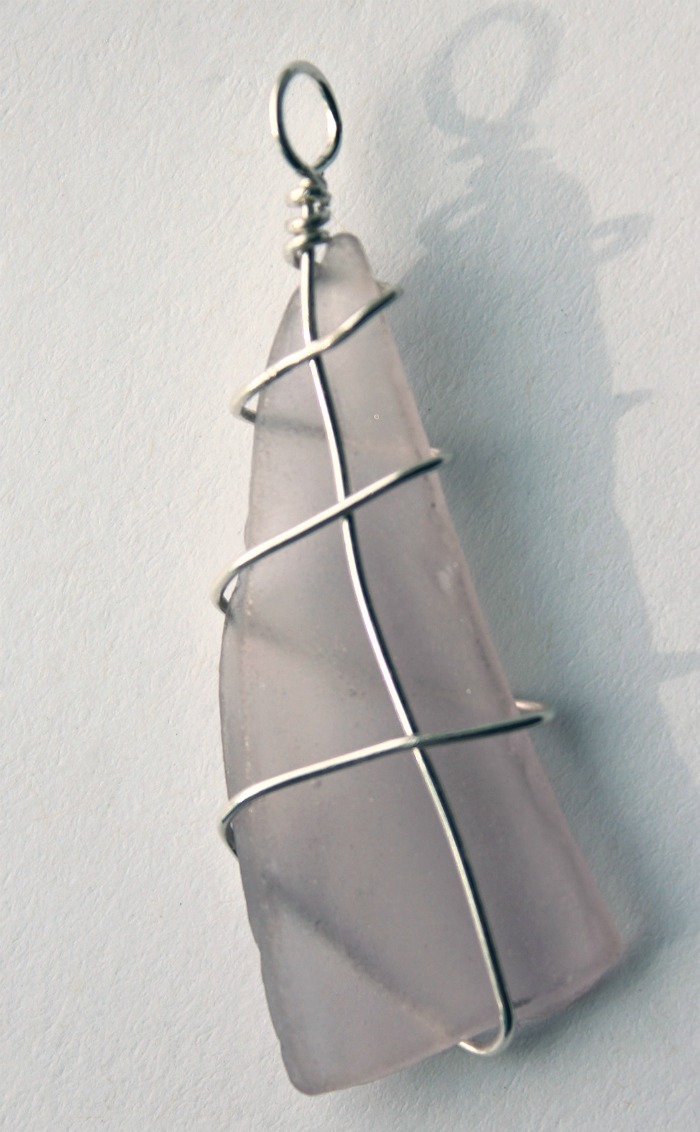
Voila! You have created a wire wrapped beach glass pendant, quickly and easily.

This beach glass pendant project came from the book Sea Glass Jewelry, which is packed full of history and tidbits about beach glass and sea glass. It also has some fantastic jewelry projects, along with a few suppliers for sea glass.

Filed Under: DIY, Jewelry Tagged With: diy, how to, jewelry, pendant, tutorial

« Low Calorie Lemonade Cocktail Recipes
Get the Look: 2014 MTV VMA Awards »

Comments

  1. Cheryl Rogers says

    August 27, 2014 at 9:51 pm

    I love that you gave us directions for these. I love Diy projects.

    Reply
  2. Nena Sinclair says

    August 28, 2014 at 8:43 pm

    I love this, I didn’t know it was so easy to do! It would be a great way to use pretty colored stones as well!

    Reply
  3. Robin Wilson says

    August 29, 2014 at 6:16 pm

    What a wonderful and easy way to display “trash”. I too, have always found it to be gorgeous and I have a couple of pieces that would be perfect for this craft!

    Reply
  4. Alexia H. says

    August 30, 2014 at 11:34 am

    How beautiful and elegant, yet simple. Thanks

    Reply
  5. Dana Rodriguez says

    September 1, 2014 at 6:14 pm

    That is so pretty and you make it look SO easy!!

    Reply
  6. cyndi f says

    September 2, 2014 at 4:11 pm

    this does not seem to hard, i pinned this and can’t wait to try it thanks for sharing

    Reply
  7. M.Clark says

    October 25, 2014 at 8:52 pm

    Cool, this is pretty easy to make, I can’t wait to give this a try. Thank you for sharing this craft post.

    Reply
  8. Jennifer Phillips says

    October 28, 2014 at 6:34 pm

    This is great fun with the kids, we made charm bracelets out of pretty little stones we found, it was a blast. 😀

    Reply
  9. Rachel Beltz says

    October 28, 2014 at 9:51 pm

    This is so pretty, simple, and elegant! I’m going to keep this in mind when we head down to the shore!

    Reply
  10. Sarah Matos says

    November 4, 2014 at 11:05 pm

    Love this. I am always looking for new crafty ways to invent jewelry.

    Reply
  11. Laura Ohlrogge says

    November 15, 2014 at 7:37 am

    So cute! I’m gonna make one!

    Reply
  12. Richard Hicks says

    December 16, 2015 at 7:56 pm

    I never knew how to do this til now. Great instructions!

    Reply

Leave a Reply Cancel reply

Your email address will not be published. Required fields are marked *

Contact: styleonmainblog@gmail.com
  • Facebook
  • Instagram
  • Pinterest
  • Twitter

Current Giveaways

Kate Spade Talia Giveaway

Enter to win a Kate Spade Talia Bag
DIY Halloween costumes for adults

Top Posts & Pages

  • How to Make a Fishtail Braid Bracelet
    How to Make a Fishtail Braid Bracelet
  • Celebrate Summer with this Very Vanilla Spiked Milkshake Recipe
    Celebrate Summer with this Very Vanilla Spiked Milkshake Recipe
  • Low Calorie Strawberry Rose Vodka Spritzer Cocktail | Low Carb Keto Friendly
    Low Calorie Strawberry Rose Vodka Spritzer Cocktail | Low Carb Keto Friendly
  • Make these Quick and Easy Nail Polish Marbled Coasters
    Make these Quick and Easy Nail Polish Marbled Coasters
  • Paleo Friendly Grapefruit Martini Cocktail Recipe
    Paleo Friendly Grapefruit Martini Cocktail Recipe
  • 10 Must Have Loungewear Sets for An At Home Style Upgrade
    10 Must Have Loungewear Sets for An At Home Style Upgrade
  • Try a Sparkling Summer Solstice Cocktail
    Try a Sparkling Summer Solstice Cocktail
  • Mango Pineapple Jello Shots
    Mango Pineapple Jello Shots
  • Try a Spiked Spiced Cider Cocktail that's Perfect for Autumn
    Try a Spiked Spiced Cider Cocktail that's Perfect for Autumn
  • Whip Up a Pitcher of These Pink Prickly Pear Margaritas
    Whip Up a Pitcher of These Pink Prickly Pear Margaritas
  • Email
  • Facebook
  • Instagram
  • Pinterest
  • Twitter

I am a participant in the Amazon Services LLC Associates Program, an affiliate advertising program designed to provide a means for me to earn fees by linking to Amazon.com and affiliated sites.

@styleonmain on Dealspotr
Let's collaborate
Powered by Dealspotr

Copyright © 2021 · Foodie Pro Theme by Shay Bocks · Built on the Genesis Framework · Powered by WordPress