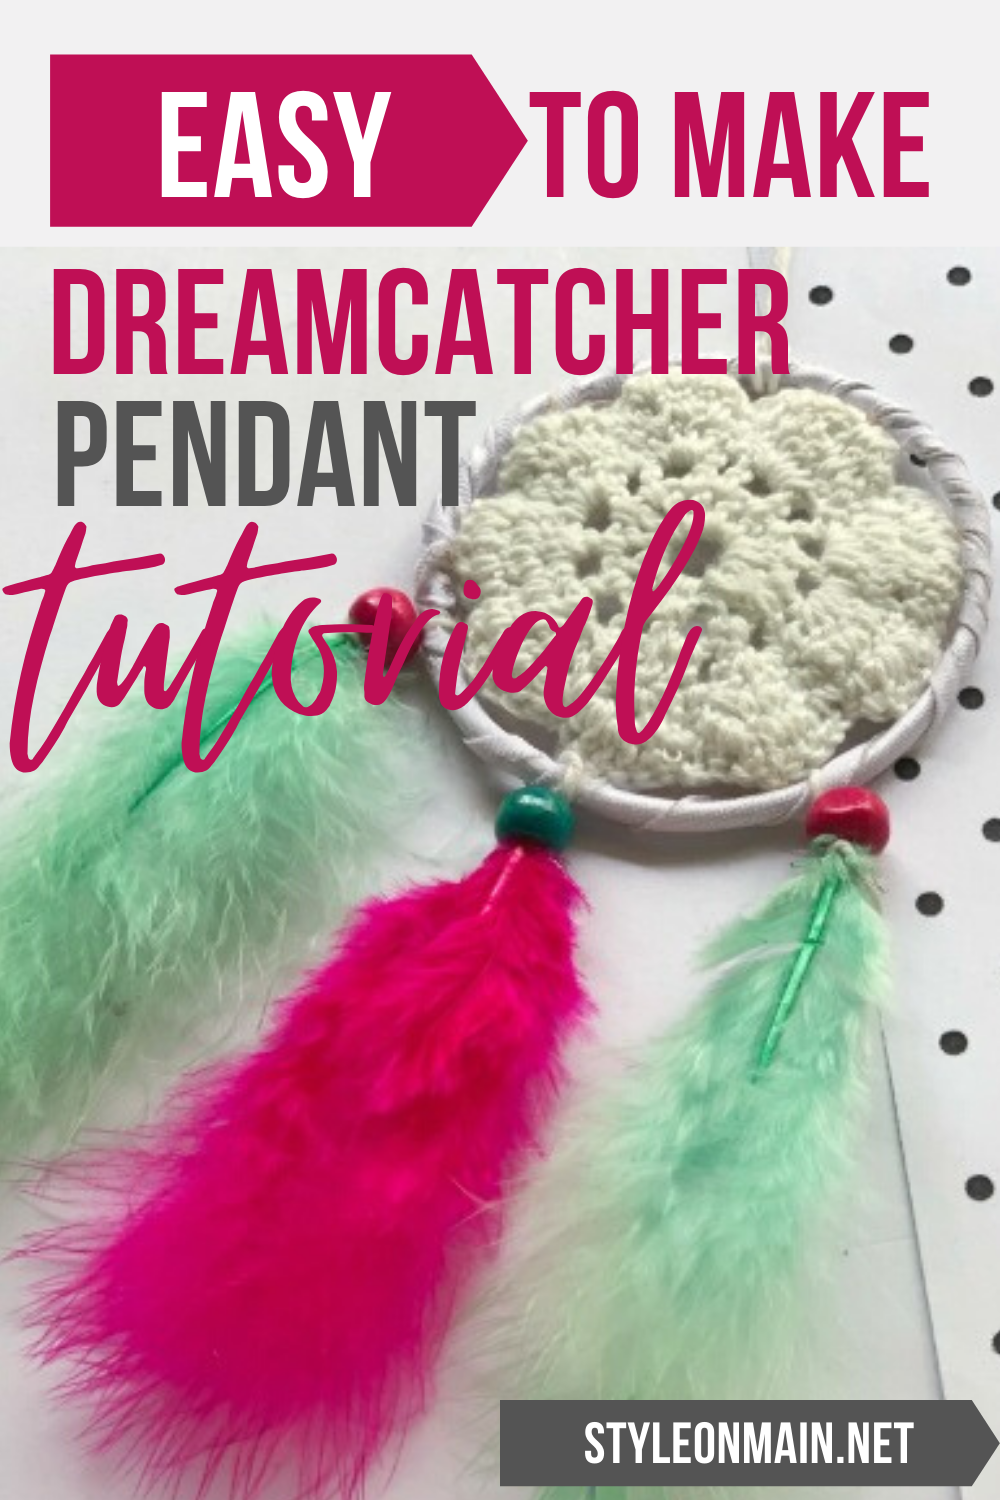
With the dawn of summer, there’s a lot more bohemian chic looks going on. The style is still so hot, and this DIY Dreamcatcher Necklace Tutorial is the perfect project for all ages.
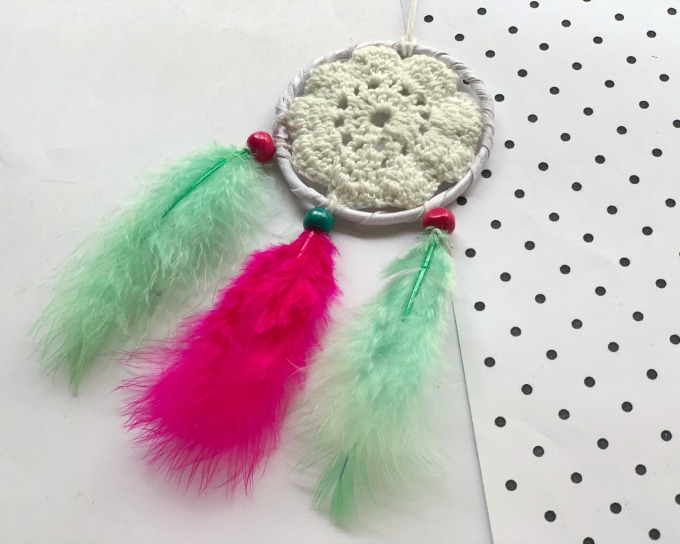
Dreamcatchers have been around, as part of pop culture, for a while. And you know what? They’re still going strong. This simple DIY Dreamcatcher necklace has a great boho chic look to it, and is perfect to add to all your summer outfits.
This necklace makes a simple tank top or tee shirt and shorts have that little something extra, and makes it look like you put some effort into getting ready. People will never believe you made it yourself, and won’t even know how easy it was.If you’re looking for some summertime jewelry to make, try the Wire Wrapped Beach Glass Pendant tutorial, too.
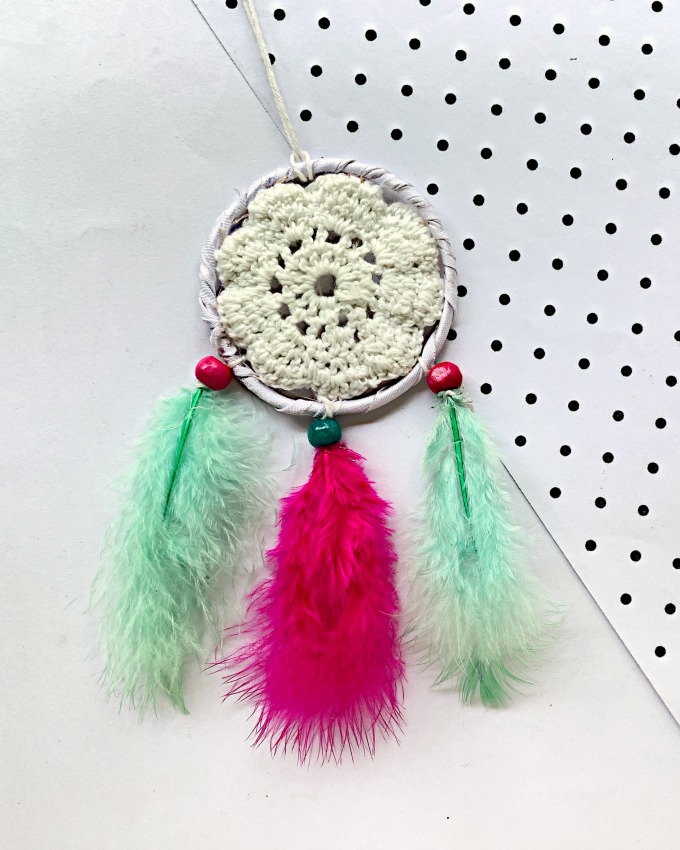
The secret to this DIY dreamcatcher necklace starts with a premade crocheted lace doily. It’s really easy to change the look of this necklace, too, by using different colored lace or different colored feathers.
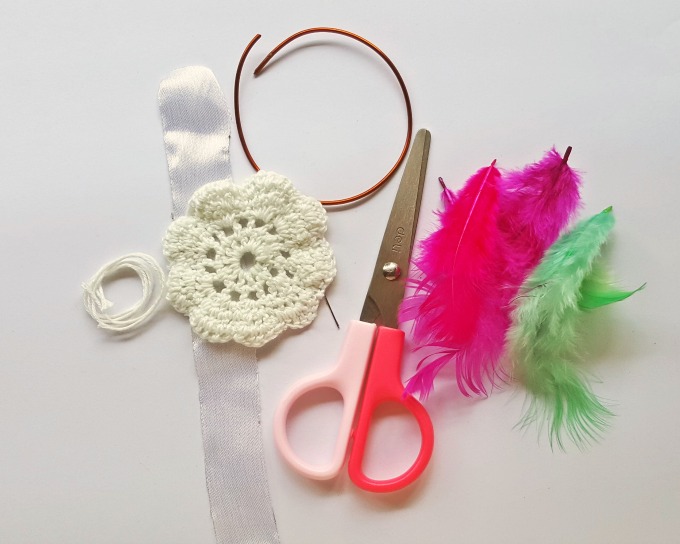
Dreamcatcher Necklace Supplies
- 18 gauge Craft Wire
- Pliers – roundnose or needlenose pliers will work
- Masking Tape.
- Crochet doily or piece of lace
- Satin ribbon.
- White Thread.
- Small Feathers
- Scissors
- Needle
- Crochet cotton or pearl cotton
- Fabric or tacky glue
- small beads
Dreamcatcher Necklace Directions
Step 1:
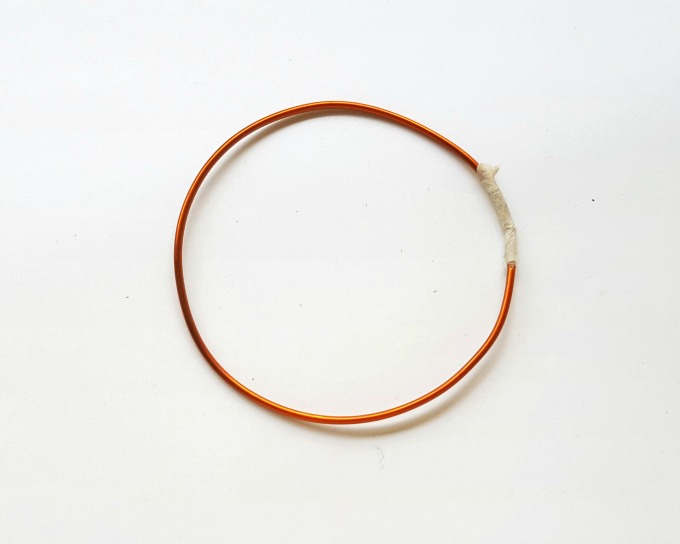
Decide how large you’d like your dreamcatcher pendant to be. Find a crochet lace doily that’s approximately that size, or cut a piece of crocheted lace to fit that size. For this tutorial, we’ll be using a 1 1/2 inch diameter piece of lace for ease of measurements.
Figure out the circumference of your lace. For a 1 1/2 inch diameter doily, you’ll need a piece of craft wire that’s about 4 3/4 inches long.
Use something round to bend your craft wire into a circle. A small jar, a wooden dowel, or a bottle all work wonderfully. Tape the ends of the wire together to form a circle.
Step 2:
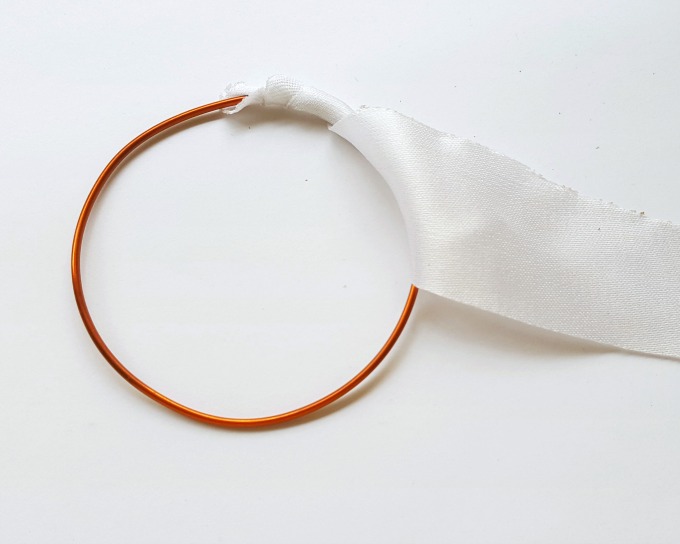
Take a piece of satin ribbon or a strip of fabric and start wrapping the wire ring. Use about 2 feet to make sure it’s long enough to wrap the whole ring. You can always trim the excess, but it’s harder to get a seamless join.
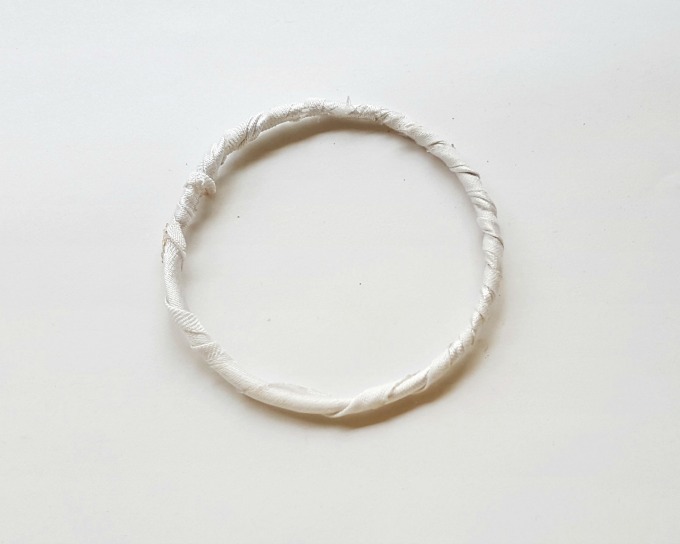
Step 3:
After you have wrapped the whole ring with the ribbon/fabric use a dab of fabric glue or tacky glue to secure the wrap.
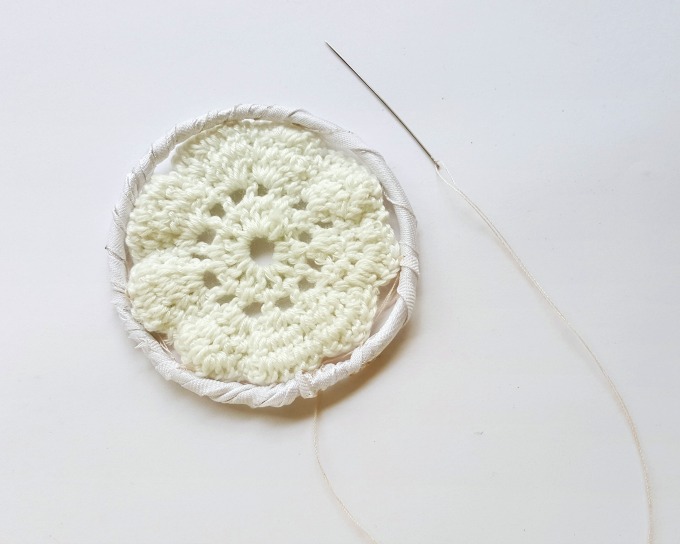
Step 4:
Now take the crochet doily and place it in the middle of the ring. Thread your needle and start sewing the doily to the ring.
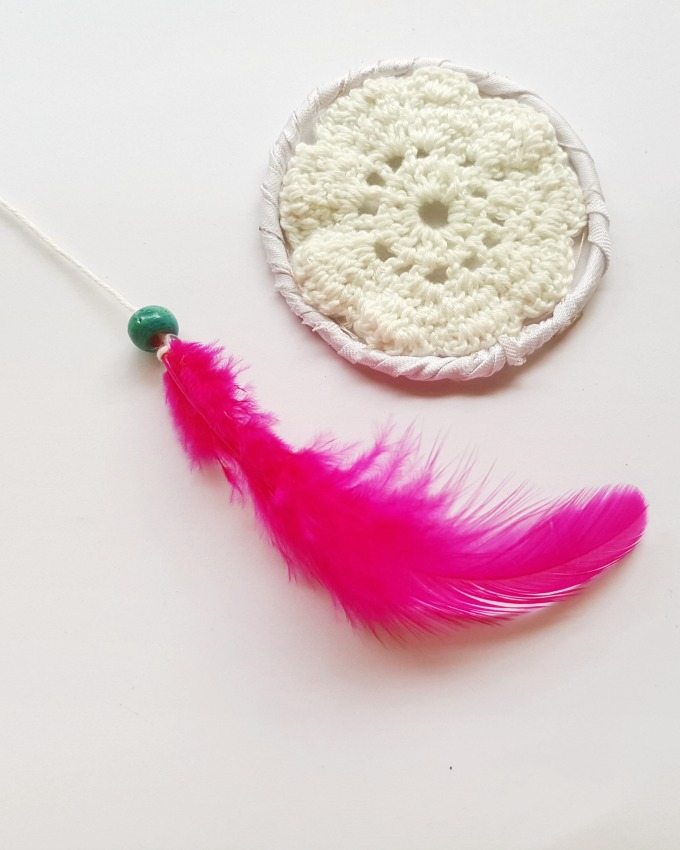
Step 5:
Now take a feather, tie a slightly thicker thread on the hollow shaft of the feather and then thread a bead down the thread and onto the feather’s shaft. Add a dab of glue, and slide the bead over the glue. look for craft feathers that are somewhere between 1-2 inches in length. If needed, you can pull off the bottom parts of the feather to give you more working space on the shaft.
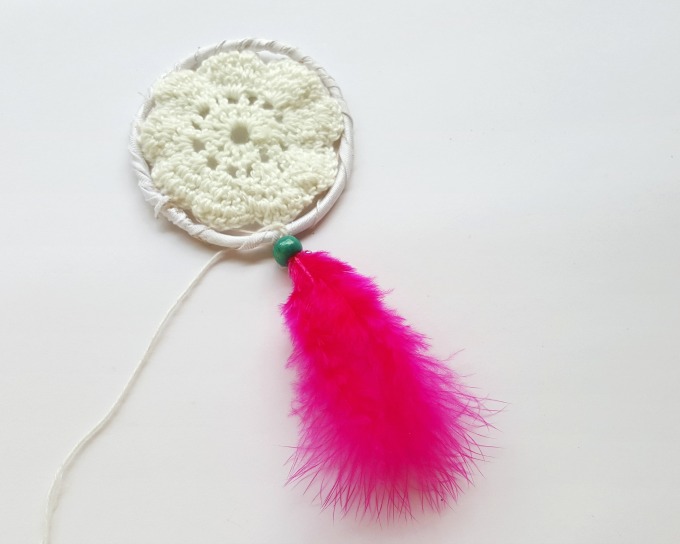
Step 6:
Tie the feather to the dreamcatcher and add a tiny dab of glue to secure the knot, if desired. Add more feathers to complete the dreamcatcher.
Now, add a cord so you can wear your new dreamcatcher necklace. You can use just about anything you’d like. This one uses a cotton cord, but it would look fantastic with leather or a chain. Just be sure to make your cord long enough to slip over your head – approximately 22-26 inches – unless you want to deal with adding a clasp.
This is a great idea. I love Boho Chic
This is gorgeous, and would be fun to make! It would be a nice way to have a get together some day!
This is beautiful … I love the colours used here! And using a pre-made crocheted lace doily is genius!
Love this! this would be fun to make.
This is such a great idea. I actually collect dream catchers, but I have never thought about wearing one. Probably will try this in the near future.
This is s pretty. I am going to have to try and make some with my kids.
This would be so fun to make and give away as a gift thanks for sharing.
Very cute!