As the leaves begin to change and the air turns crisp, it’s time to embrace the cozy scents of fall. What better way to do that than with a delightful and nourishing skincare treat?
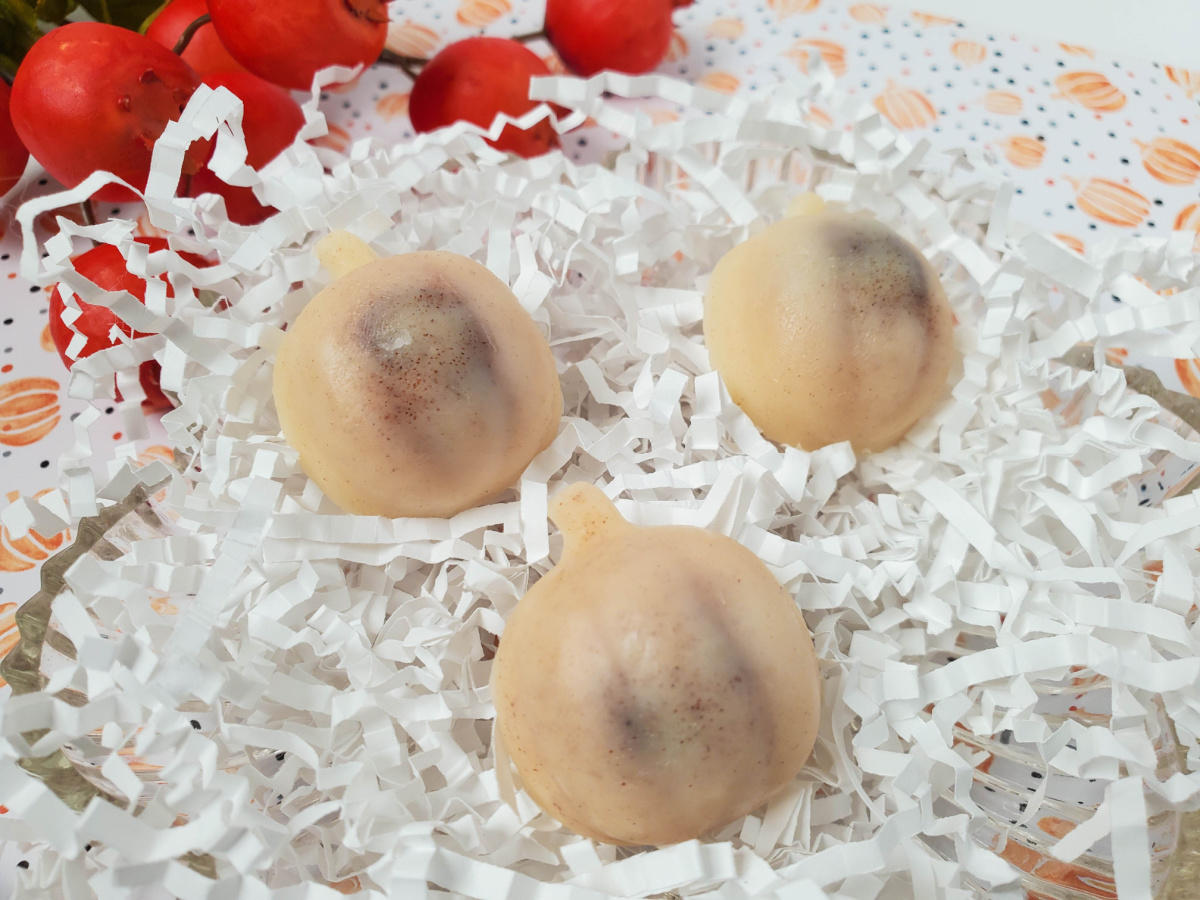
In this DIY guide, we’ll show you how to make your very own Pumpkin Spice Lotion Bars.
Links may be commissioned.
These bars not only provide your skin with a moisturizing boost but also fill your senses with the warm and inviting aroma of pumpkin spice. Get ready to indulge in some fall self-care with this simple and rewarding recipe.
How to Make Pumpkin Spice Lotion Bars
Many of these items are available either in your kitchen, or at Amazon. Many local craft stores like Michael’s and Hobby Lobby also have many of the supplies needed.
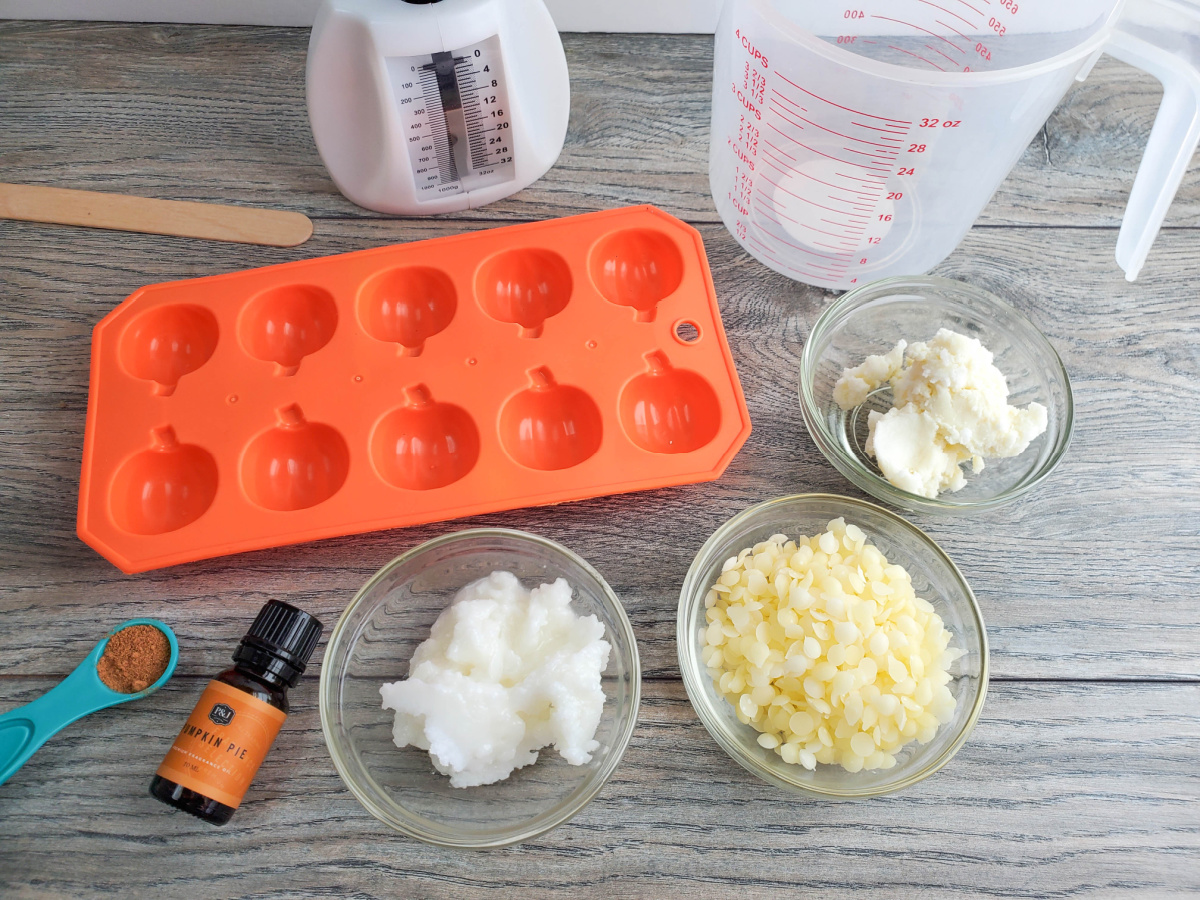
Ingredients and Equipment:
Before we dive into the step-by-step instructions, let’s gather everything you’ll need, with convenient affiliate links included:
- 1.5 ounces Unrefined African Shea Butter
- 1.5 ounces Coconut Oil
- 1.5 ounces Beeswax Pellets
- ½ teaspoon Pumpkin Pie Spice
- 15-20 drops Pumpkin Pie Fragrance Oil
- Kitchen Scale
- 4-Cup Measuring Cup
- Pumpkin Ice Cube Tray
Directions:
Now, let’s walk through the process of creating your Pumpkin Spice Lotion Bars:
Step 1: Measure Your Ingredients Start by accurately measuring your ingredients using a kitchen scale. Precision is key to ensuring the perfect lotion bars.
Step 2: Layer Ingredients In a 4-cup measuring cup, layer the shea butter, coconut oil, and beeswax pellets as listed in the ingredients.
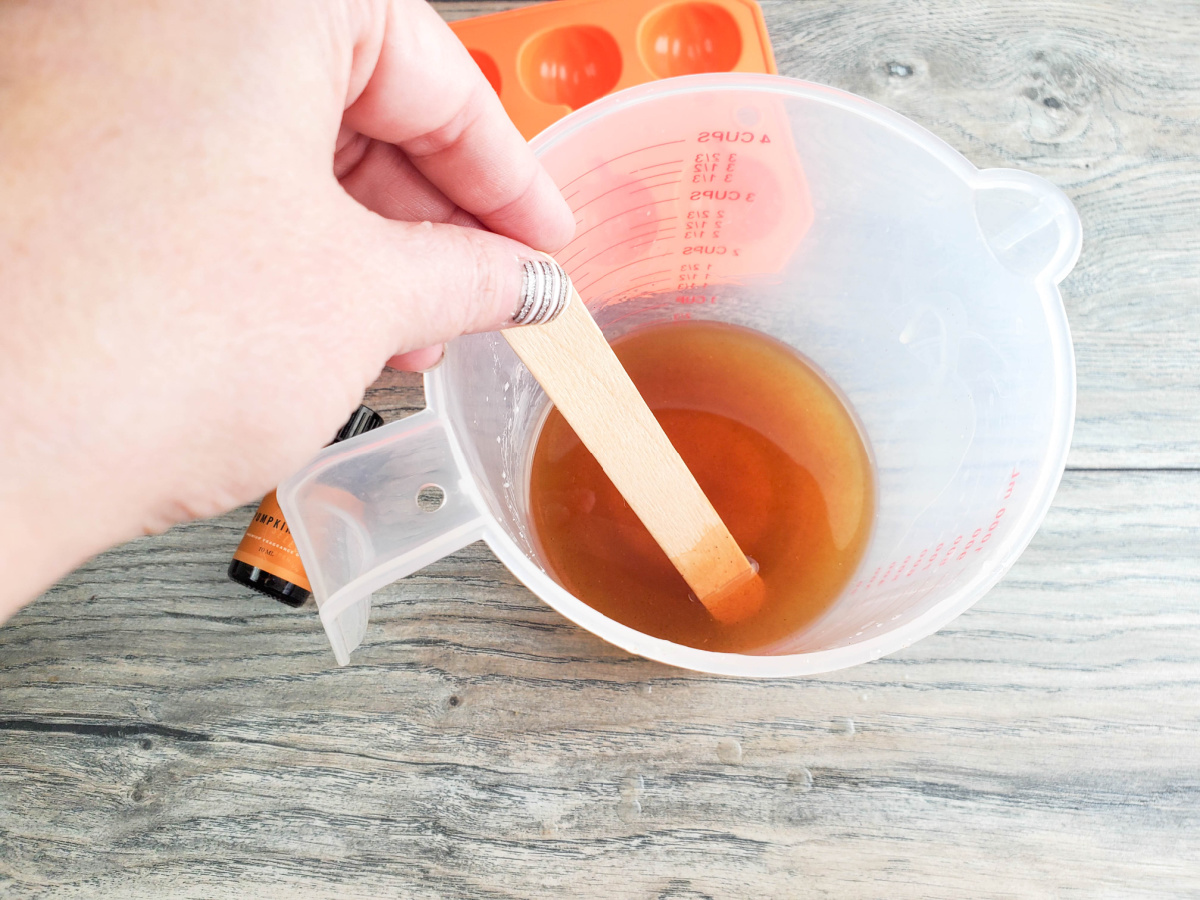
Step 3: Microwave Melting Place the measuring cup in the microwave and heat on high for 30 seconds. Remove it carefully, and stir the mixture thoroughly. Repeat this process until everything is completely melted. Be patient, as the beeswax pellets may take a bit longer to melt compared to the other ingredients.
Step 4: Add Fragrance and Spice Once your mixture is fully melted and well combined, take it out of the microwave. Add 10-20 drops of pumpkin pie fragrance oil and ½ teaspoon of pumpkin pie spice. Stir vigorously to ensure the fragrance and spice are evenly distributed throughout the mixture.
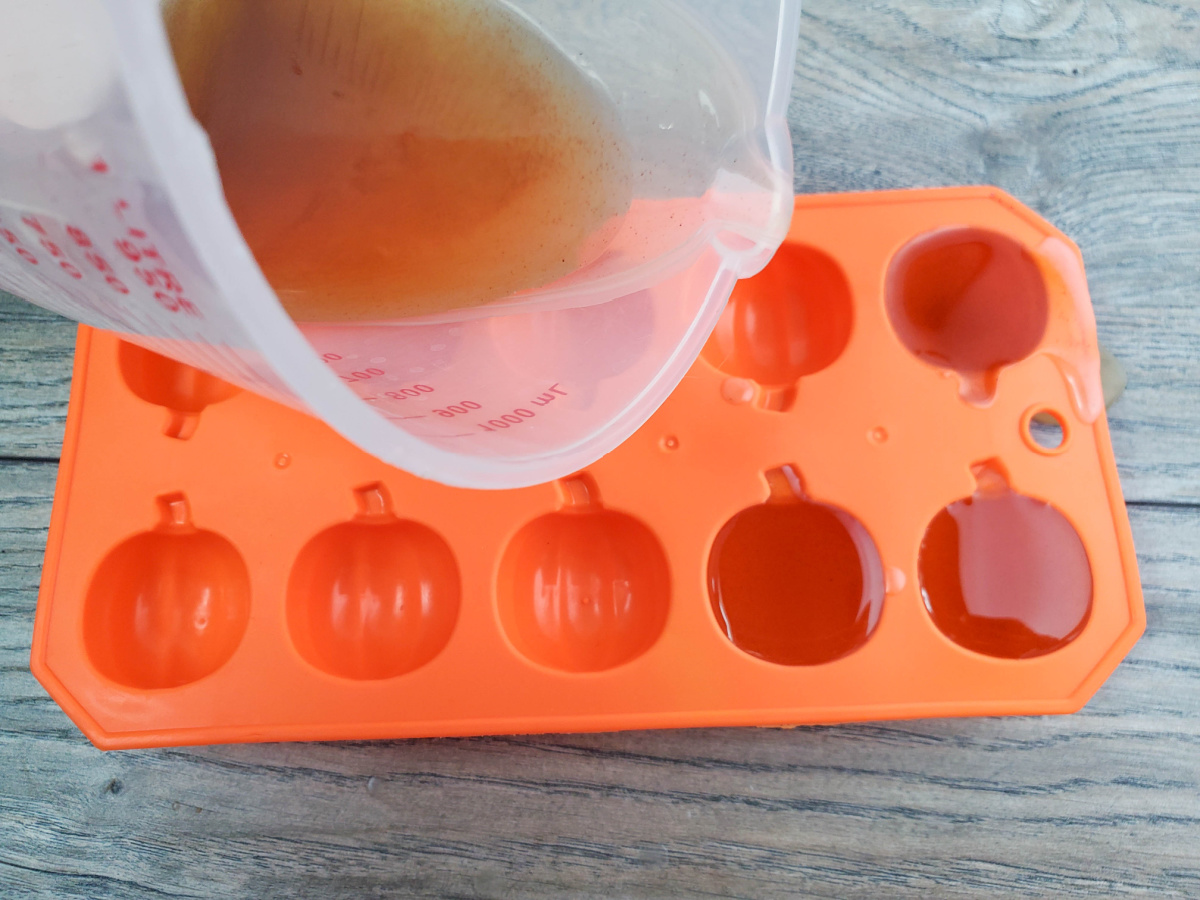
Step 5: Pour into Mold With your fragrant mixture ready, carefully pour it into a pumpkin-shaped ice cube tray. Make sure to fill each pumpkin-shaped cavity evenly. Give these a little jiggle to make sure the mixture reaches down into all the cavities. I also put my silicone molds on a parchment or foil lined cookie sheet for some stability.
Step 6: Allow to Set Place the filled ice cube tray in a cool, dry place and let your lotion bars set. This typically takes around 30-40 minutes. I like to use the tops of bookshelves or a shelf in the garage. However, keep in mind that setting times may vary depending on the temperature and humidity in your environment.
Step 7: Remove and Enjoy Once your lotion bars have solidified and are easy to handle, gently remove them from the ice cube tray. Your homemade Pumpkin Spice Lotion Bars are now ready for use or to be shared with friends and family as thoughtful fall gifts.
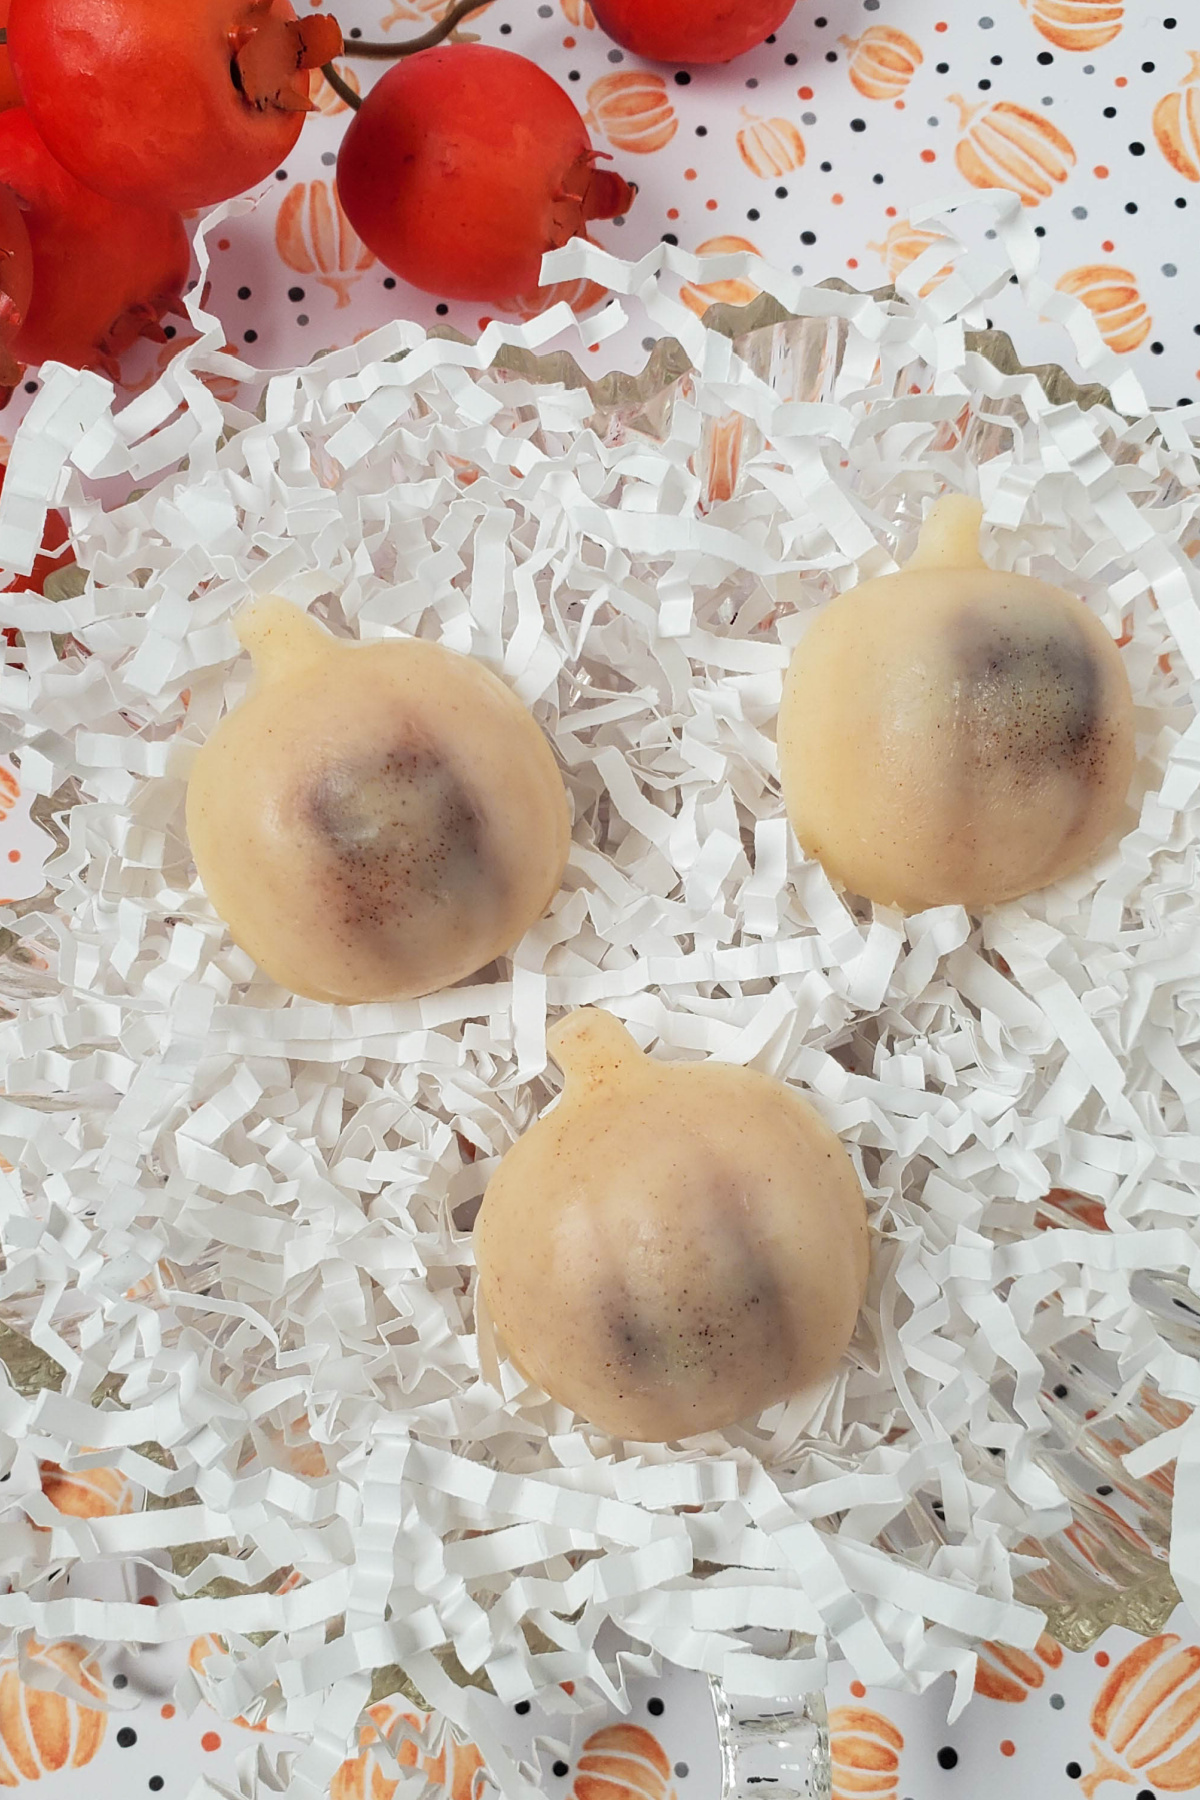
Pumpkin Spice Lotion Bars Tips and Tricks
As you embark on your journey to create Pumpkin Spice Lotion Bars, here are a few additional tips and considerations to ensure a successful and enjoyable experience:
Quality Ingredients: Using high-quality ingredients can make a significant difference in the final product. Opt for unrefined African shea butter, pure coconut oil, and beeswax pellets from reputable sources. This will enhance the quality and fragrance of your lotion bars.
Fragrance Intensity: The number of drops of fragrance oil you add can affect the scent’s intensity. Start with a smaller amount and gradually increase it if you desire a stronger aroma. Be cautious not to overdo it, as fragrance oils can be potent.
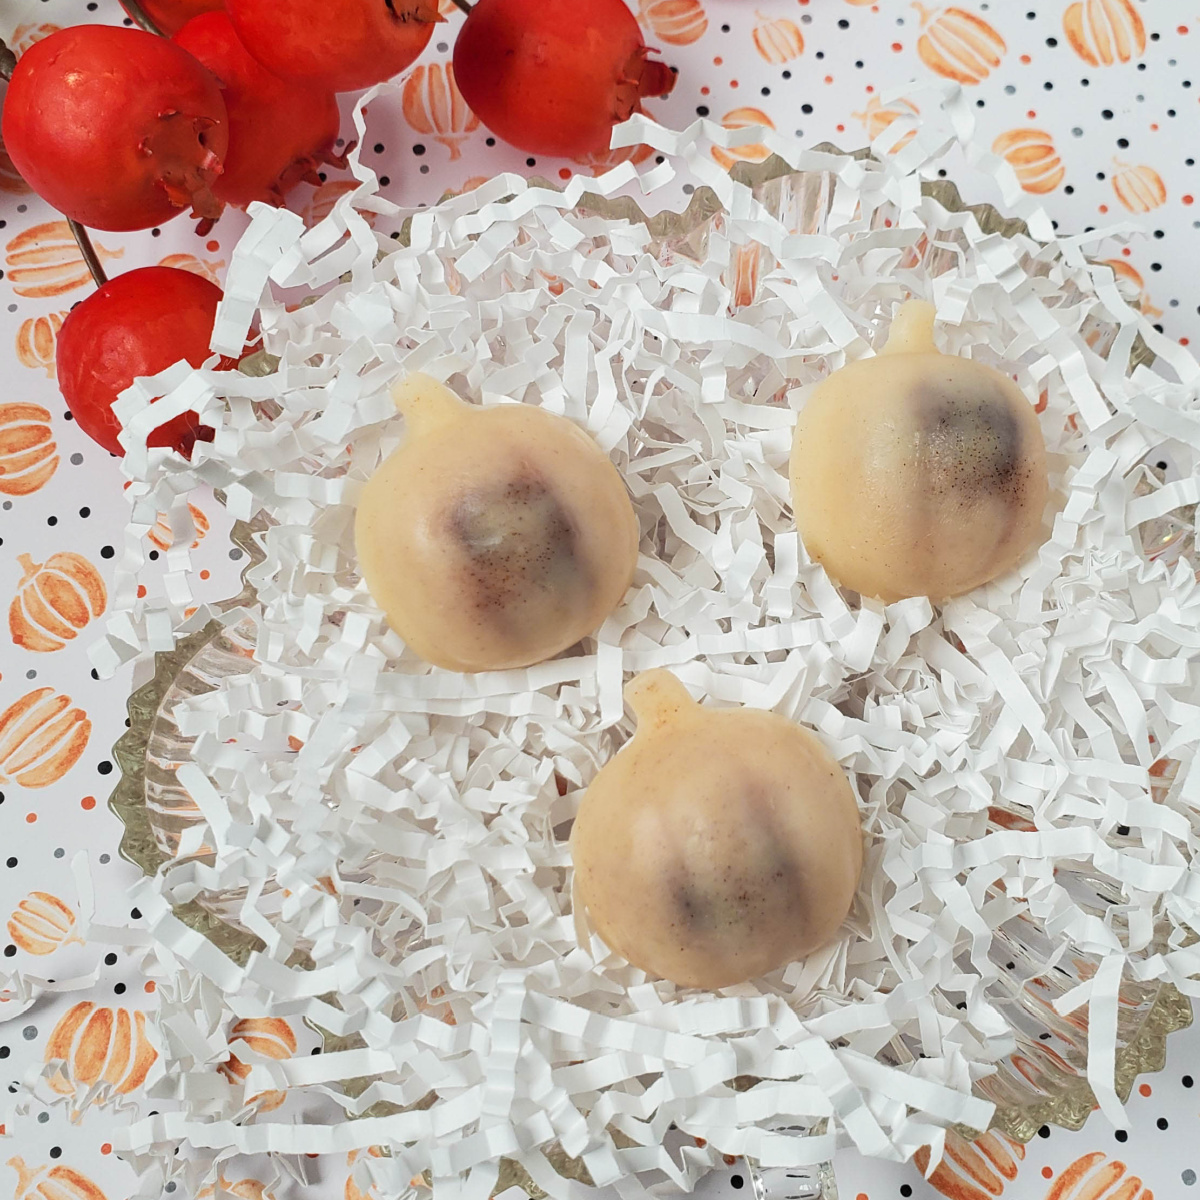
Microwave Safety: When using the microwave to melt your ingredients, be cautious to avoid overheating. Heat in short intervals and stir well between each session to ensure even melting and prevent burns.
Cool and Dry Setting: Allow your lotion bars to set in a cool, dry place. Avoid humid environments as excess moisture can affect their texture and longevity.
Storage: Once your lotion bars have set and you’ve removed them from the mold, store them in an airtight container or wrap them in wax paper to prevent moisture and dust from affecting them.
Labeling: If you plan to give these lotion bars as gifts or sell them, consider creating labels with the ingredients and usage instructions. This helps recipients know what they’re getting and how to use it.
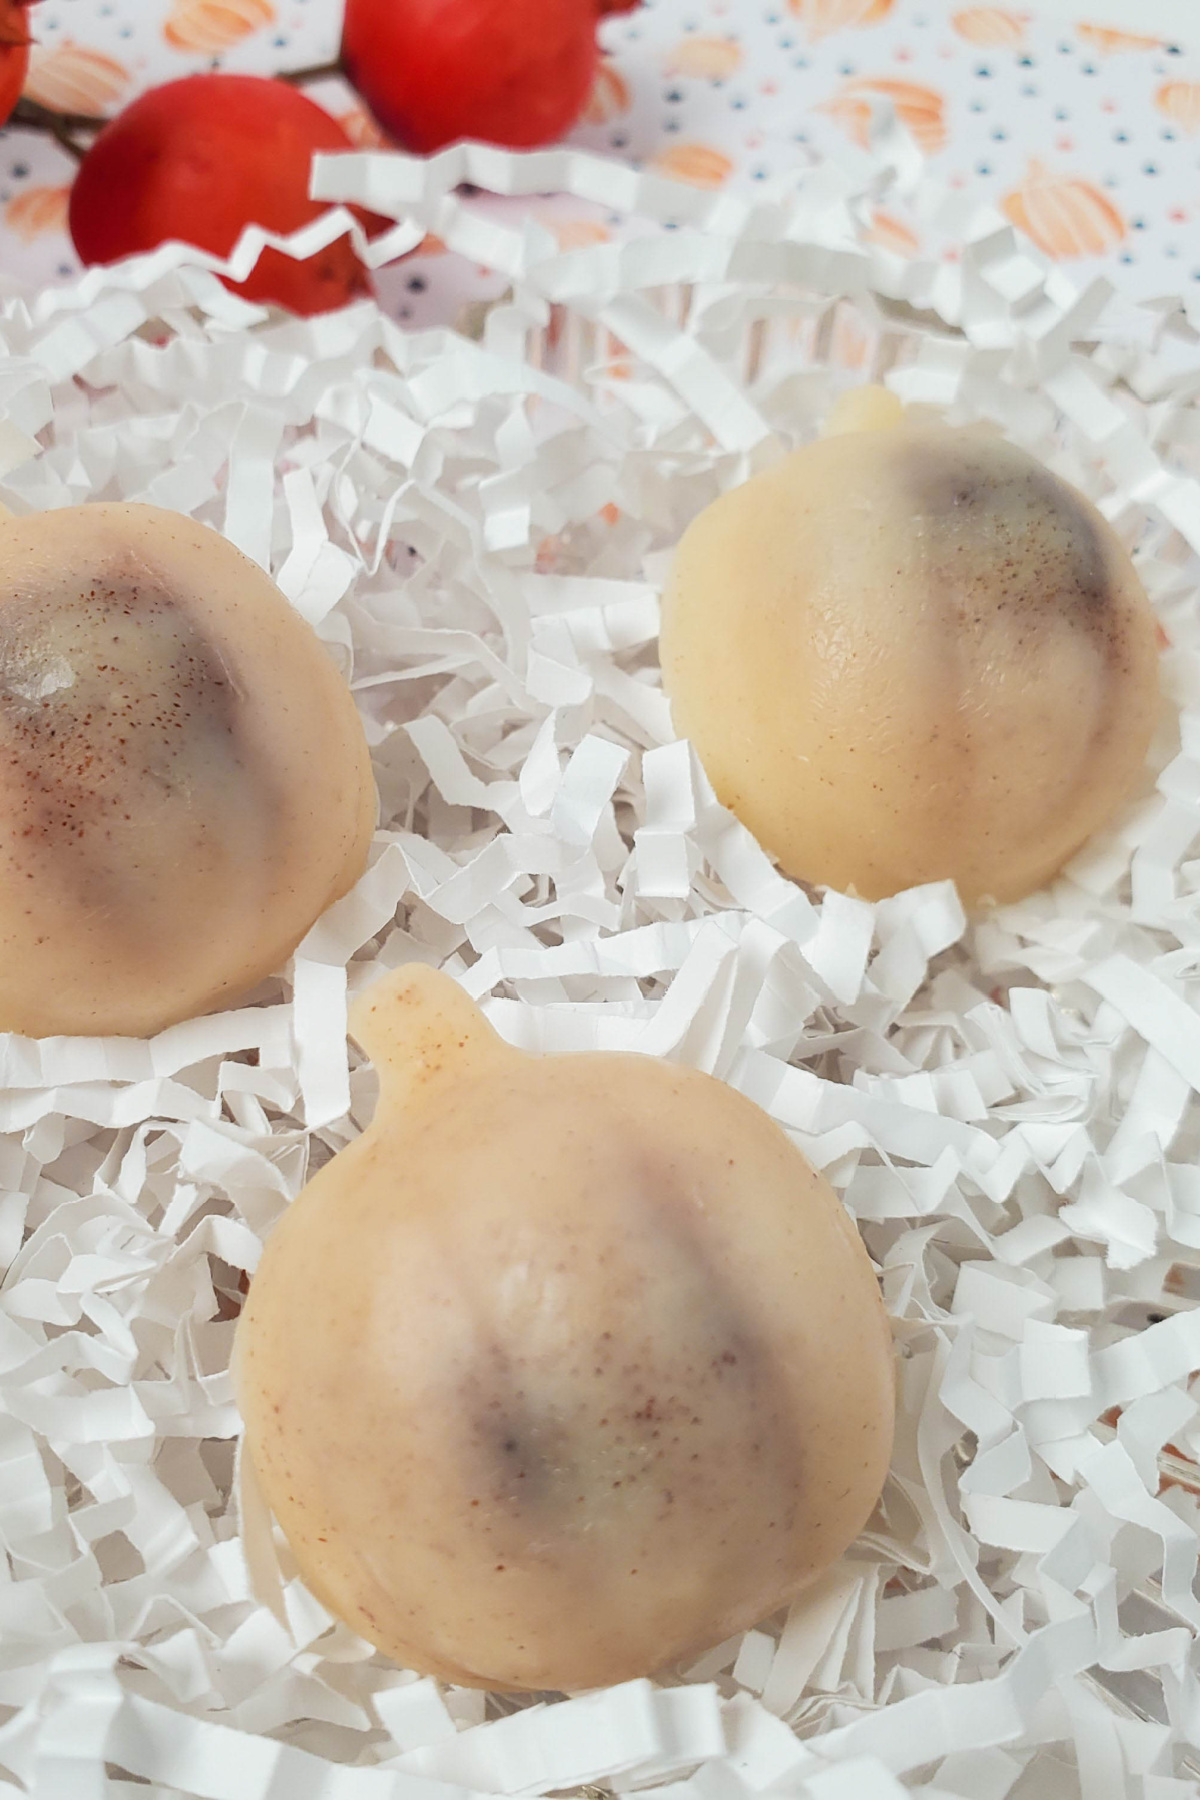
Customization: Don’t hesitate to get creative with this recipe. You can add other skin-loving ingredients like vitamin E oil, essential oils for other scents, or even natural colorants for a personalized touch.
Allergies: If you or your gift recipients have allergies or sensitive skin, be sure to select ingredients and fragrance oils that are suitable for sensitive skin types. It’s always a good idea to perform a patch test before applying any new skincare product.
Remember, DIY projects like these can be both fun and rewarding. Enjoy the process and the delightful Pumpkin Spice Lotion Bars you’ll create.
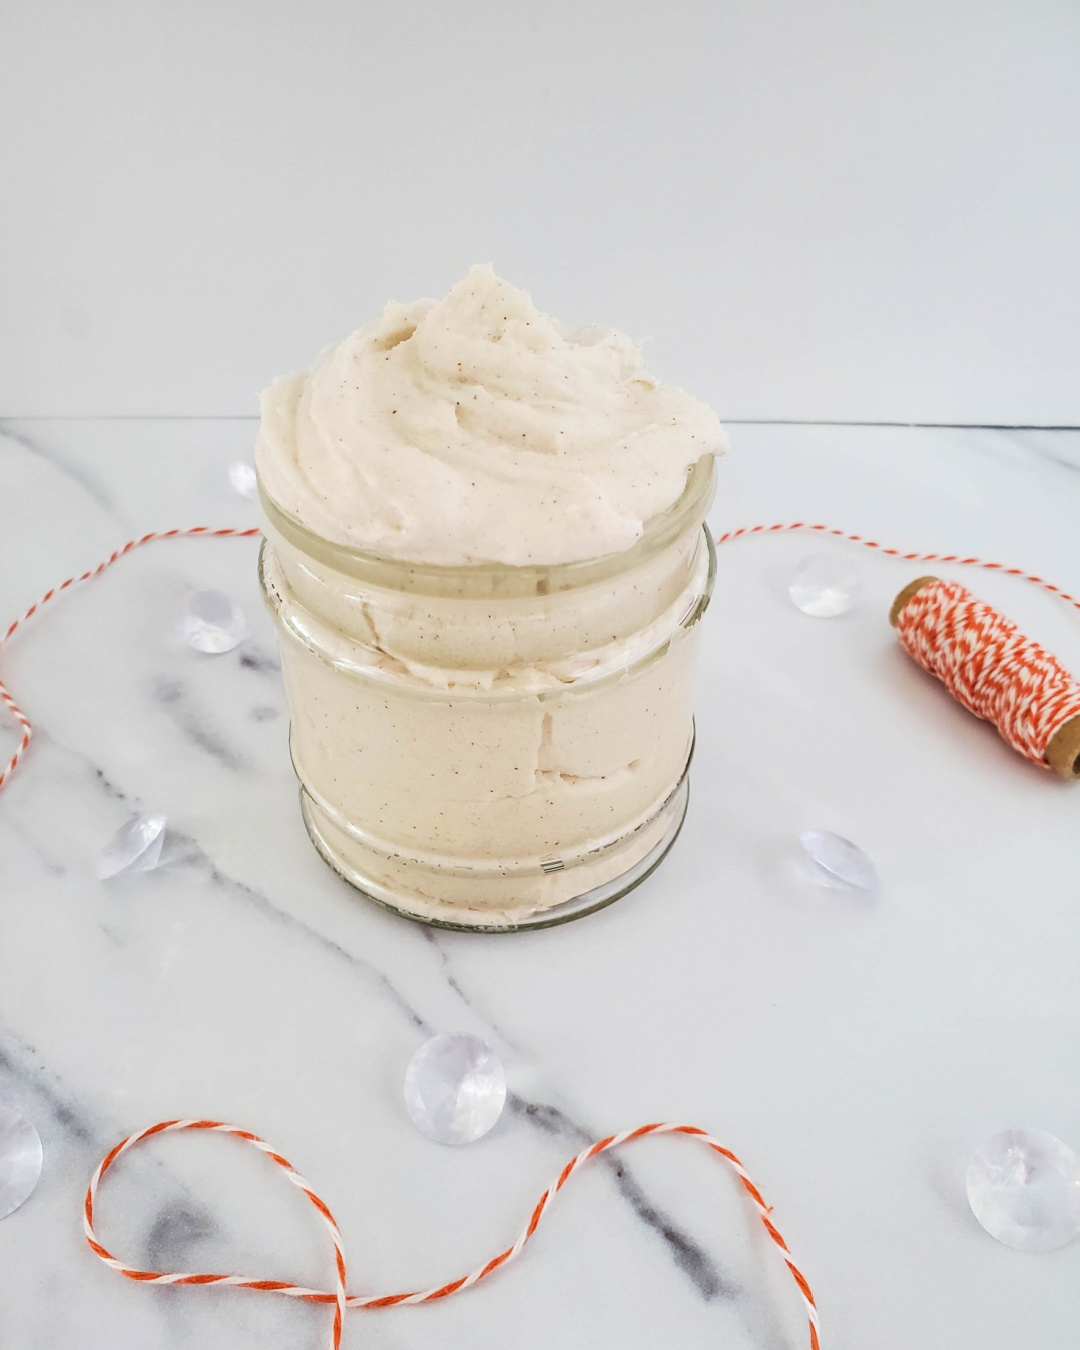
More Pumpkin Spice Goodness
- DIY Pumpkin Spice Whipped Sugar Scrub – A great DIY skincare recipe that’s perfect for fall.
- Pumpkin Spice Irish Coffee– The best of a boozy coffee and the beloved PSL.
- Pumpkin Pie Martini– The perfect flavor of Thanksgiving in a convenient cocktail.
Conclusion
Fall is the perfect season for indulging in self-care and embracing all things cozy. These DIY Pumpkin Spice Lotion Bars not only nourish your skin but also wrap you in the comforting scent of autumn. Treat yourself or surprise someone special with these delightful bars that capture the essence of the season.
Leave a Reply