If you’re looking for a delightful and imaginative DIY project, we’ve got just the treat for you – cotton candy soap! Imagine indulging your senses in the sweet aroma of grapefruit and ylang-ylang, while bathing in a luscious blend of pink and blue hues.
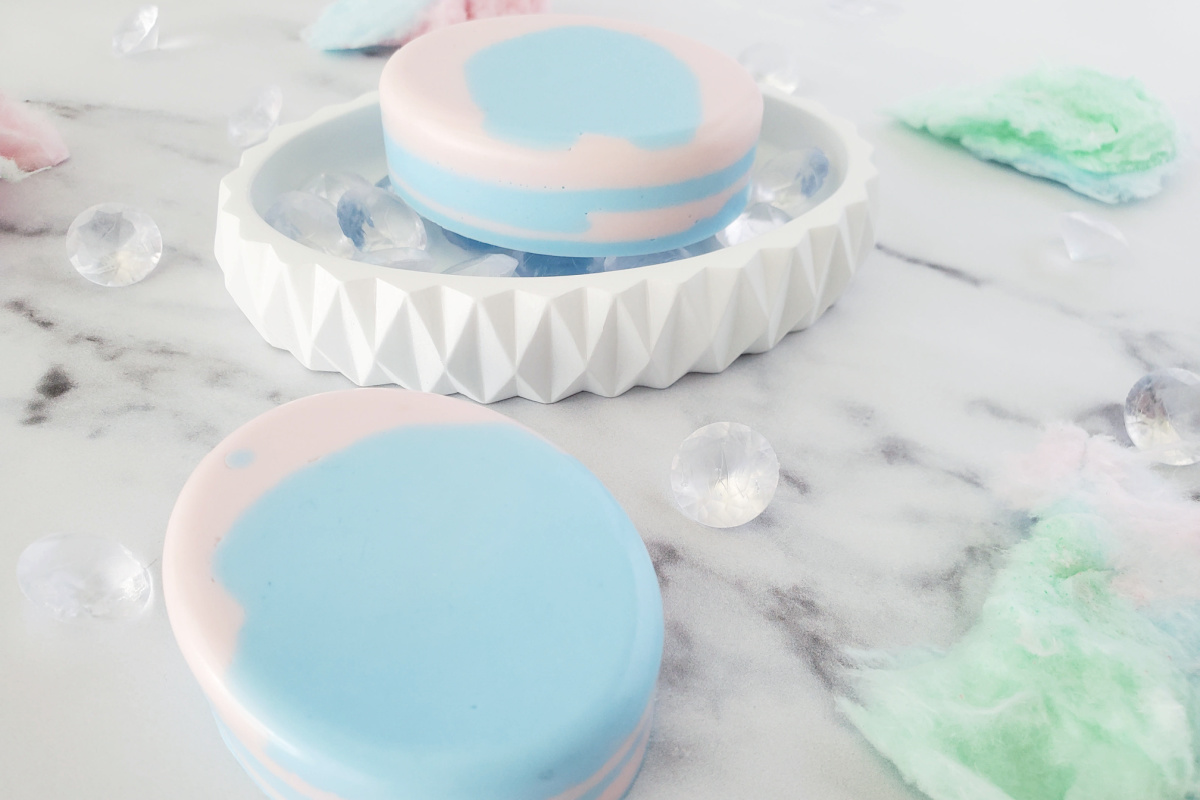
In this step-by-step guide, we’ll show you how to make your very own cotton candy soap. So, let’s dive in and embark on this fun-filled and creative soap-making journey!
While this is cotton candy themed, the scent is all grown up. A slightly fruity floral fragrance really kicks up the playfulness of this DIY handmade soap quite a few notches.
How to Make Cotton Candy Soap
What You’ll Need:
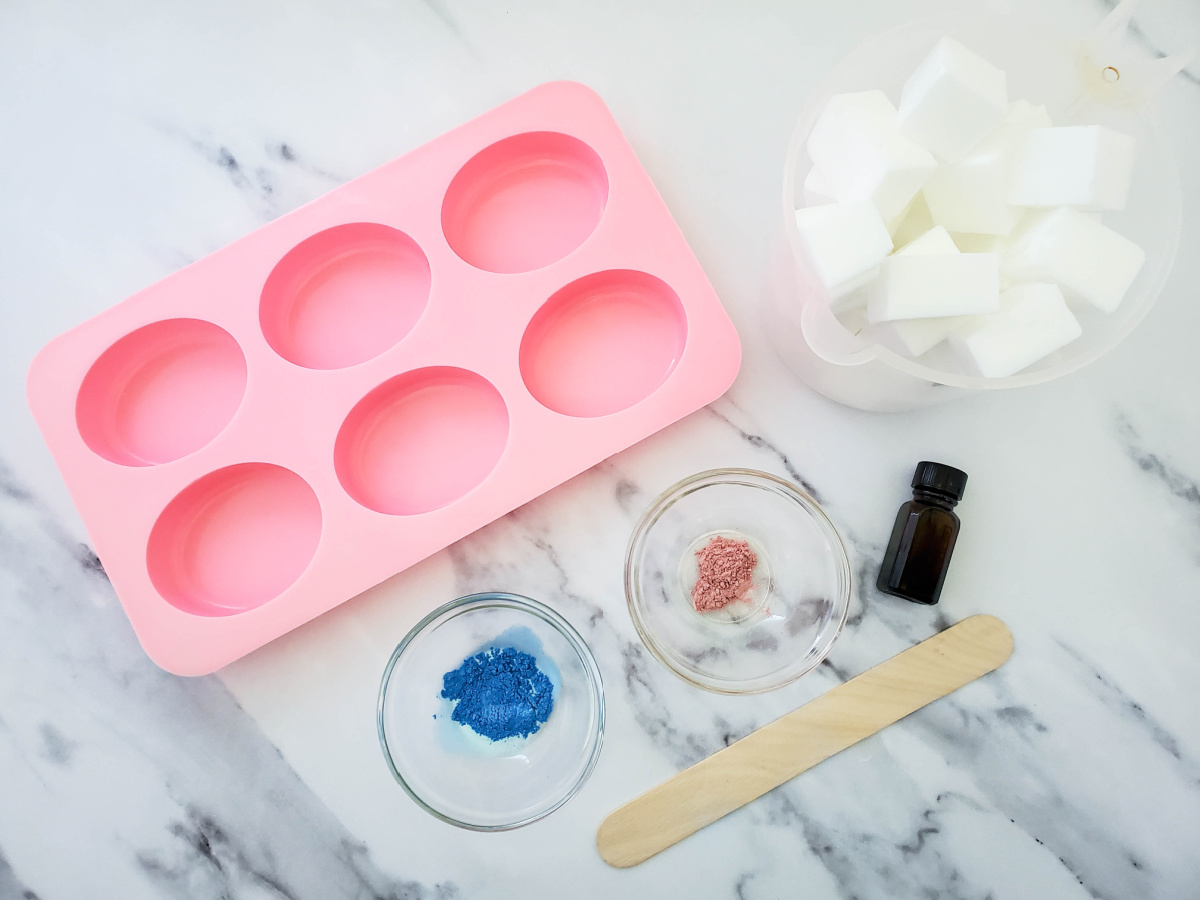
Before we begin, gather the following ingredients and materials:
- 1 pound melt and pour soap base
- 15 drops grapefruit essential oil
- 15 drops ylang-ylang essential oil
- 5 drops vanilla essential oil
- 1⁄4 tsp pink mica powder
- 1⁄4 tsp bright blue mica powder
- Oval soap mold
- 2 – 4 cup microwave-safe measuring cups
- 2 wooden craft sticks for stirring
- Spray bottle with rubbing alcohol (optional)
Directions
Step 1: Preparing the Soap Base
First things first – chop the soap base into small 1-inch squares and place them into one of the microwave-safe measuring cups. Now, pop it into the microwave and heat it on high for 30 seconds. Take it out, give it a good stir, and repeat the process in 10-second intervals until the soap base has completely melted.
Step 2: Scenting Your Creation
Once the soap base is velvety smooth, let it cool for a couple of minutes before adding the aromatic goodness. Get ready for a sensory delight! Add 15 drops each of grapefruit essential oil and ylang-ylang essential oil, along with 5 drops of vanilla essential oil. Stir thoroughly, allowing the scents to blend harmoniously.
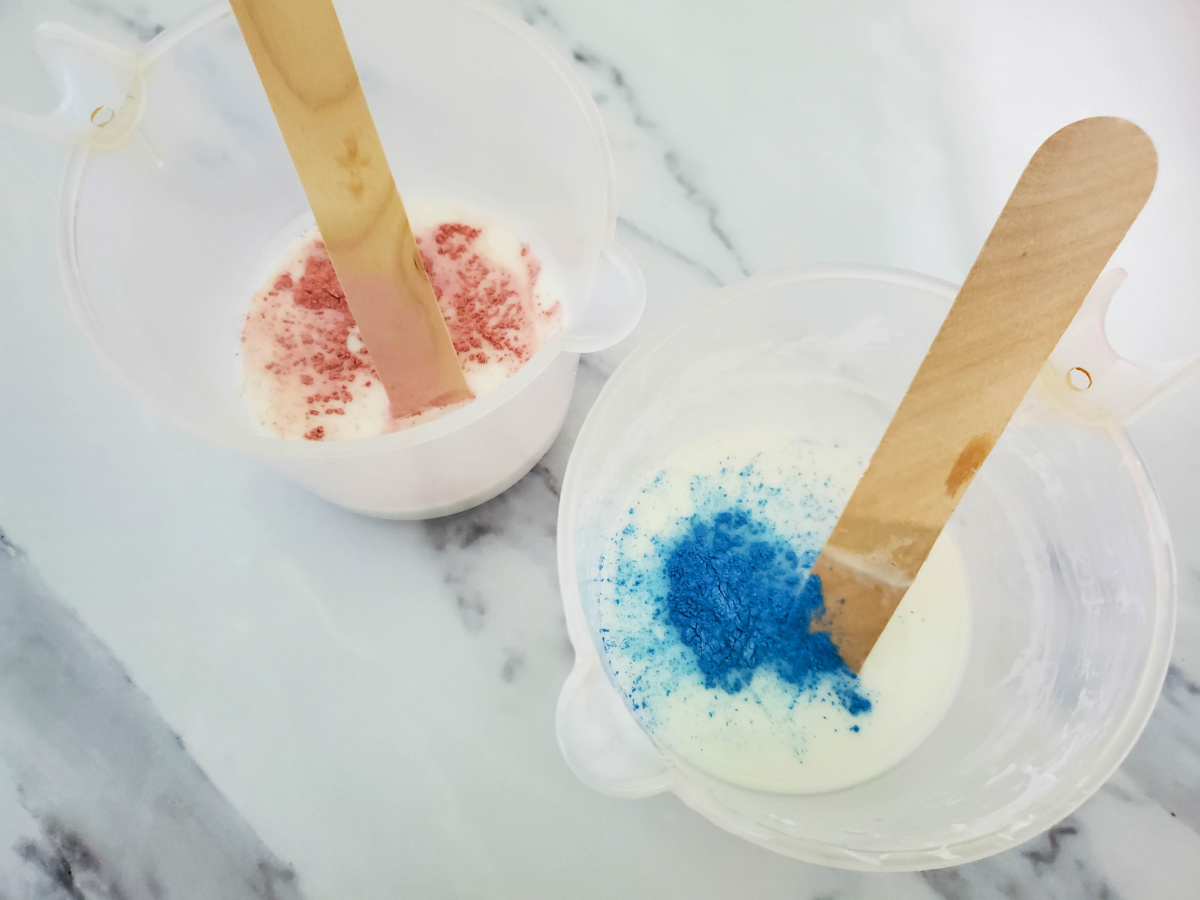
Step 3: Infusing Colors
Now comes the fun part – adding the vibrant hues to your cotton candy soap! Split the scented soap base evenly between two measuring cups. To one cup, add the bright blue mica powder and mix it in thoroughly. In the other cup, add the pink mica powder and stir until you achieve a rich, rosy shade.
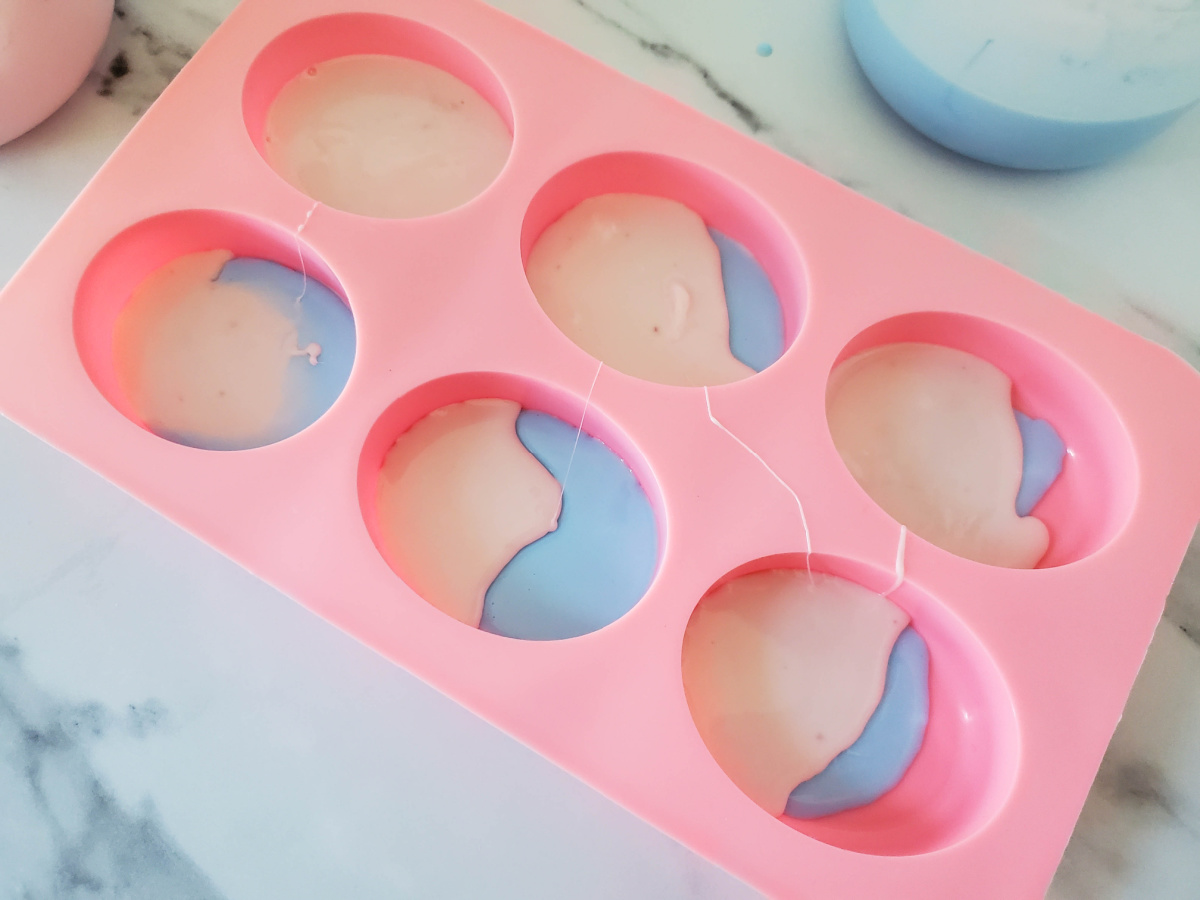
Step 4: Layering the Magic
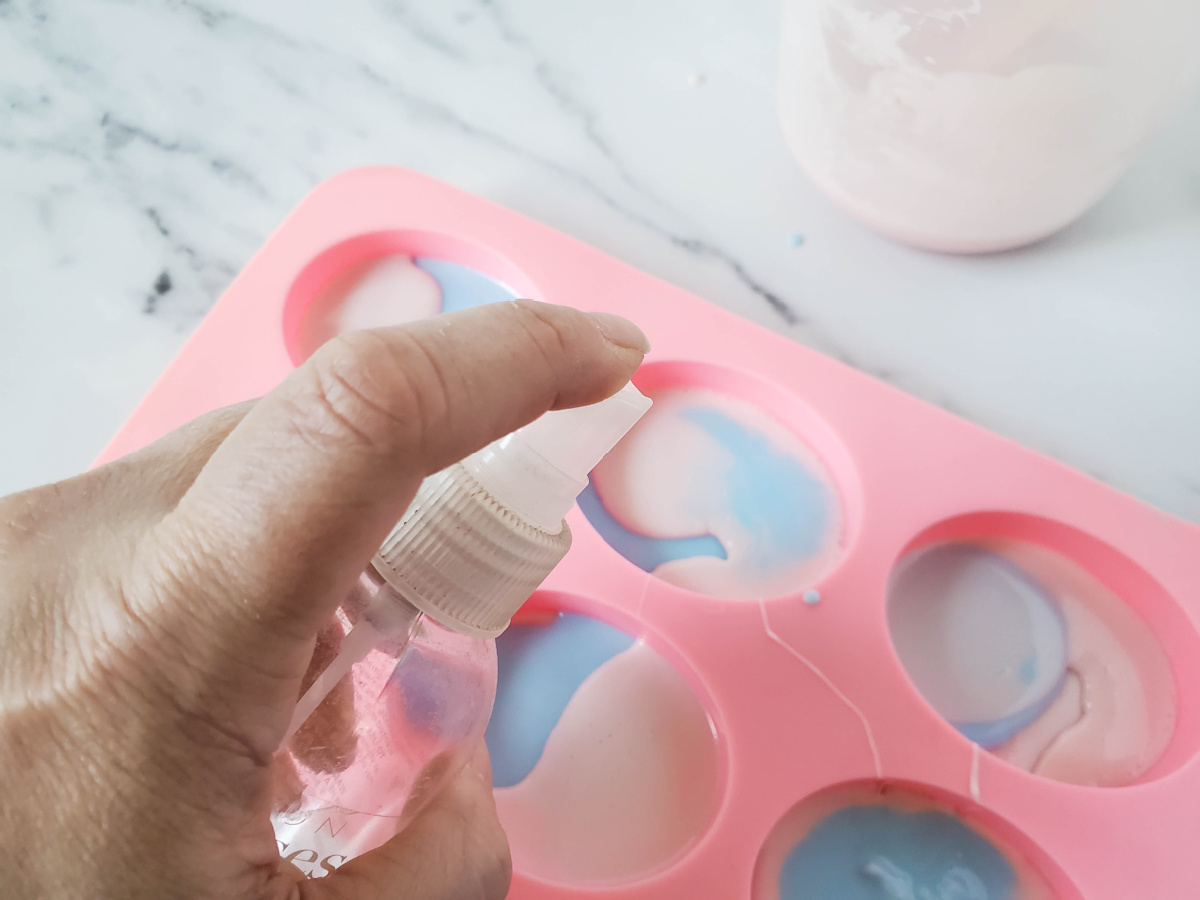
It’s time to create the magical layers that will make your soap truly cotton candy-like. Begin by pouring a small amount of one color into the soap mold, just enough to cover the bottom partially. Allow it to set for about a minute, then pour some of the other color on top. Alternate between pink and blue, building up the layers until each mold cavity is filled with whimsical colors. To ensure seamless layers, use a spray bottle filled with rubbing alcohol to reduce bubbles and help the layers adhere.
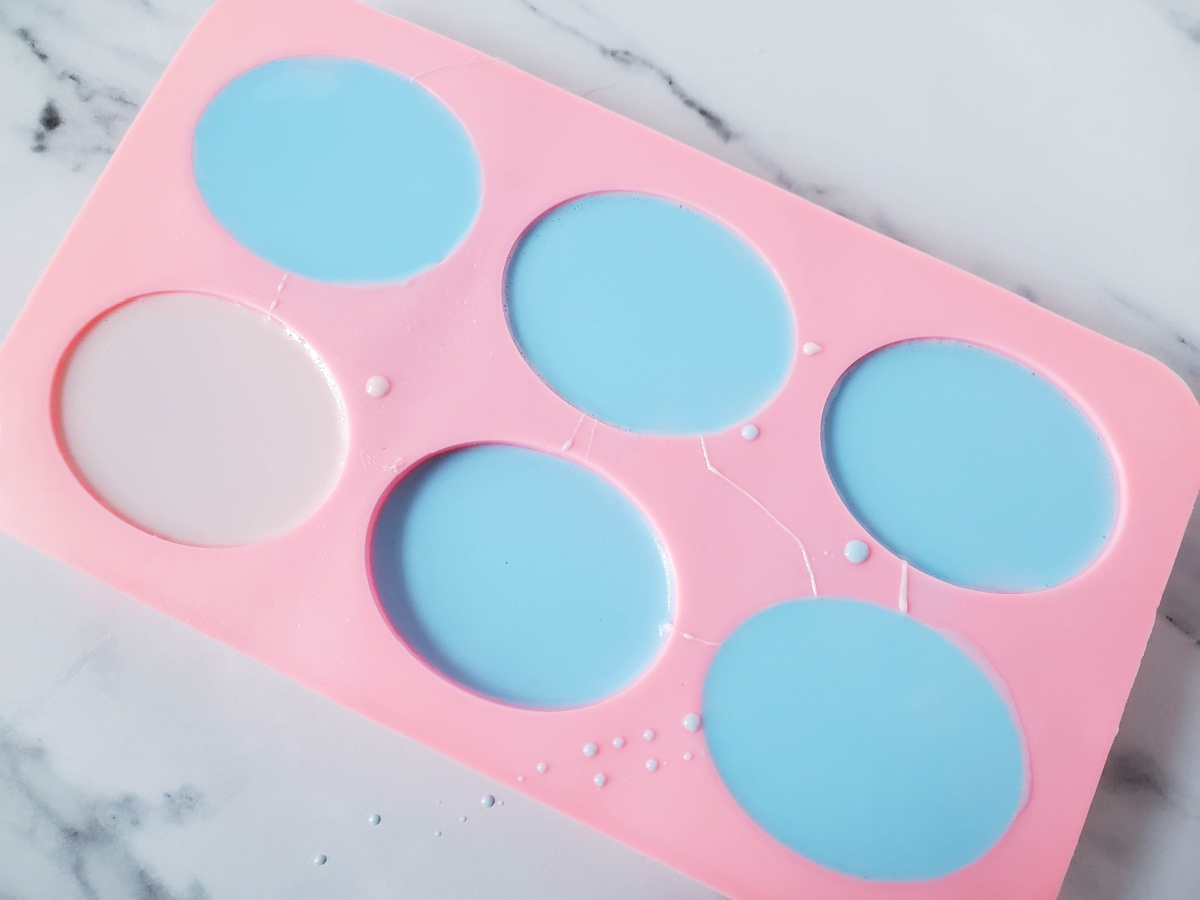
Step 5: Patience and Waiting
Although it might be tempting to admire your beautiful creation immediately, exercise patience and allow the soap to set undisturbed for 2-3 hours. This waiting time will be worth it when you see the final result!
Step 6: The Reveal
The moment has arrived – it’s time to unveil your cotton candy soap! Gently and carefully unmold the soap to reveal the gorgeous pink and blue layers, reminiscent of your favorite carnival treat.
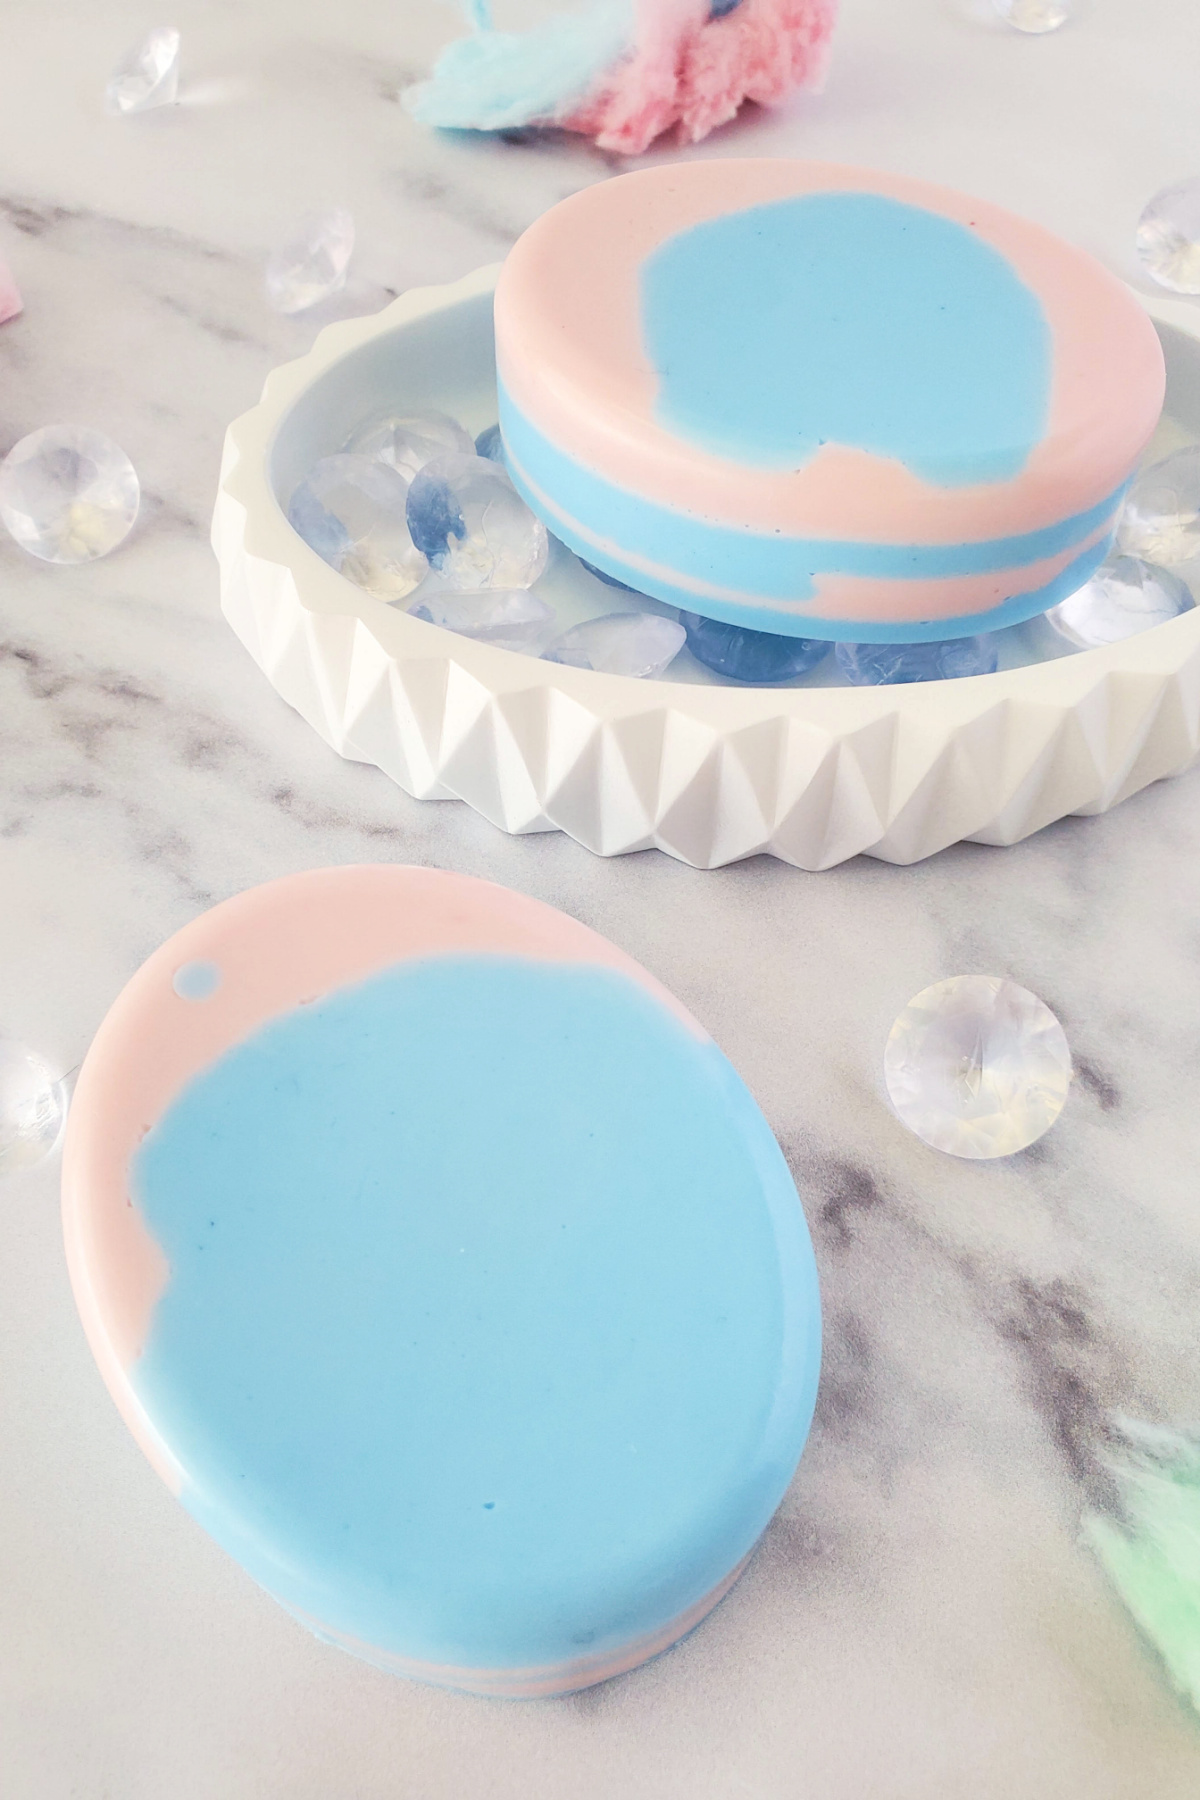
Let these soap bars dry and cure for at least a few days before using them. This will create a harder bar of soap that lasts longer, yet still has all the yummy skin benefits of handmade soap.
Conclusion:
Congratulations, soap artists! You’ve successfully whipped up your very own cotton candy soap, a vibrant and fragrant addition to your self-care routine or an enchanting gift for loved ones.
Embrace your creativity and experiment with different scents and colors to customize your soap even further! Now go ahead, treat yourself to a sweet and soothing bathing experience, all thanks to your DIY skills. Happy soap-making!
Leave a Reply