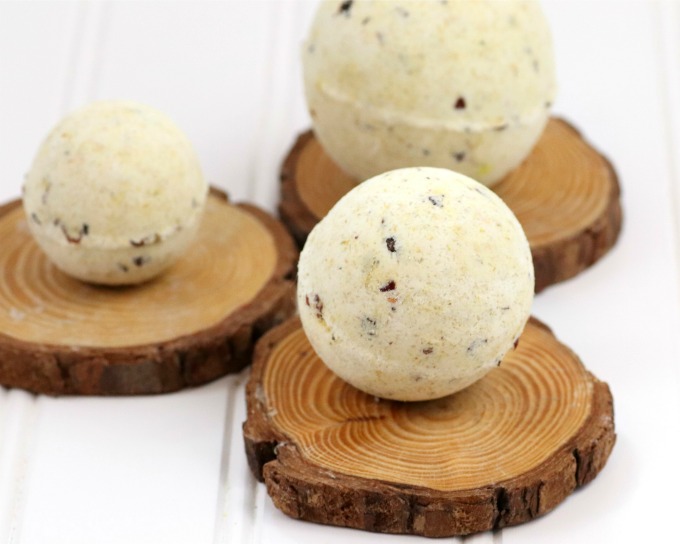
Taking a relaxing bath is such a simple luxury. What’s better than a relaxing hibiscus chamomile bath bomb? It’s great for your skin, and has fantastic aromatherapy benefits.

These Hibiscus Chamomile moisturizing bath bombs are so fun and easy to make, too.
Making a big batch of bath bombs for yourself is great. But, they also make a really fantastic gift. It takes a little time, but you could bang out a ton of these in a weekend. They’re also a great craft show seller, as these are affordable to make.
These bath bombs are so nurturing for your skin. Just that little bit of cocoa butter and coconut oil really make a difference. Hibiscus is loaded with alpha hydroxy acids and helps rejuvenate your skin. It helps to exfoliate your dead skin cells. Chamomile is relaxing, but also helps to reduce skin irritants and is calming.
Hibiscus Chamomile Bath Bombs
Links may be commissioned. We’ll make a small percentage if you buy through them, at no additional cost to you.
Supplies
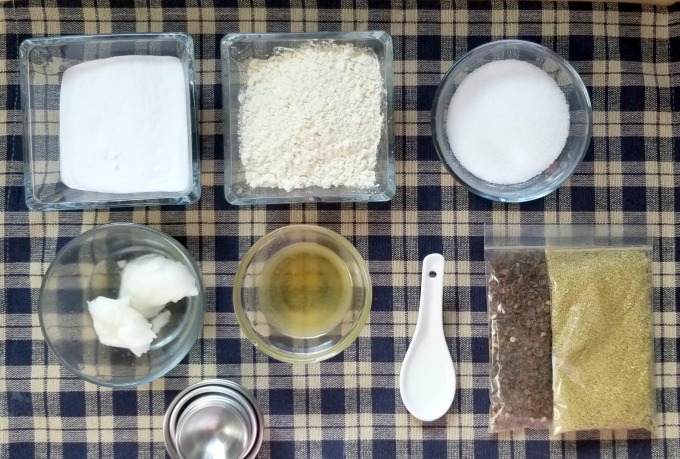
- 2 cups baking soda
- 1 cup citric acid
- 1/4 cup Epsom salts
- 1/3 cup coconut oil
- 1 tablespoon cocoa butter, melted
- 2 tablespoons dried Hibiscus
- 2 tablespoons dried German Chamomile
- 1 teaspoon of hibiscus essential oil
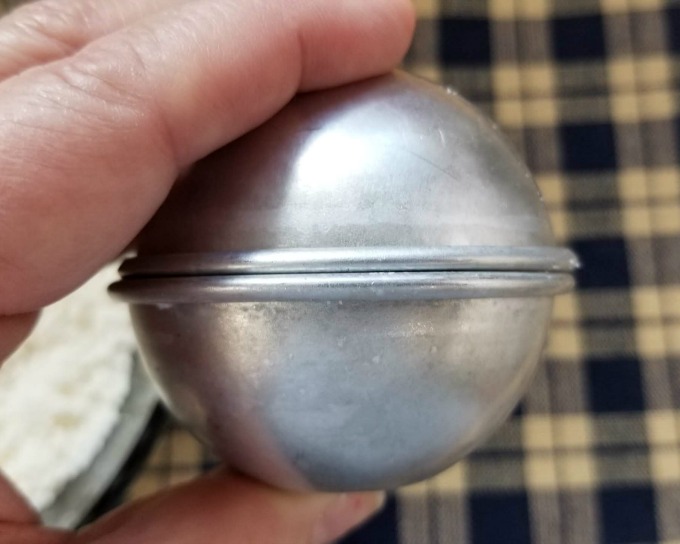
- Stainless steel bath bomb molds
- Spray bottle filled with rubbing alcohol
- 1 large mixing bowl
Directions
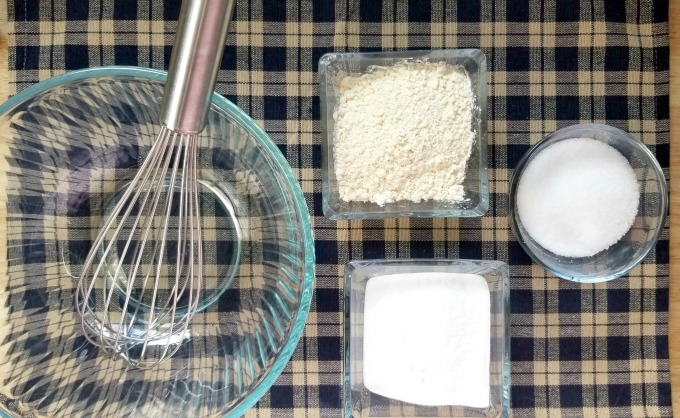
1: In a large mixing bowl, add the baking soda, citric acid, and Epsom salts. Whisk dry ingredients together.
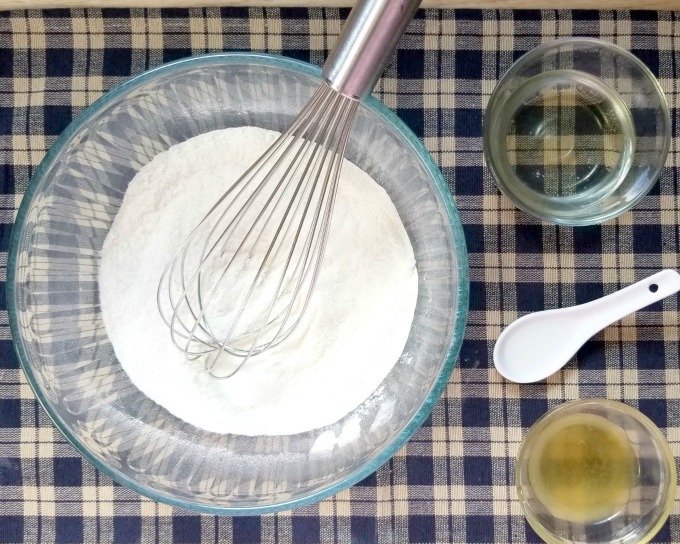
2: Add the coconut oil. This is not only moisturizing for your skin, but binds all the ingredients together. Now your bath bombs won’t crumble when you touch them!
3: Add hibiscus essential oil and cocoa butter. Mix ingredients thoroughly. You may need to use your hands to break down any lumps and make sure everything is mixed in. The mixture is perfect when it holds together when you squeeze it in your hands and it feels like wet sand.
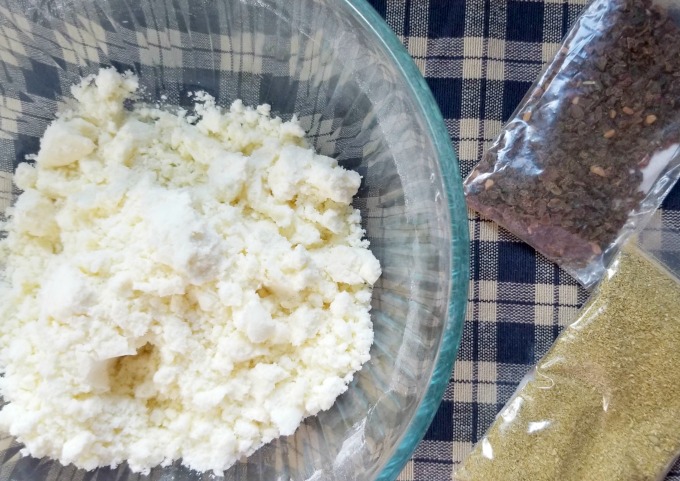
4: Mix in the dried hibiscus and German chamomile flowers. Don’t be concerned if they flowers break up a little. They’ll still look pretty and be beneficial.
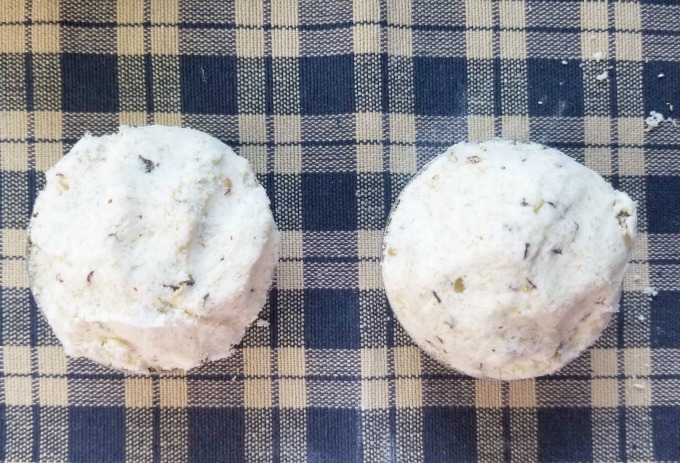
5: Fill both sides of the bath bomb mold with the mixture. Press the two halves together and grind to remove excess mixture. Gently tap each side of the mold to release the hibiscus and chamomile bath bombs.
6: Allow to dry a minimum of 24 hours. If your climate is damp or cold, allow an additional 24 hours. A good rule of thumb is that when your bath bombs are hard to the touch, they’re ready for the tub! Store your new handmade bath bombs in an airtight container until they’re ready for use.
You can store these Hibiscus and Chamomile Moisturizing bath bombs in a plastic container, but they look really fantastic in a glass jar. You can use a large wire bale jar, a decorative canister, or even a large mason jar. If you’re going to sell them, try shrinkwrapping the bath bombs individually. Just make sure they’re dry completely first.
[mv_create title=”Hibiscus Chamomile Bath Bombs” key=”59″ type=”diy”]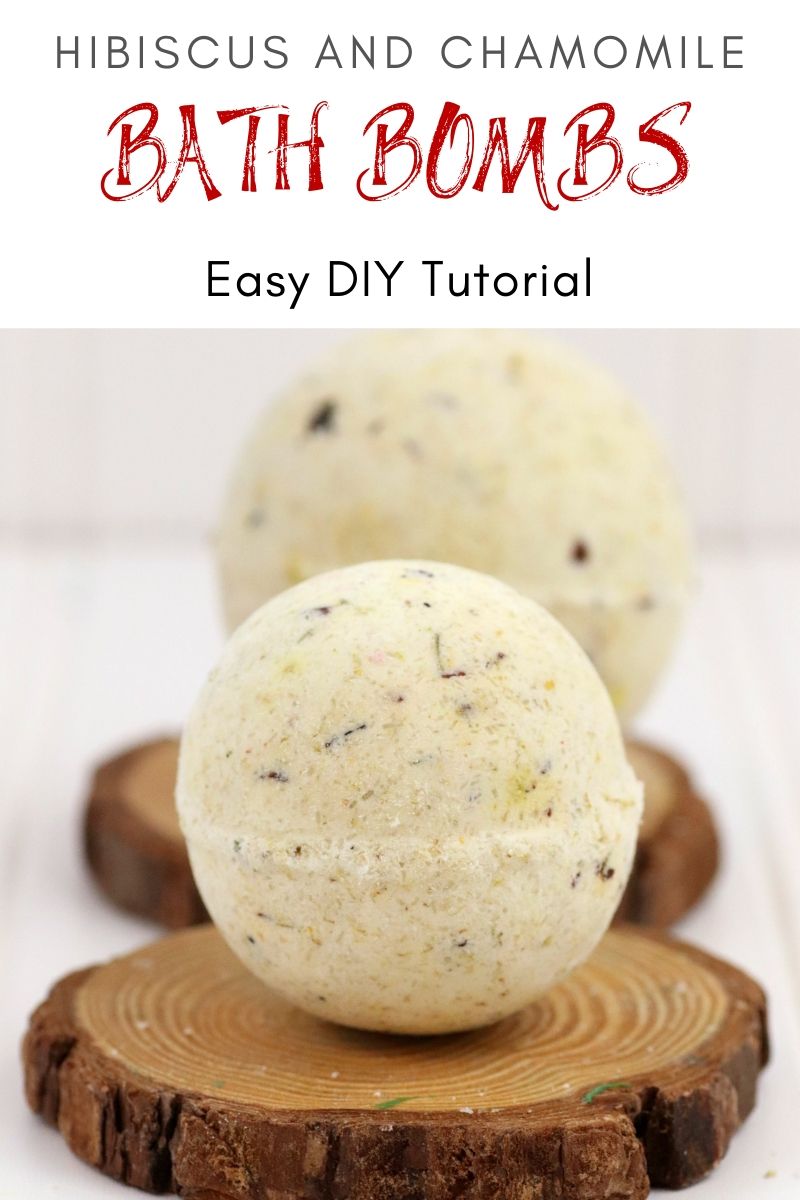
These sound so nice and so relaxing. I can’t wait to give these a try. Thank you so much for sharing this
I love this I’m going to keep it I want to make soap and I bet this smells great
I bet the scent of these is amazing. What a great post!
I’ve never tried making these before. Looks neat! And the smell must be amazing.
Omg, these would be perfect for my bath! Thanks for sharing! 🙂
I’d love to make this!
This looks like such a fun craft. I would love to try. Thanks for sharing.
These would make great gifts. I like giving home made gifts.