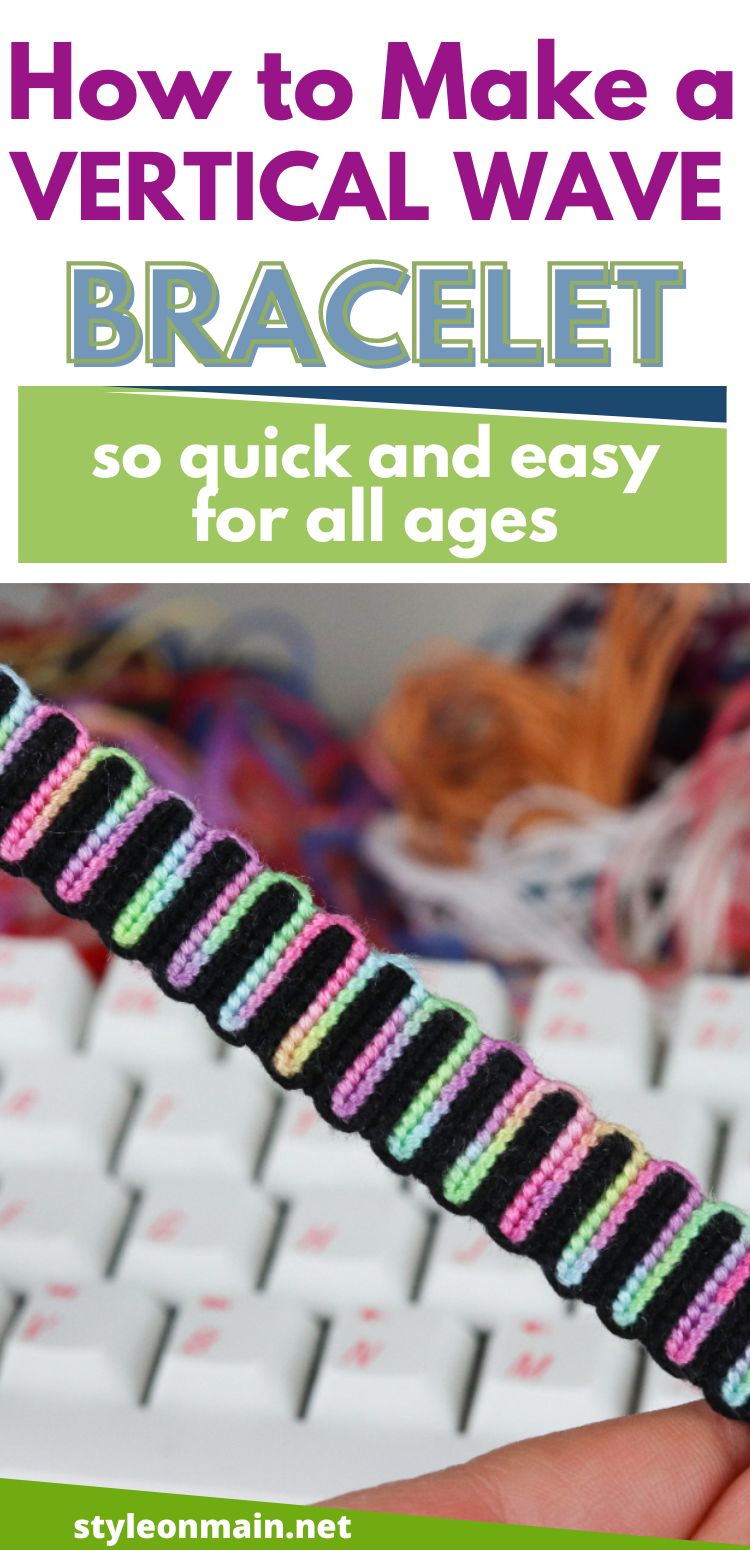
Friendship bracelets of all kinds have been making a comeback in the past couple of years. We’re going to show you how to make a Vertical Wave friendship bracelet.
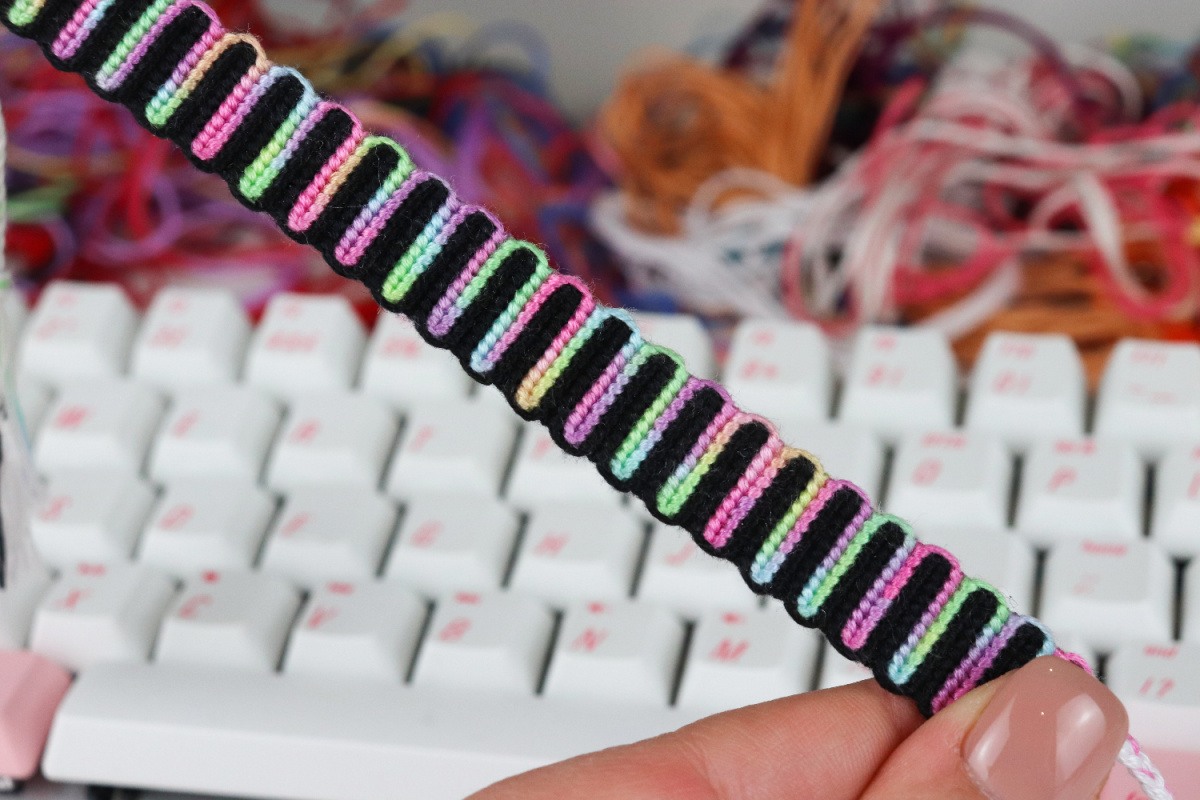
This Vertical Wave friendship bracelet looks difficult, but it’s really so easy. If you can make a regular friendship bracelet, you can make this.
Links may be commissioned.
Whether you’re making a traditional friendship bracelet, a fishtail braided friendship bracelet, or a Swiftie friendship bracelet, arm parties are here to stay – for all ages. While this is a great project for older kids (9 or 10 and up), they may still need some help from an adult. Once you get the hang of the pattern, it’s an easy bracelet that works up fairly quickly. The knots that make this pattern are just a back and forth, and the string looping around the edge creates the seemingly complicated wave look.
The vertical wave bracelet pattern is what is called an alpha pattern. Alpha patterns have a knotting structure that’s horizontal. Tutorial by Masha Knots.
How to Make a Vertical Wave Friendship Bracelet
Supplies
- Embroidery floss in your choice of colors.
- Scissors
- A clipboard
- Tape
Directions
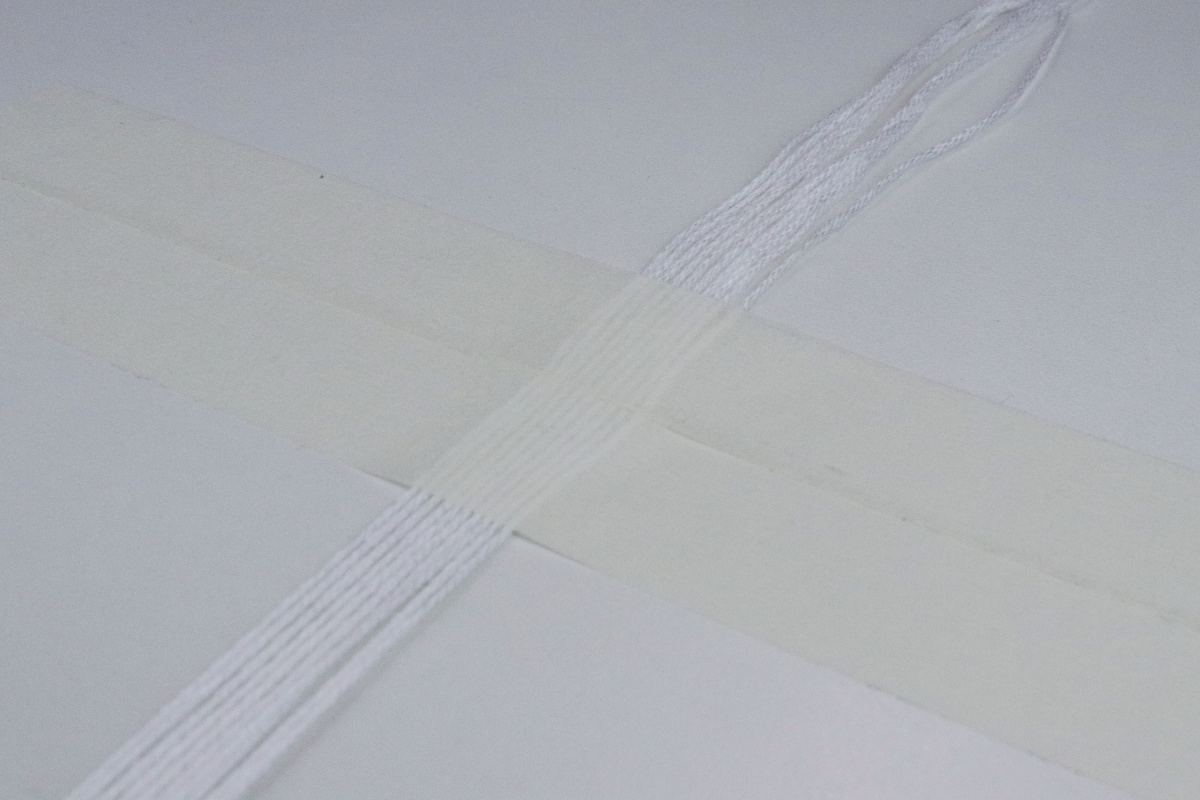
- Start by determining the width of your vertical wave friendship bracelet by choosing several base strings. The more base strings you have, the wider your bracelet will be. The wider your bracelet is, the longer it will take to complete. For this tutorial, we’ll make this bracelet 10 strings wide. For simplicity, cut your base strings to be 1 yard in length. These base strings do not need to be the same color as the strings within your bracelet as these will be visible only in the ties of your bracelet. Secure the strings to your workspace leaving enough extra string (6 inches or so) at the top to create your ties once you finish your bracelet.
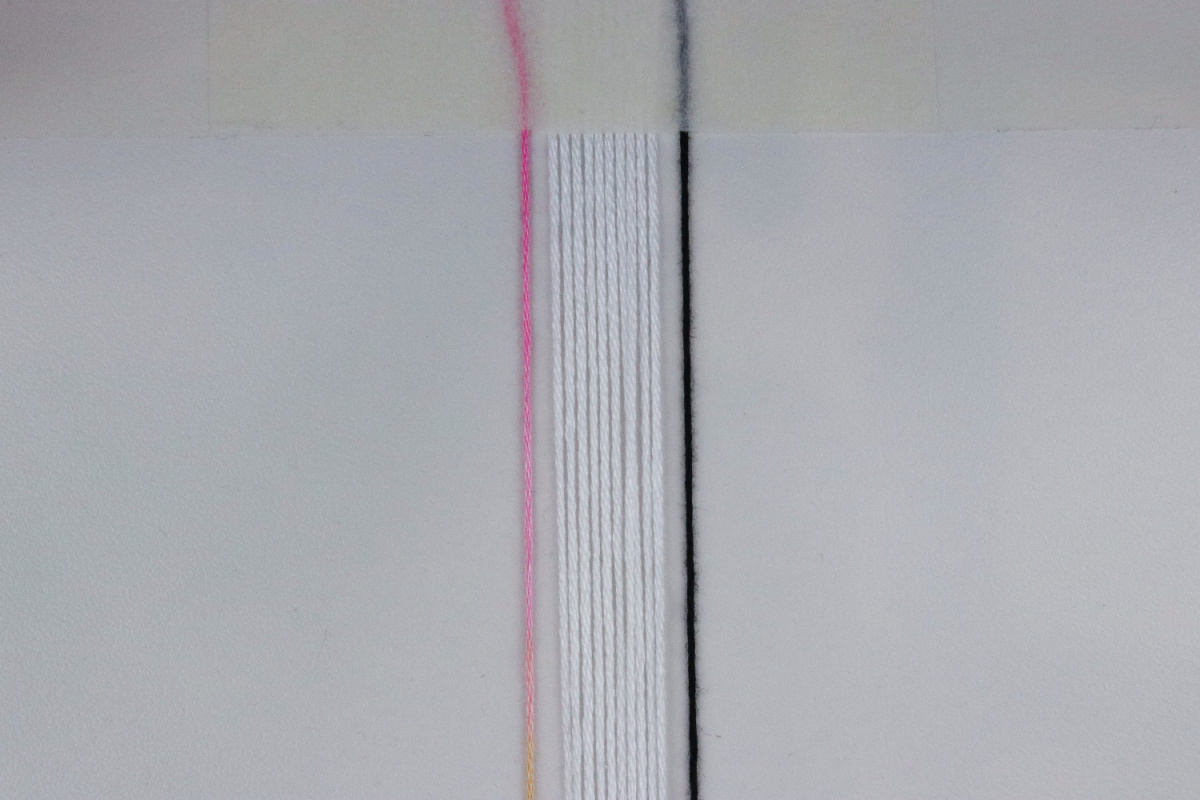
- Choose the two colors you want to alternate within your bracelet. We’re using a pastel variegated and black here. Cut one each of these colored strings to be about 5 feet in length. You will likely have to replace your strings during the knotting process. Place these strings on your workspace; one to the left of your base strings and the other to the right of your base strings. These will be your leading strings.
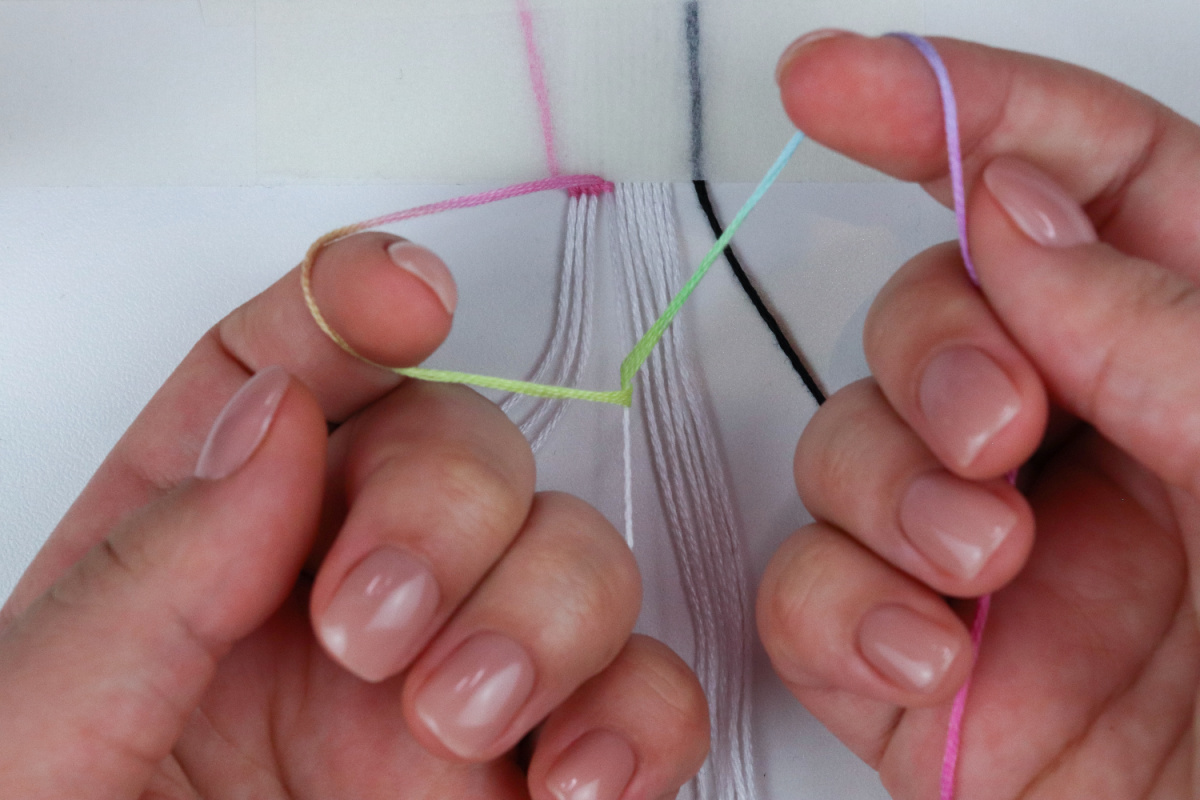
- Grab the left leading string and make a row of forward knots, working left to right, along each of the base strings.
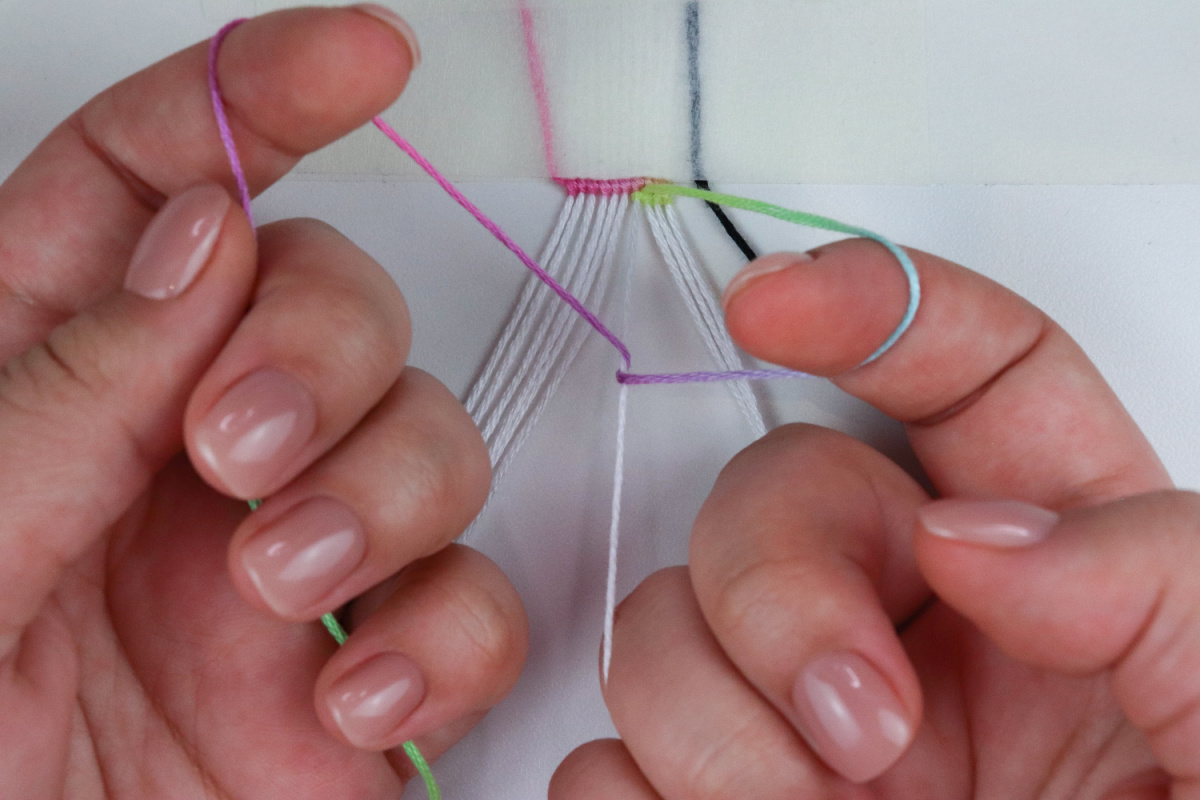
- Once you reach the end, bring that leading string back by making a row of backward knots, working right to left, onto those same base strings. This will form two rows of the same color.
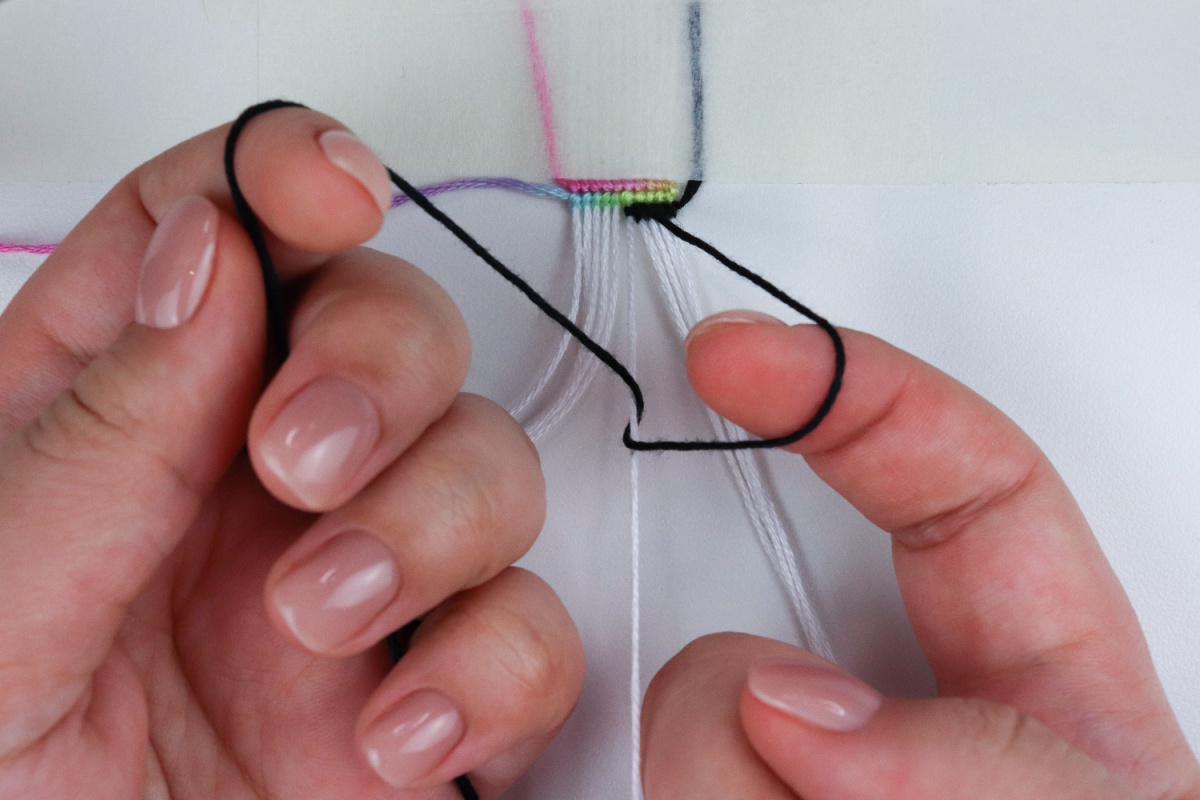
5. Next, grab your right leading string (the black color) and make a row of backward knots, working right to left, along each of the base strings. Once you reach the end, bring that leading string back by making a row of forward knots, working left to right, onto those same base strings.
Repeat this pattern with each color until your bracelet reaches the length you’d like. Voila! Your Vertical Wave Friendship Bracelet is complete.
Replacing a String
If at any point you run out of your leading string, cut a new string about 5 feet in length of that same color and secure it to your workspace behind your bracelet. Place the old string over it, pointing in the direction of your row. If you’re making forward knots, place it pointing to the right. If you’re making backward knots, place it pointing to the left.
Next, make half of a row with your current leading string, bringing it to the middle of your bracelet. To switch the strings, make half of a knot with your new string. Use the new string to make to make the second half of your knot, ignoring the old string. Tuck your old string into the back of your bracelet so it is out of the way.
Once you make a few more rows, you can cut the old string off from the back of your bracelet as close as you can. It will not come undone. Continue repeating these steps until the bracelet reaches the length you want. Once you’re done, you can create ties for your bracelet. A simple braid works well and looks finished.
This project was excerpted from The Beginner’s Guide to Friendship Bracelets by Masha Knots. We edited some directions for clarity. The book is full of great projects for all kinds of friendship bracelets, including ones that I’ve never seen before. However, while the book is geared toward beginners, there are some really advanced and complicated projects in the book.
Leave a Reply