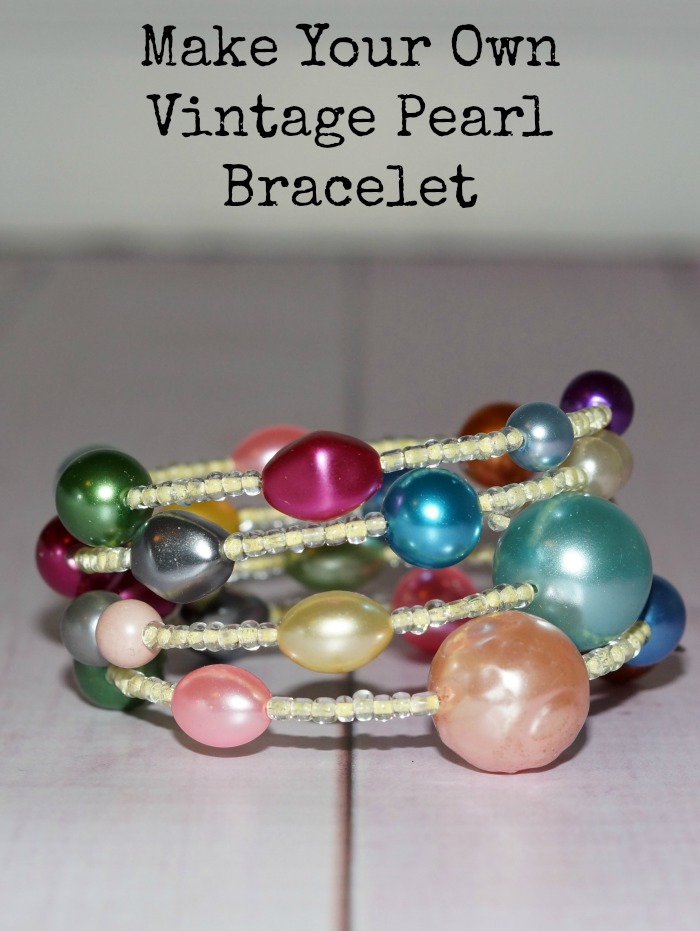
Memory wire wrap bracelets were all the rage a few years ago. Personally, I think they’re still pretty great – and plain old pretty! They can be made in just about any theme or colors, and with almost any materials. Even better – they’re totally adjustable and can fit basically any size wrist. No more worrying if someone needs a tiny bracelet or a super long one. The memory wire wrap bracelets fit everyone.
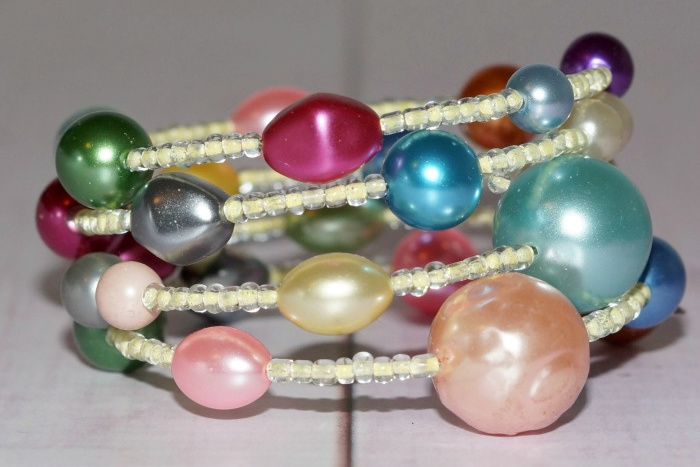
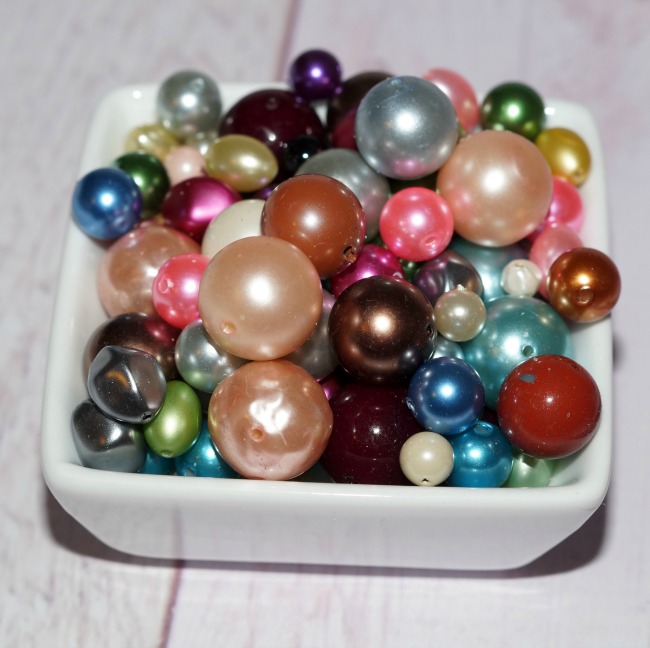
I’ve chosen to make this memory wire bracelet with vintage pearl beads that date from the 1940s-1970s. I kind of love that time period, and they still look amazing. A little secret – making this bracelet is so easy, I make them while watching tv, because I don’t have to pay attention.
Links may be commissioned.
How to Make a Vintage Pearl Wrap Bracelet
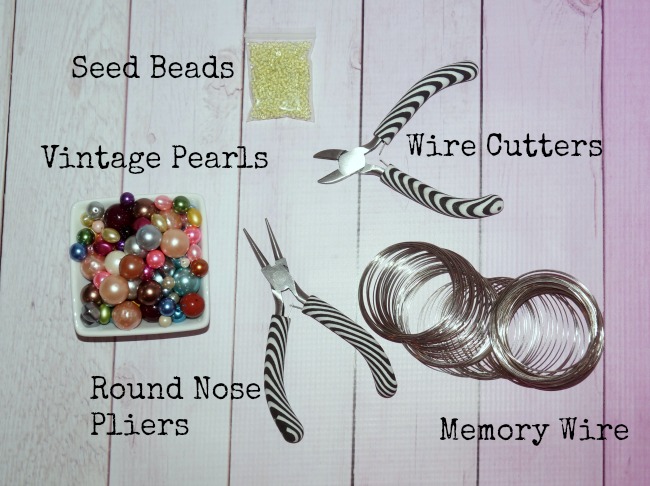
Supplies Needed
Size 10 or 11 Seed Beads. I’m using a size 10. The bigger the number, the smaller the bead.
Bracelet sized Memory wire – about 4 loops or so.
Wire cutters. You generally don’t want to use your good pliers to cut memory wire. Memory wire is very hard and will damage your good pliers. You can also invest in memory wire cutters, if you plan on making a lot of bracelets.
Roundnose pliers
Directions
Cut the desired amount of memory wire off the coil. I like to make my bracelets about 4 loops worth.
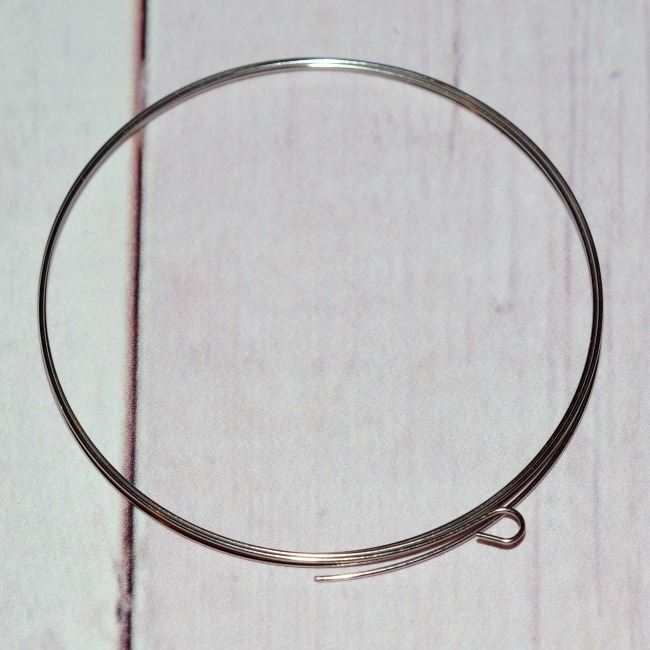
Using the roundnose pliers, make a loop on one end. Make the loop facing out, if possible.
Start threading your beads onto the memory wire. Start with one vintage pearl bead, and then a series of seed beads. Sometimes I use 5 or 10 beads. On this particular bracelet, I used groups of 8 seed beads.
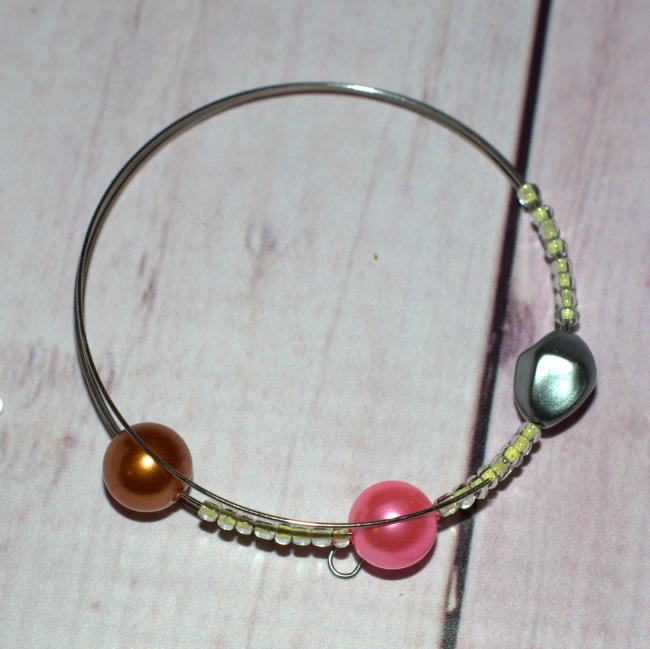
Repeat the pattern of one vintage pearl bead and 8 or so seed beads for the length of the bracelet. I like to use a mix of beads, and grab one at random. It adds to the look of the bracelet.
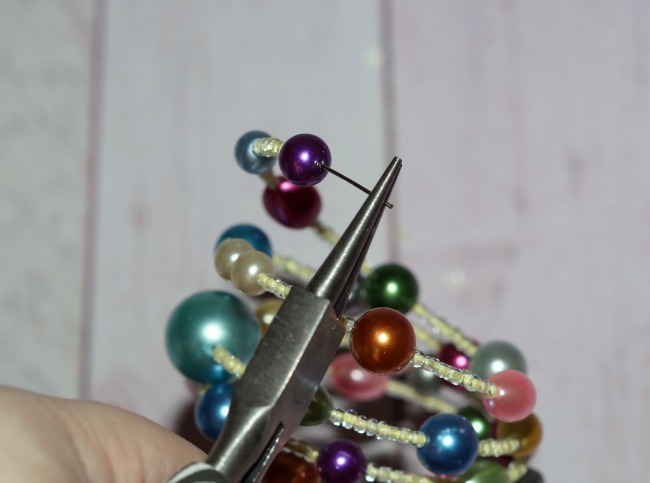
Once you get to the end of your wire, leave between ½ and ¾ inch of space. Make a loop to finish off the bracelet – the same way you started. Don’t worry about the end loop being super snug to your last beads. The space will give the beads a little bit of “play room” for the wearer of the vintage pearl wrap bracelet and allow the bracelet to wrap nicely.
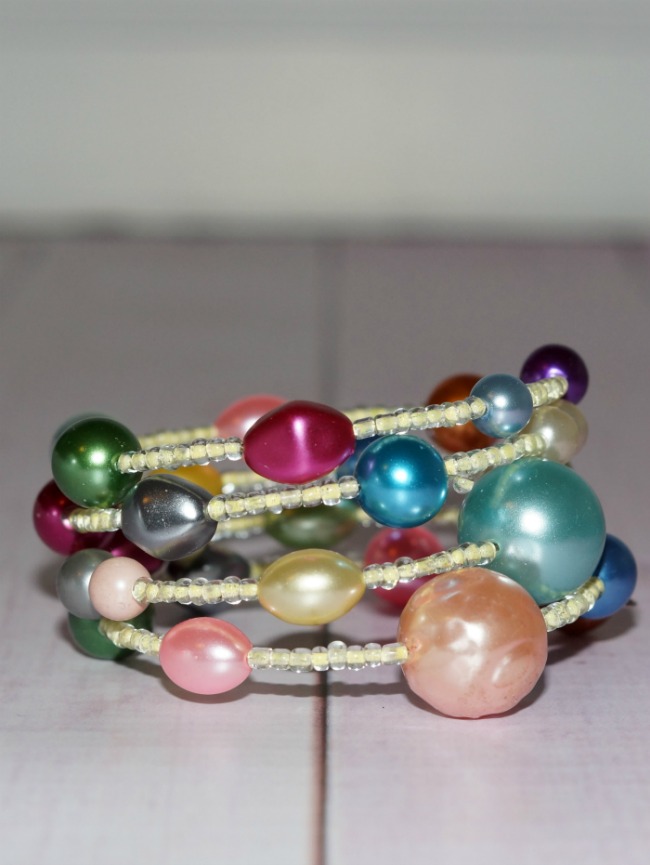
You now have a great vintage pearl wrap bracelet that looks amazing with everything. And it takes less than half an hour!
I love this! Great selection of colors and you make it look so easy!
I love this!! For just $5 and a little time, you can give someone a beautiful gift they are sure to treasure!
This bracelet is so pretty. I love that you used period pearls too. I have a friend who has quite a bit of vintage costume pearl type jewelry. I’m going to let her know about this new cool & easy use for her “jewels”. Thanks!!
I should definitely try this lovely instruction to make one for my mom. Marvelous!
Very nice looking bracelet!
That is a spectacular bracelet…and I am so thankful it can be made at so little cost…because my 16 year old niece who is very inventive and creative will want me to go out and buy the materials and have the first one made before supper. Don’t say anything, but this old guy greatly admires them also.
These are so pretty. If I ever get started on making something I do fairly well but getting started is my problem. Thanks for sharing.
Wow! That turned out beautifully! It doesn’t look too hard either. I will have to try to make something like this!
Thanks for all your efforts that you have put in this. Very interesting info.