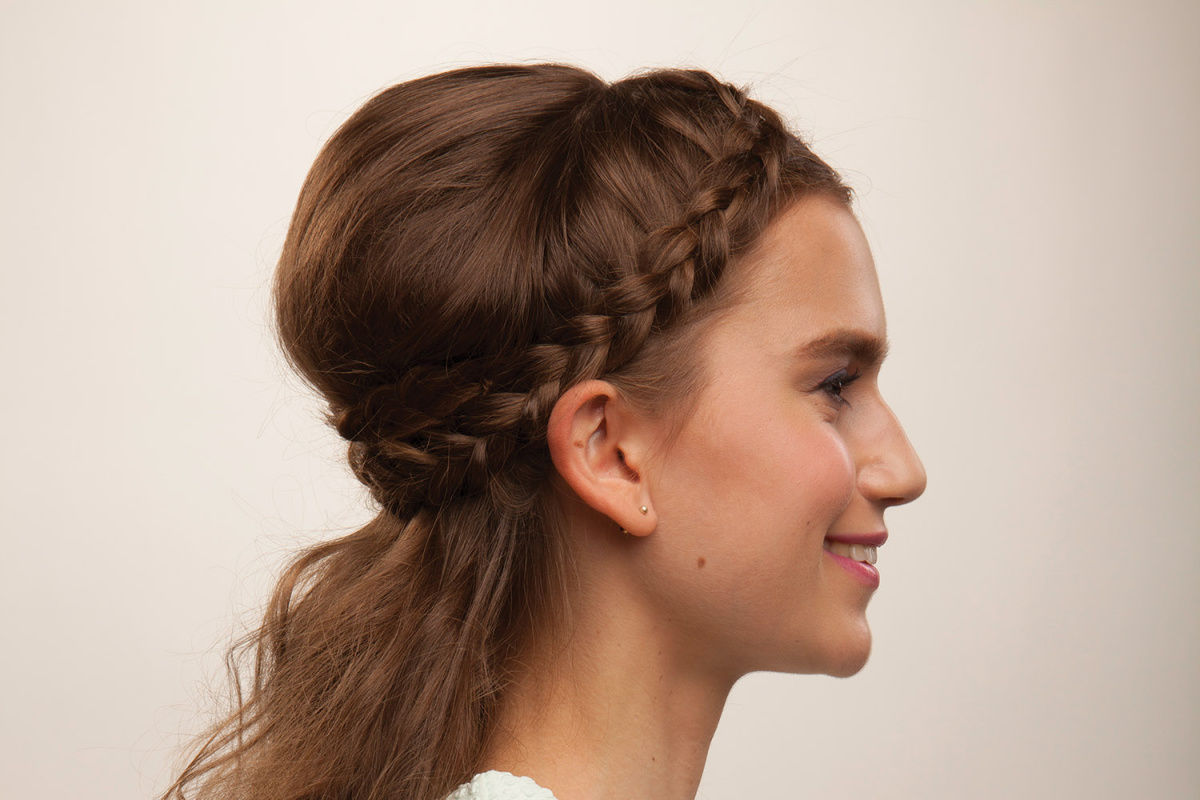
If you’re the type of princess who loves spending her days daydreaming or wandering through the forest, then this Half Crown Braid is the perfect hairstyle for you.
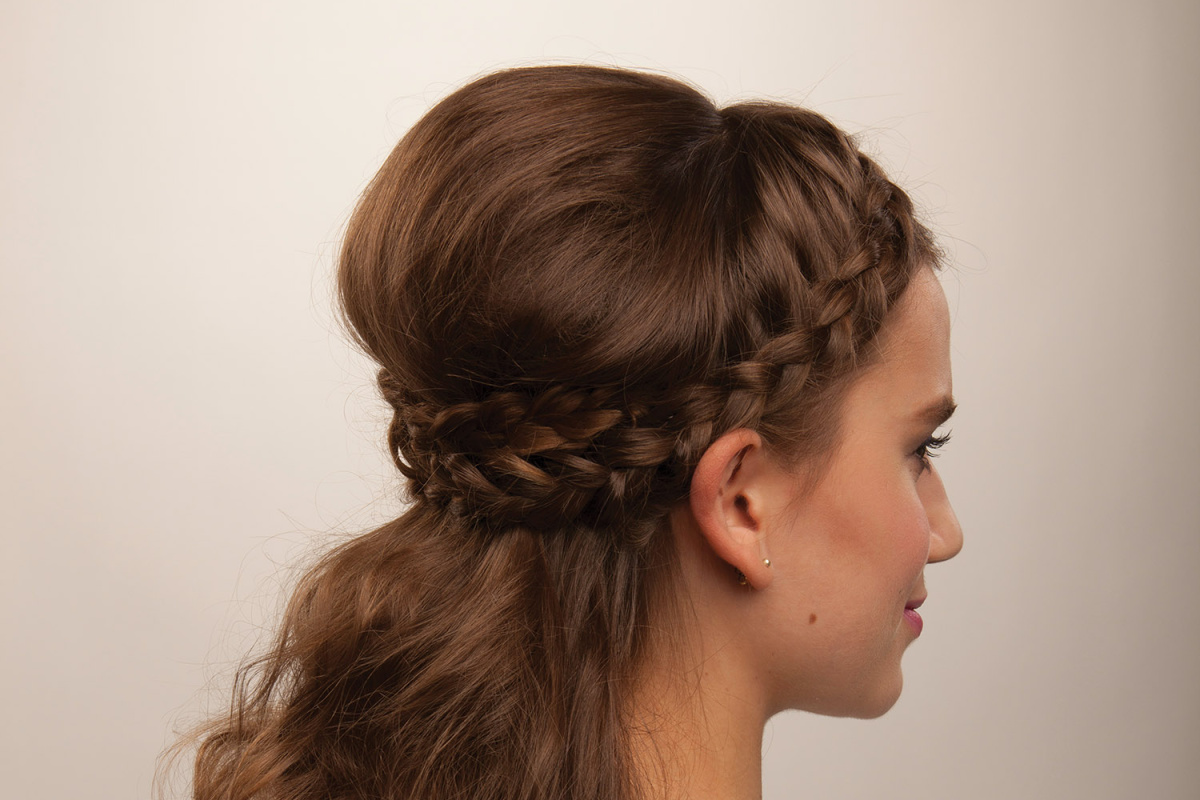
It’s an effortlessly romantic look, with soft waves and a touch of whimsy—ideal for weddings, formal events, or even a night out.
Links may be commissioned.
The best part is that it’s easier to achieve than you might think. All you need is a few simple steps and the right products.
What You’ll Need:
- Thermal Setting Spray
- 1-Inch Curling Iron
- Backcombing Brush
- Texture Powder
- Grooming Brush (Denman Cushion Brush)
- Bobby Pins
- Holding Spray
- Spray Serum
Step-by-Step Half Crown Braid Tutorial
Prep Your Hair
For this look, I recommend starting with wavy or textured hair as a base. You can create soft waves by using a 1-Inch Curling Iron. Before applying heat, spray your hair with a thermal setting spray like Kenra Platinum Hot Spray 20 to protect from heat damage and ensure your waves last all day.
If you’re going for a more casual, boho vibe, feel free to skip the iron and embrace your hair’s natural curl pattern.
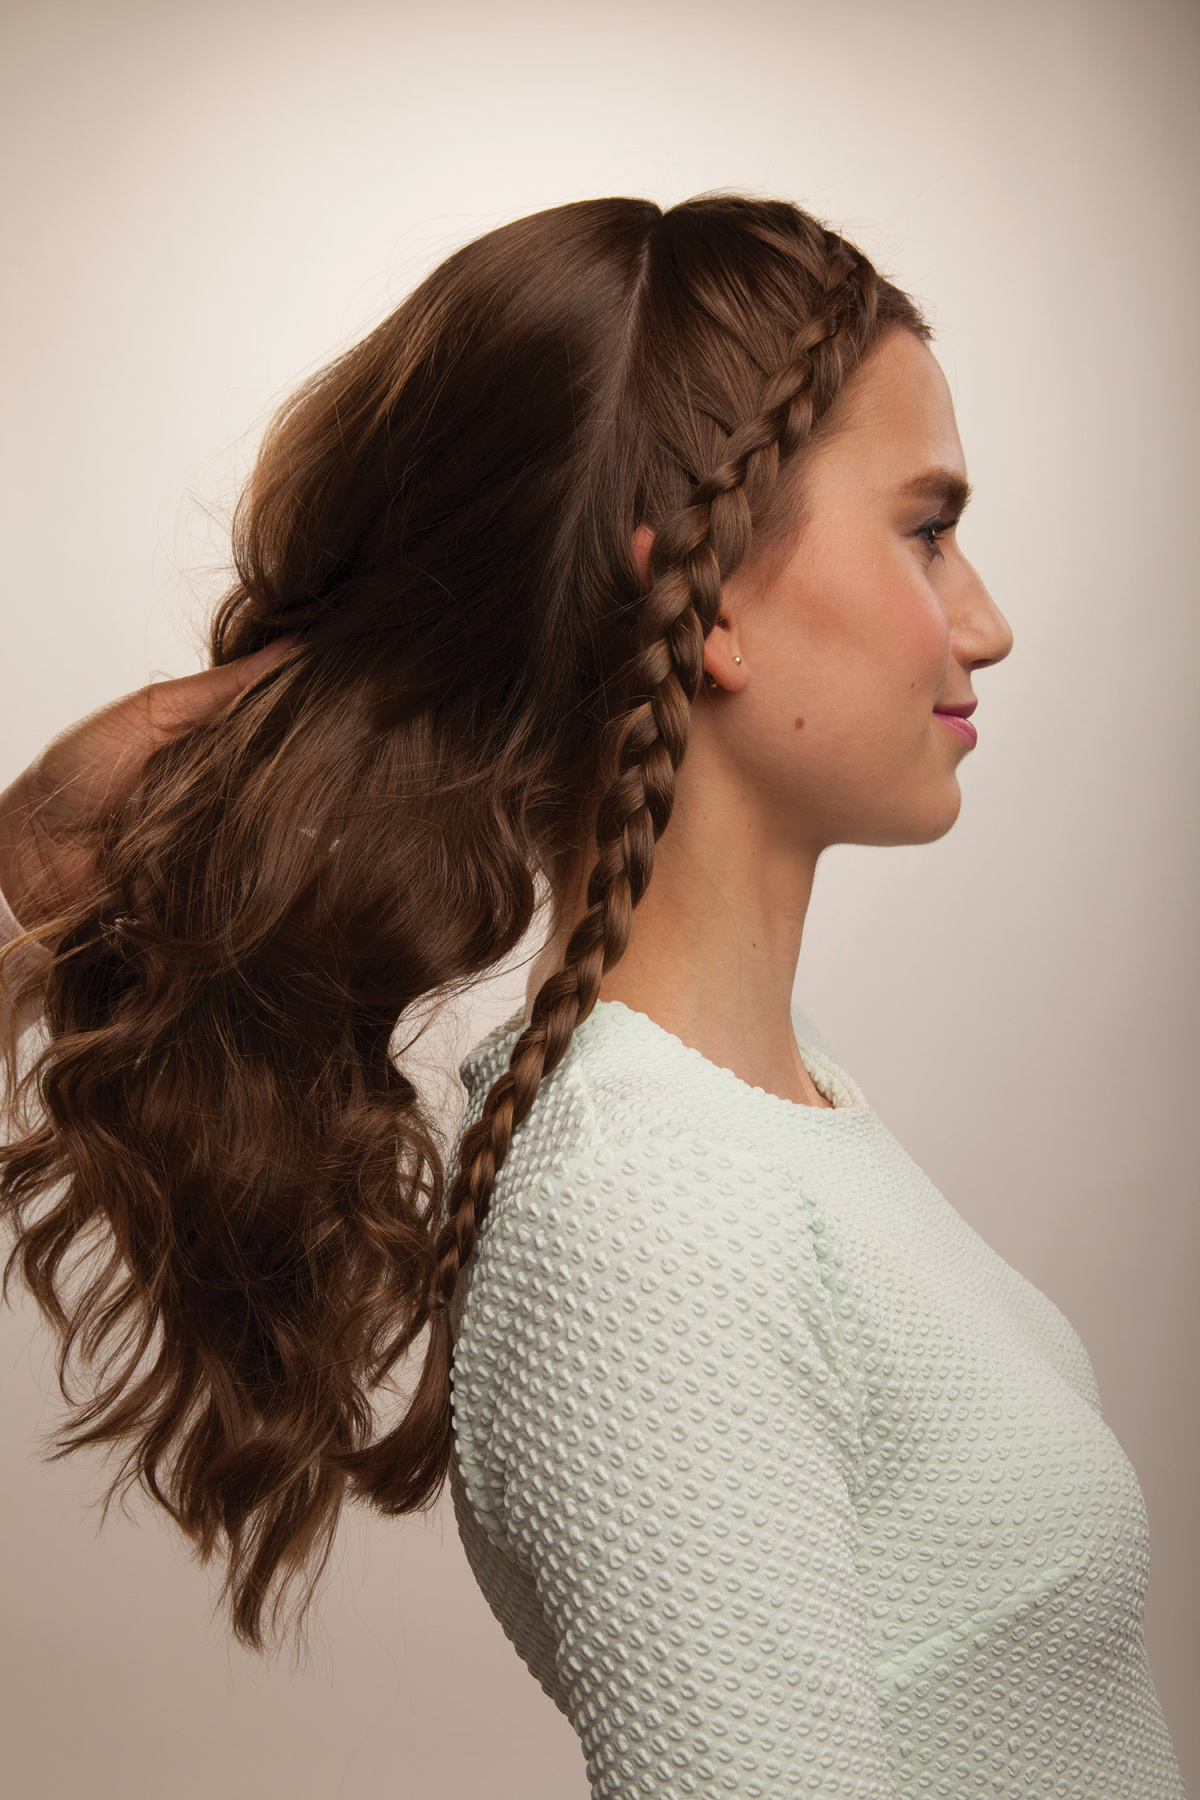
Part and Backcomb
Start by creating a side part, beginning at the arch of your left eyebrow, and then make another horizontal part from ear to ear. Backcomb the wider section of hair using a backcombing brush like Spornette Little Wonder Teasing Brush to add some serious volume. If you’re dealing with more manageable hair, backcomb in 1-inch sections for better control.
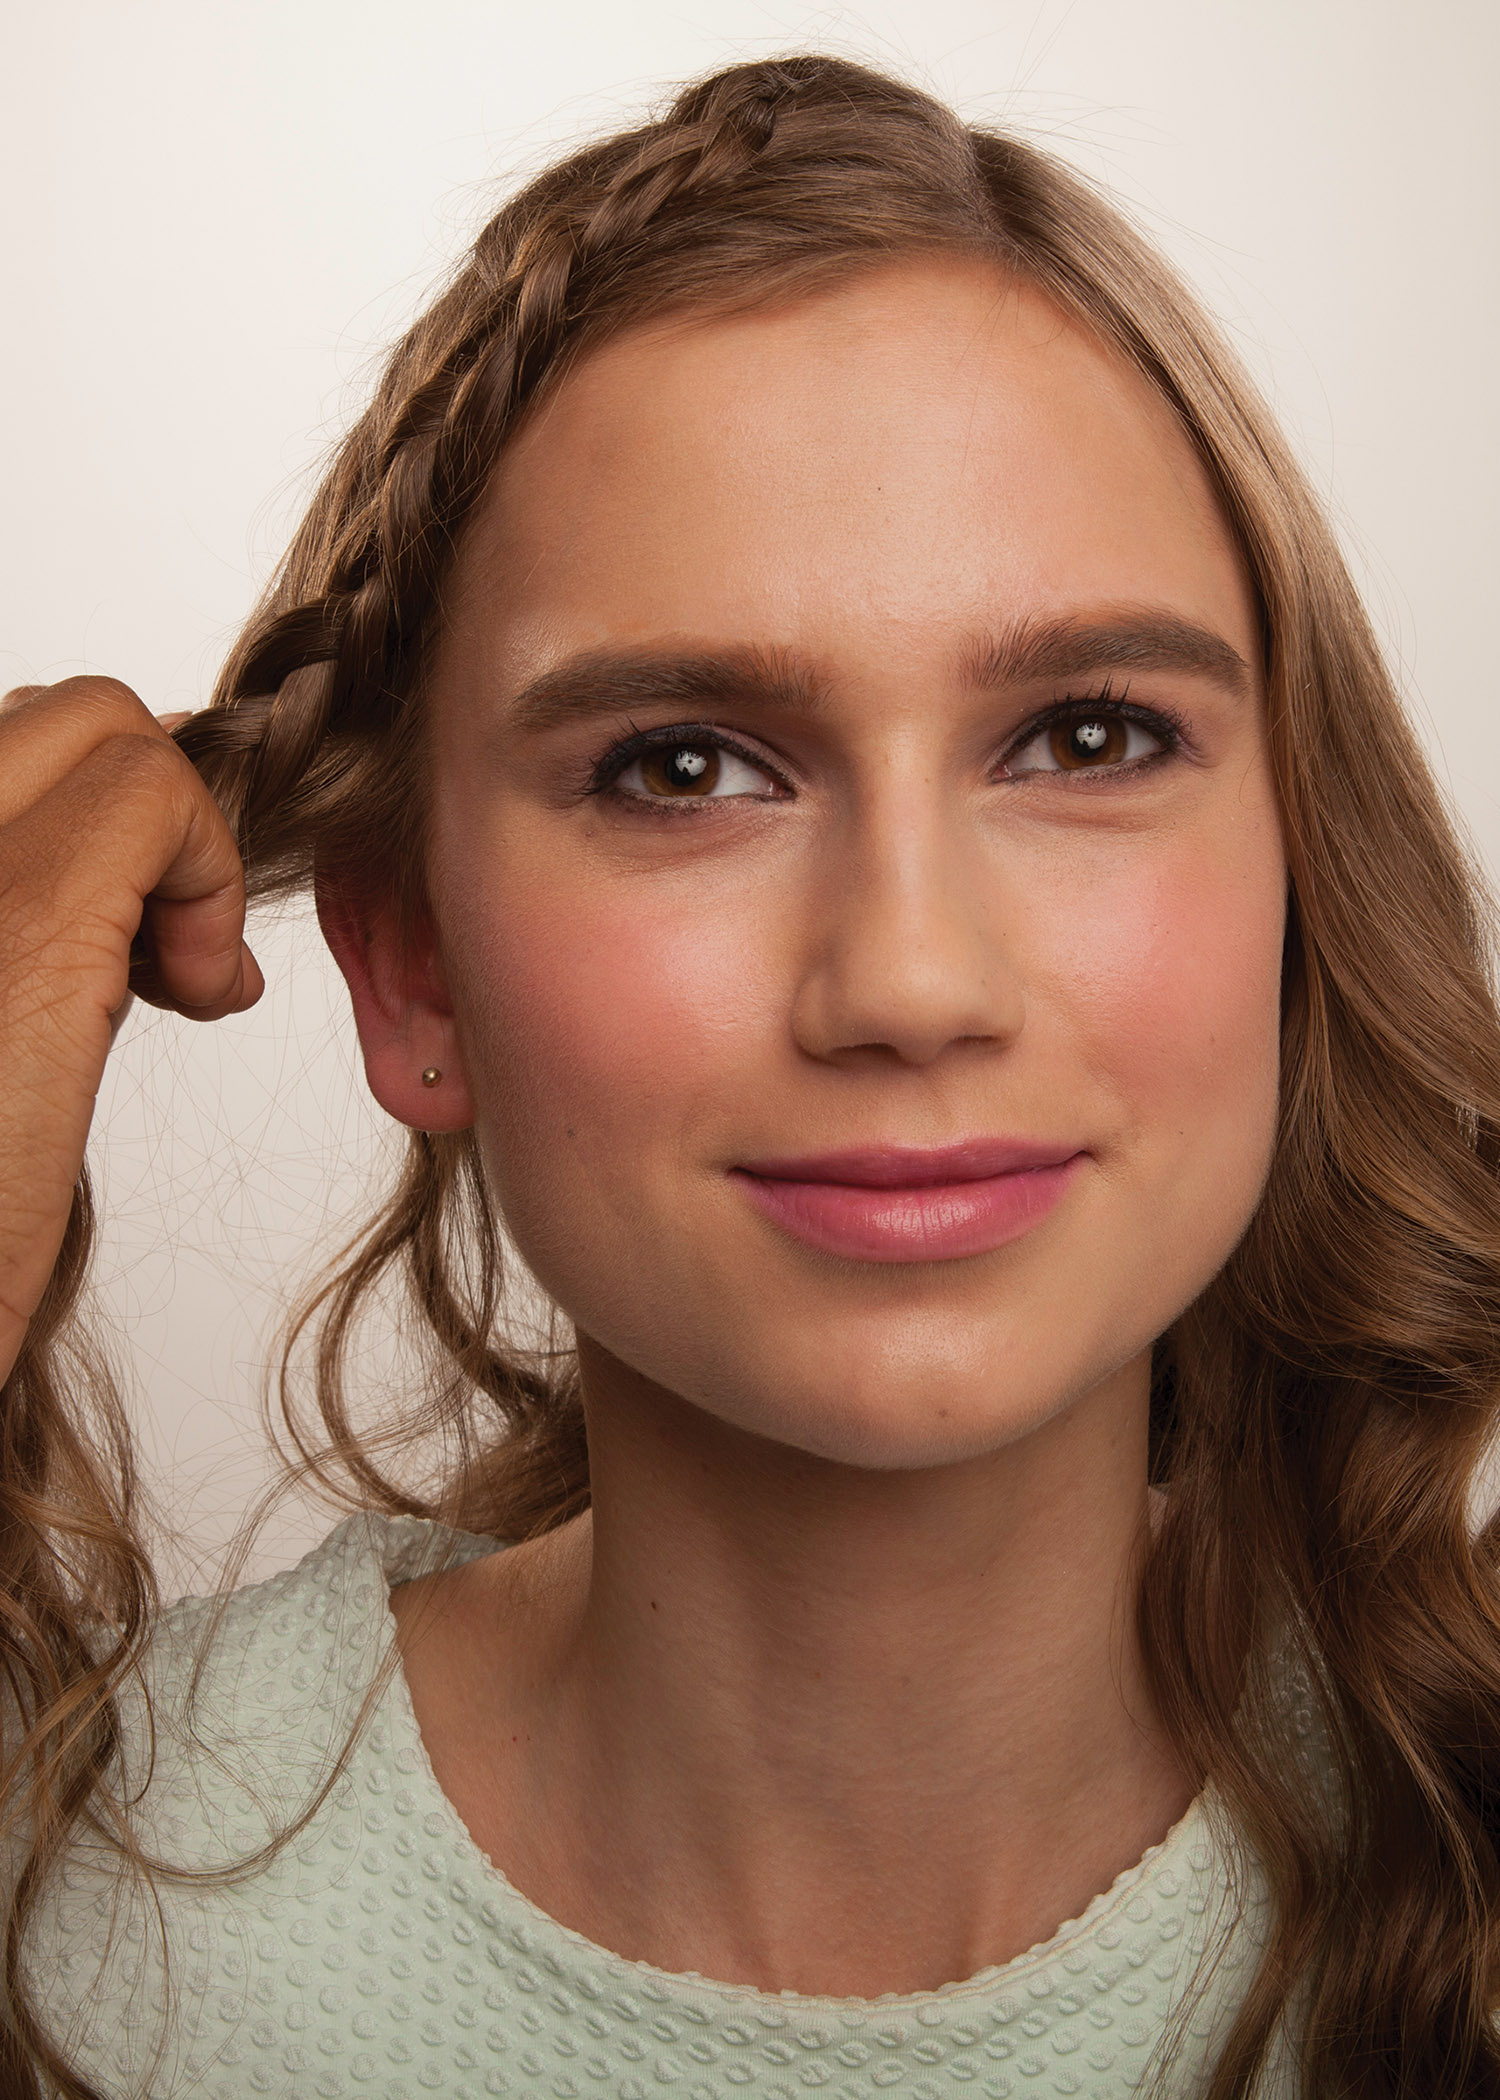
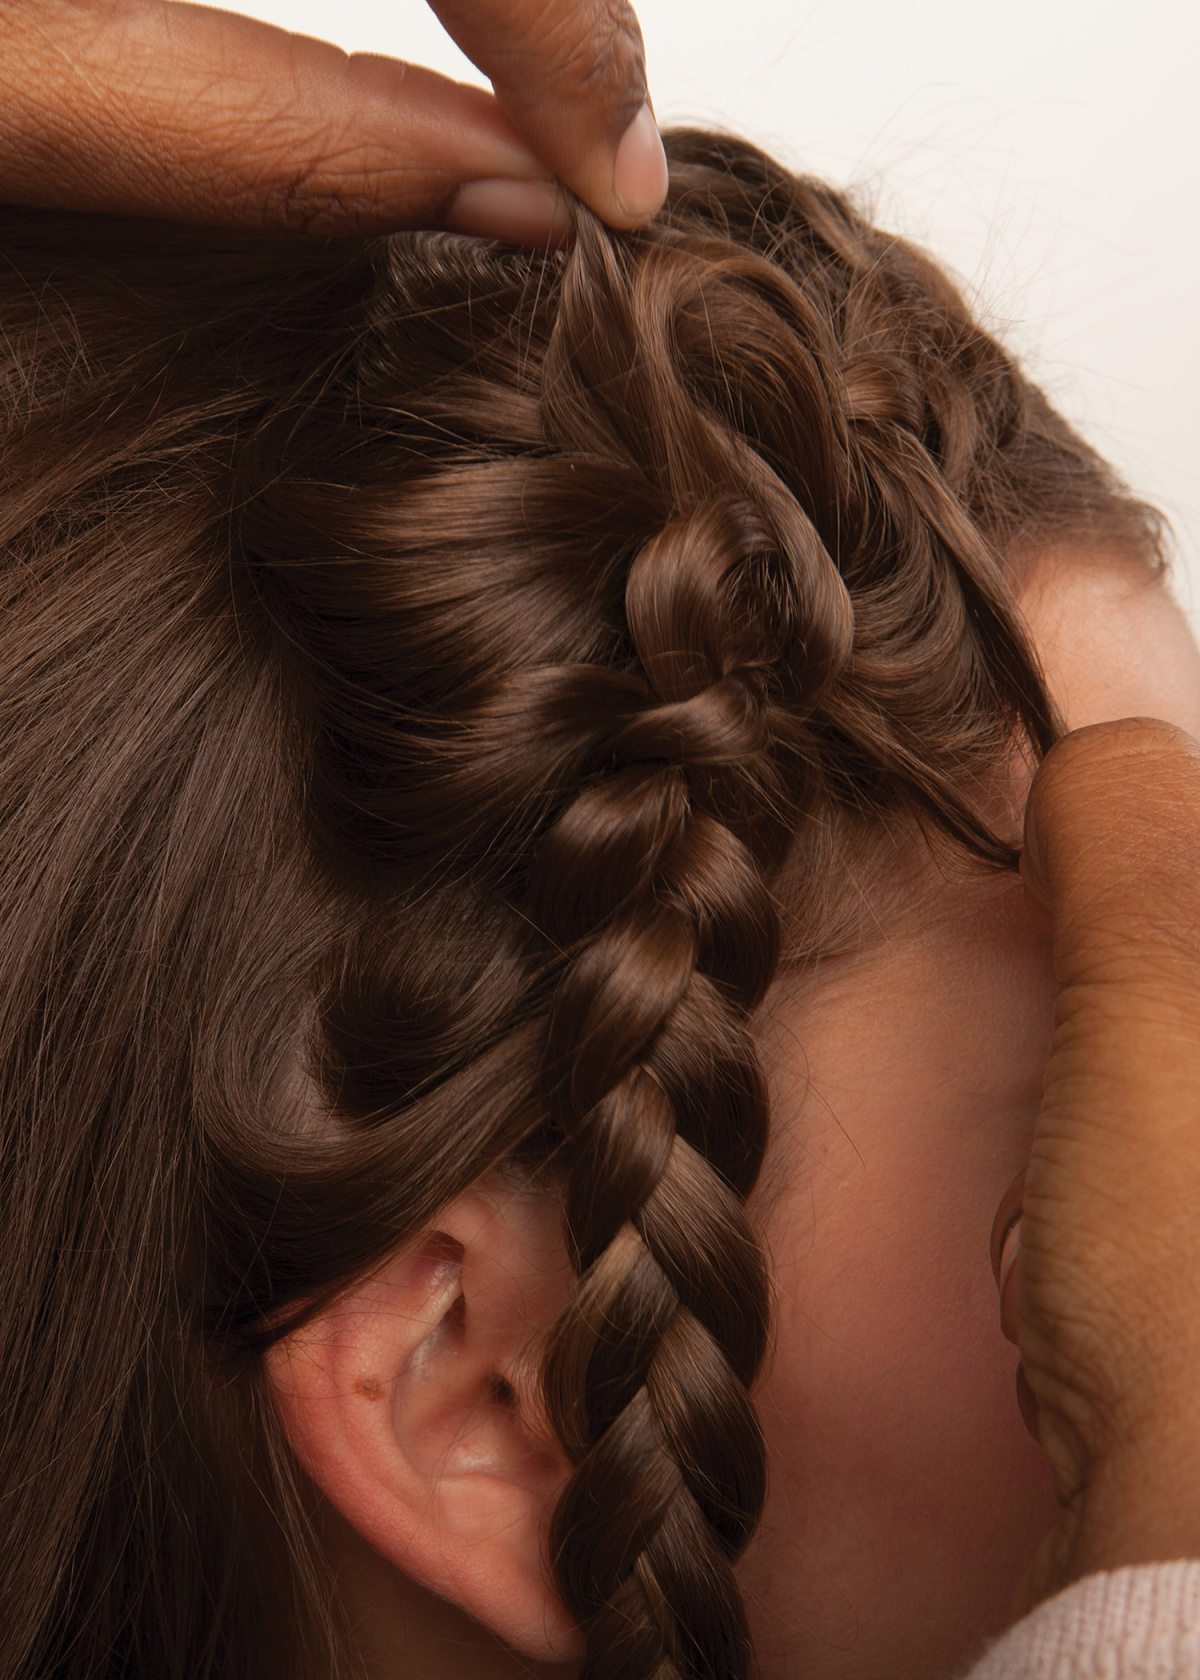
Dutch Braid on the Right Side
Take a small subsection from the crown of the right section and divide it into three strands. Start a Dutch Braid by crossing the right strand under the center strand, then the left strand under the center. It’s the same process as French braid, but you cross the hair underneath in a Dutch braid, instead of on top.
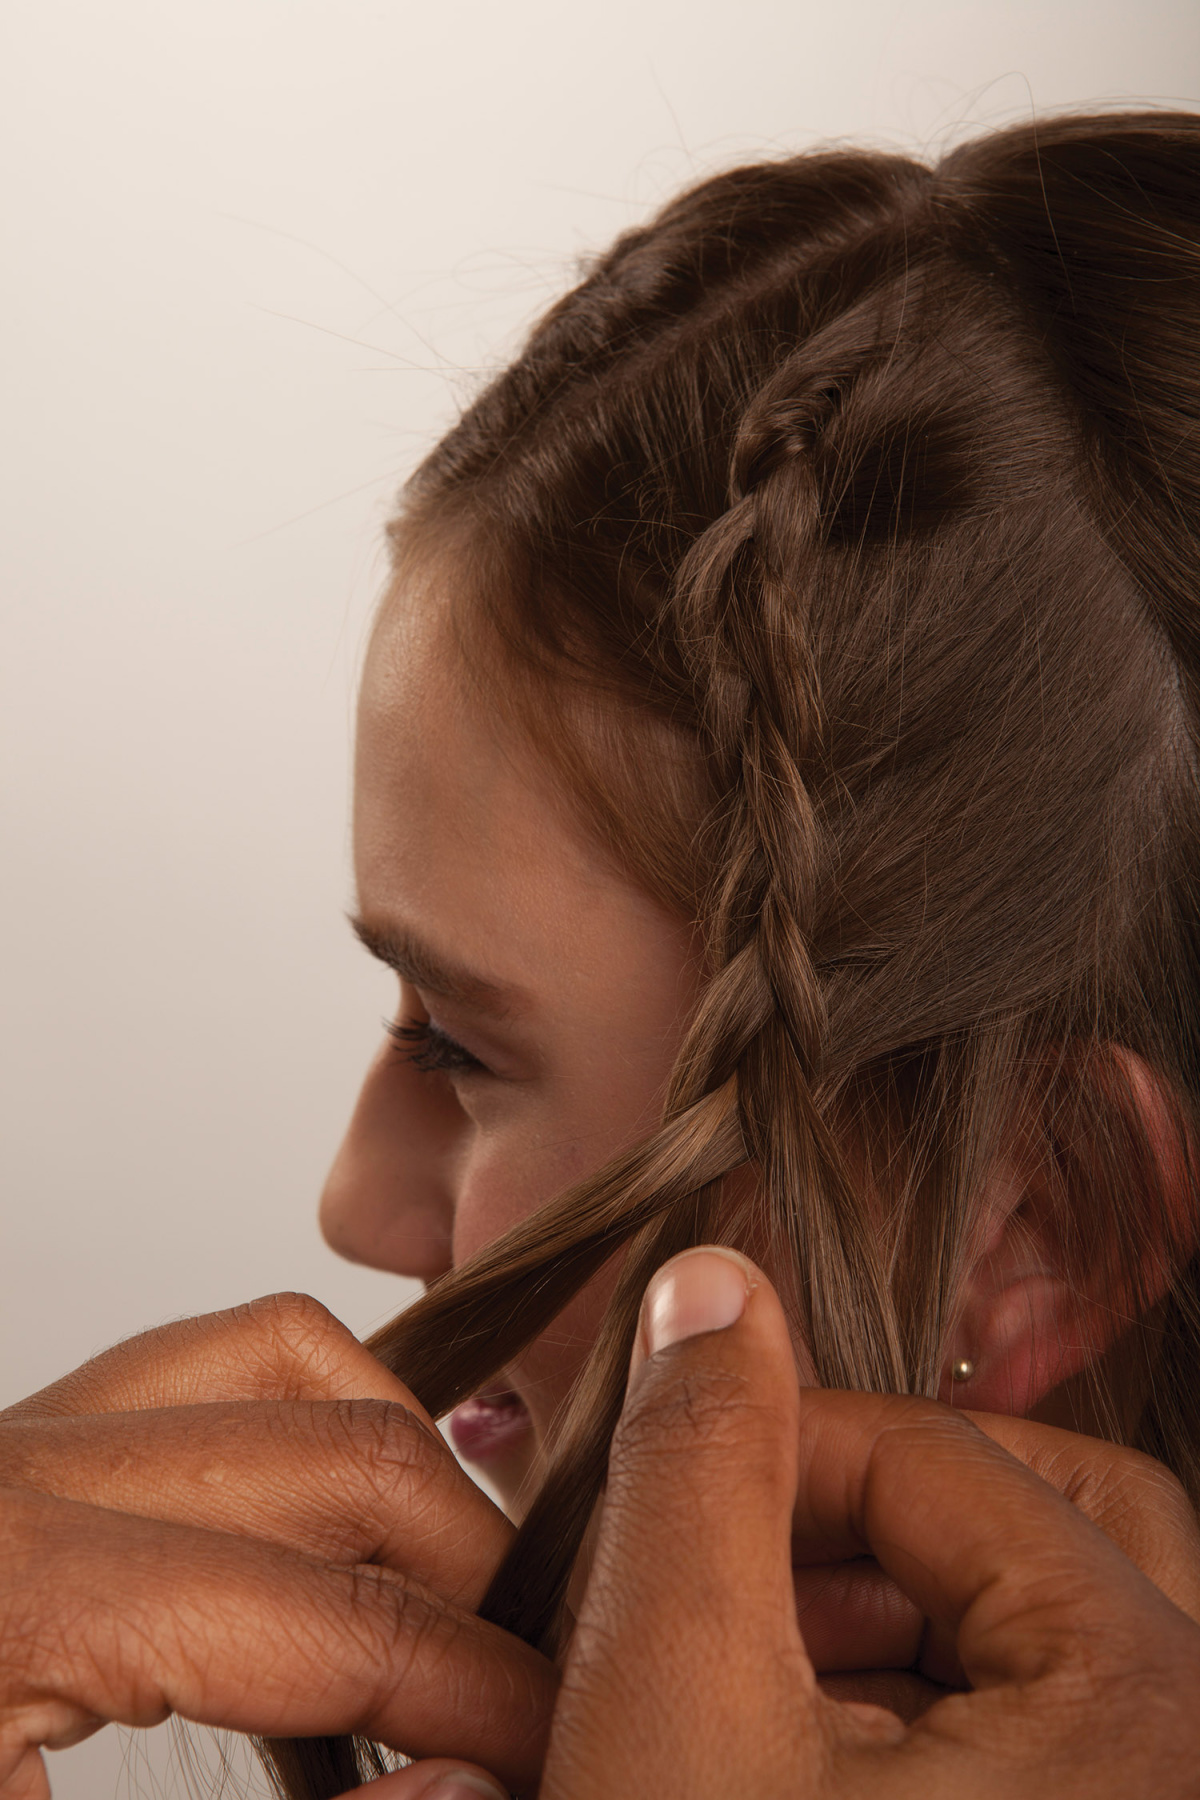
As you go, pick up small sections of hair from each side. Once you reach your hairline, switch to a lace braid by adding hair from the left side only. Secure with an elastic band once you reach the end.
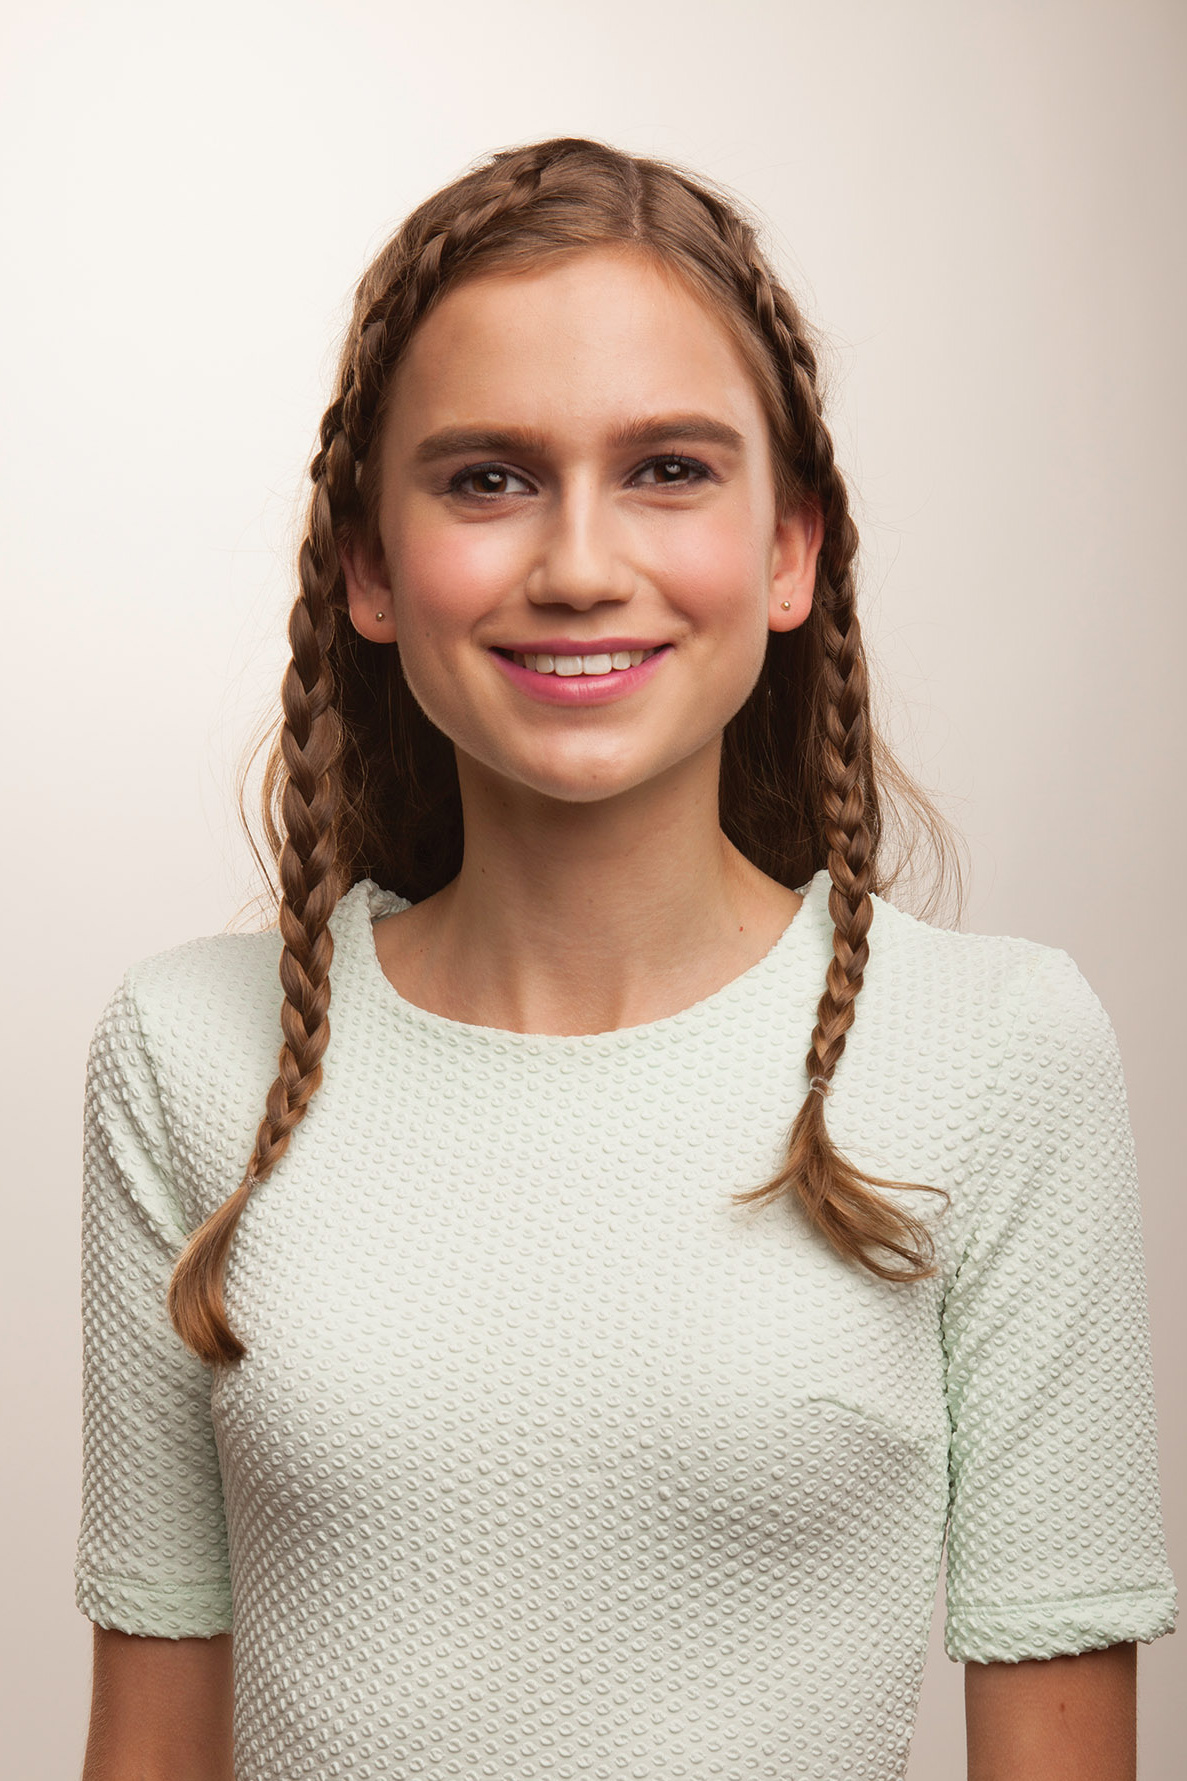
Dutch Braid on the Left Side
Repeat the same process on the left side, starting from the mid-crown. Once again, switch to a lace braid once you reach the hairline. Finish off with a three-strand braid and secure it with an elastic.
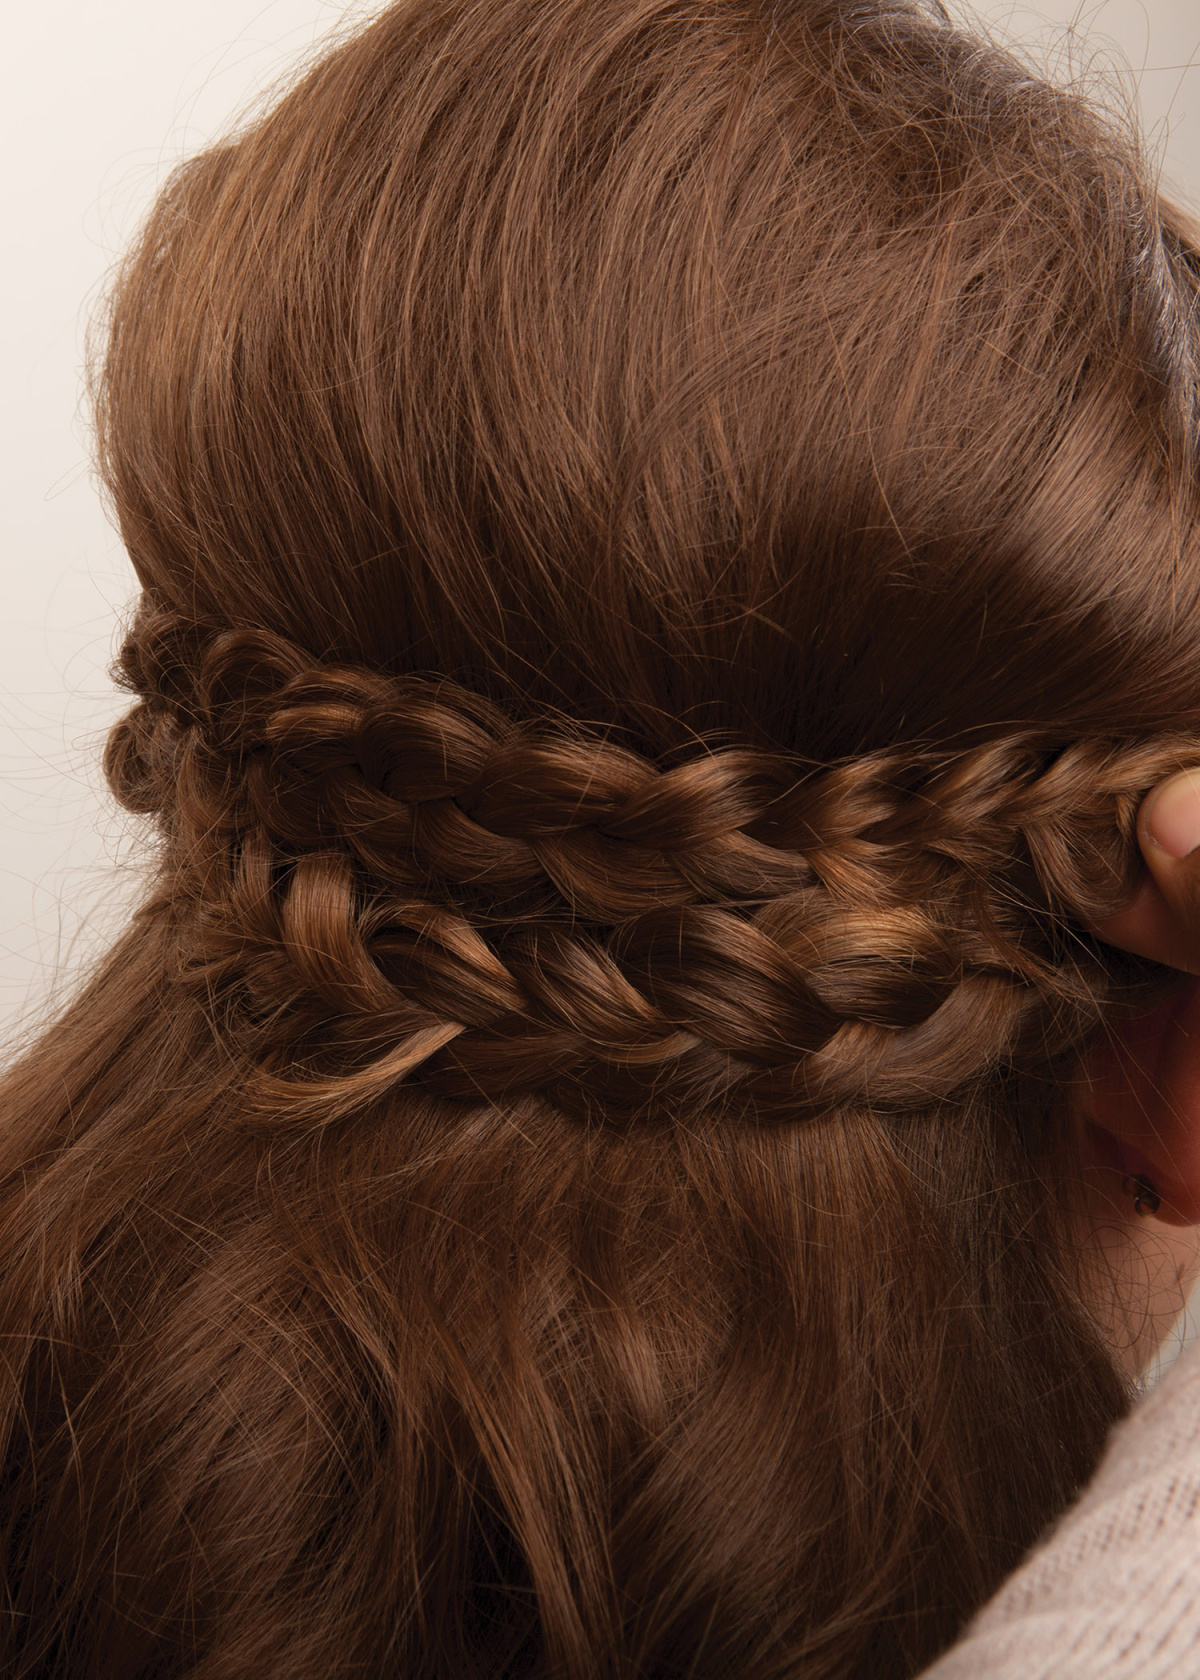
Add Volume & Texture
Now that your braids are in place, it’s time to add texture and volume to both the braids and your loose waves. Sprinkle some texture powder like Big Sexy Hair Powder Play into your roots and along the braids. 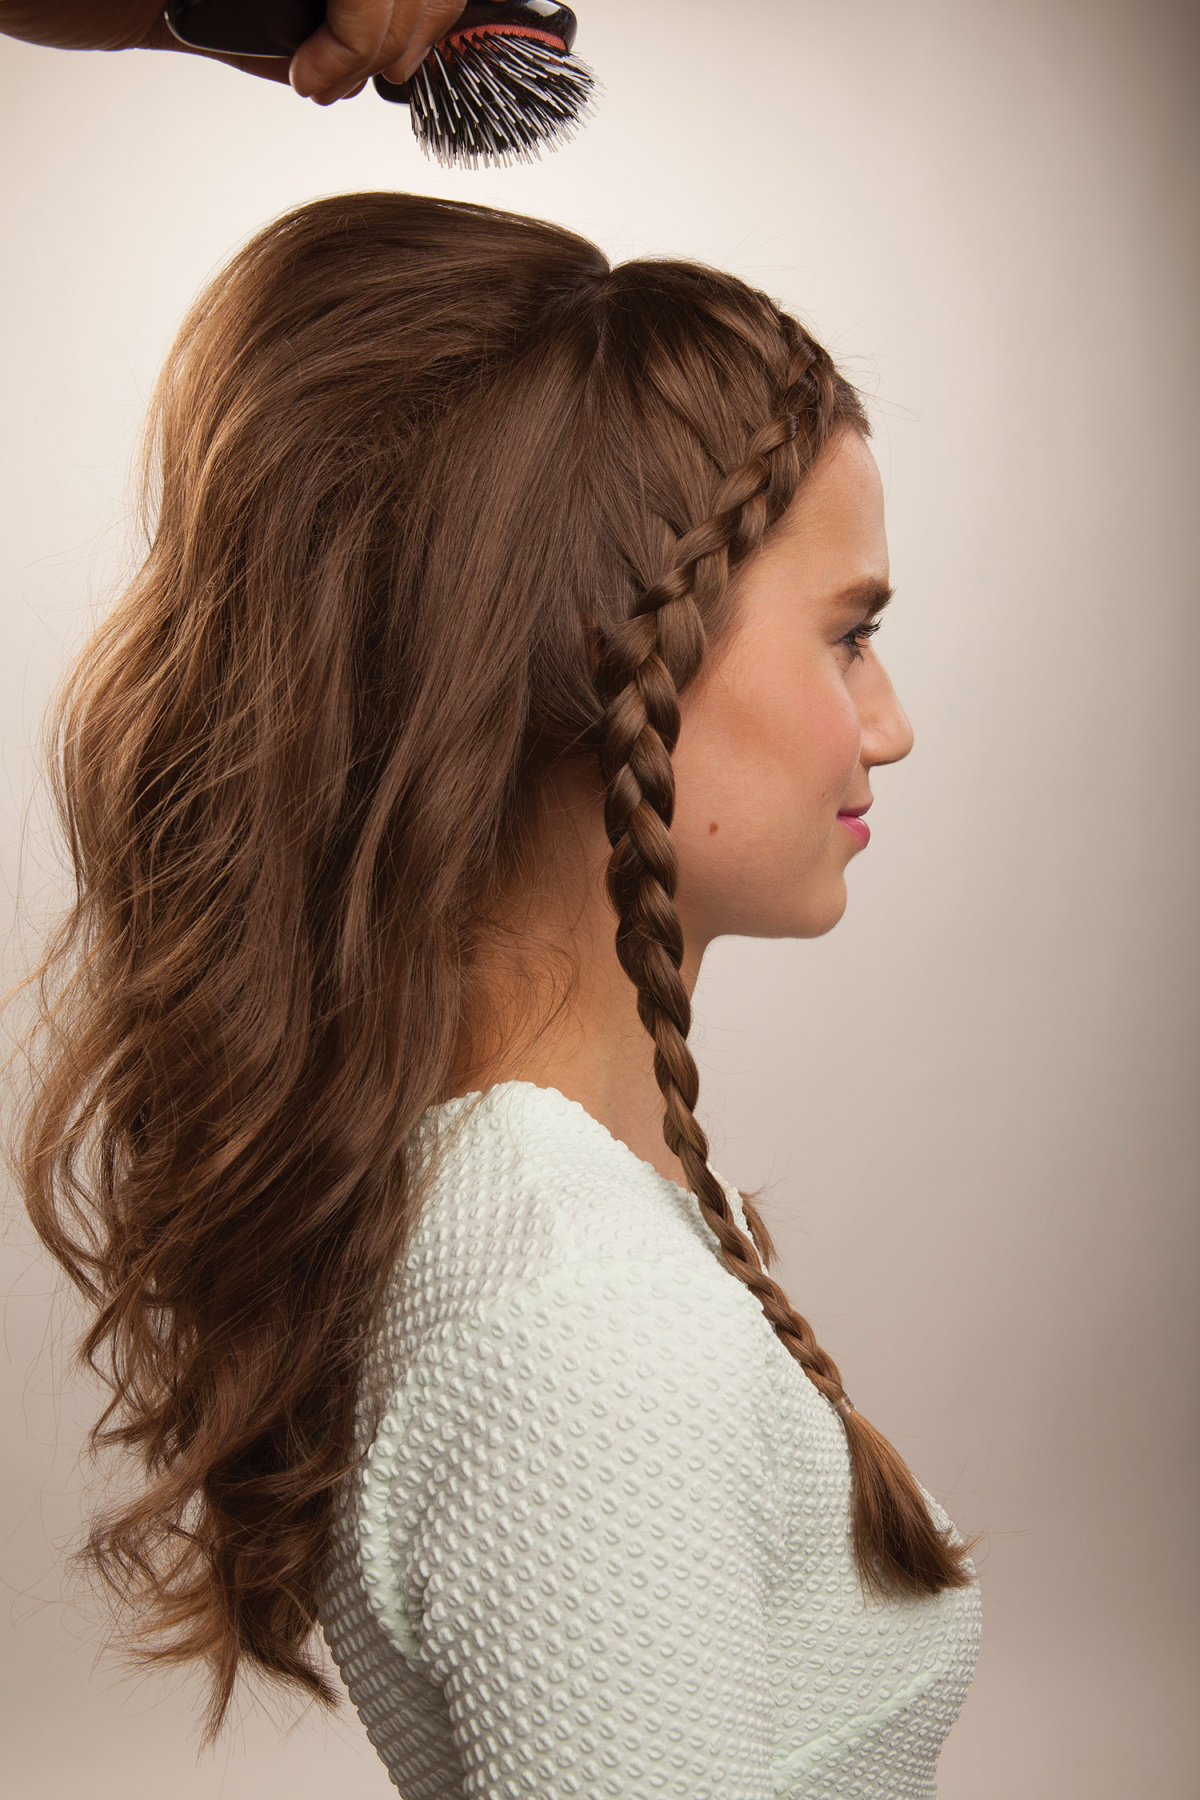
Then, use the pancaking method (gently pulling on the outer loops of the braid) to make the braid appear fuller and more textured. For added oomph, backcomb 1-inch sections at the crown for extra volume.
Finishing Touches
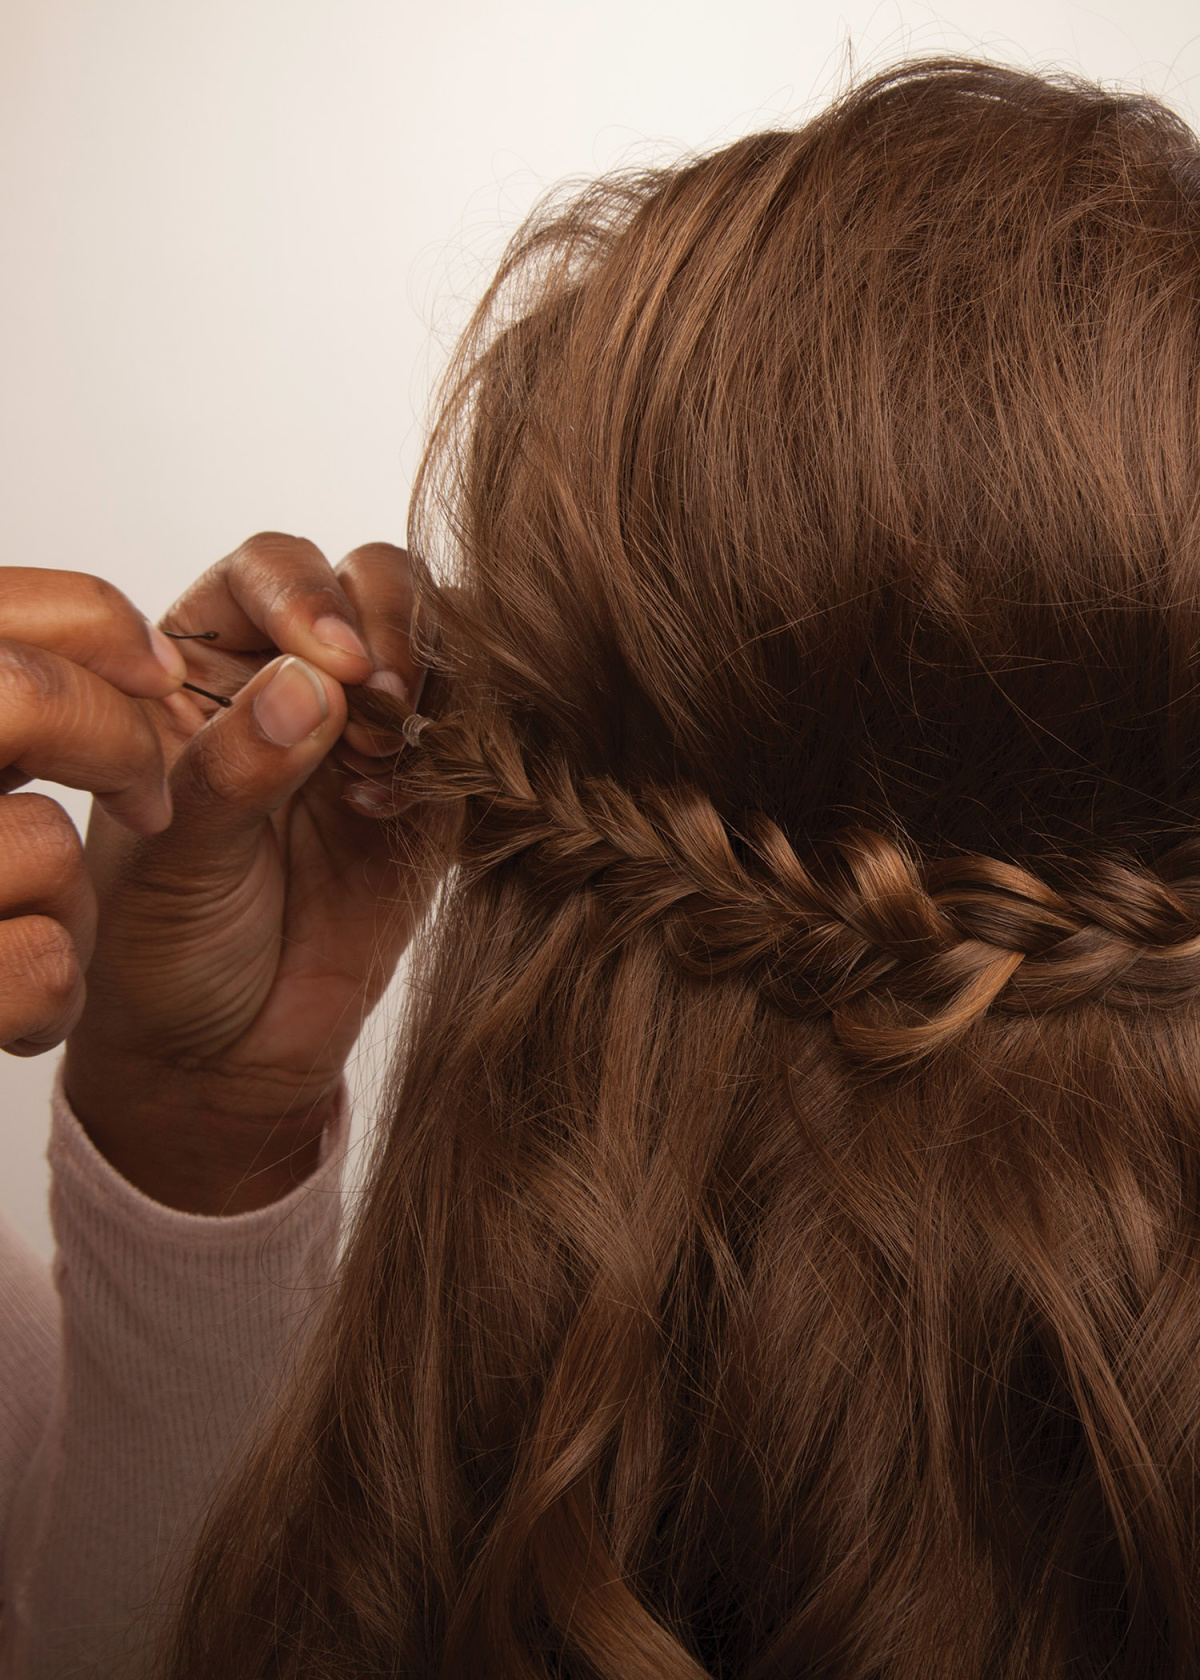
Cross the Braids
Take the braid on the right and cross it over the back of your head, just below the volume bump you’ve created. Secure with bobby pins like Scunci No-Slip Grip Bobby Pins for a firm hold. Repeat the same with the left braid, positioning it just above the right braid. If it’s too long, tuck the ends under the right braid and pin securely.
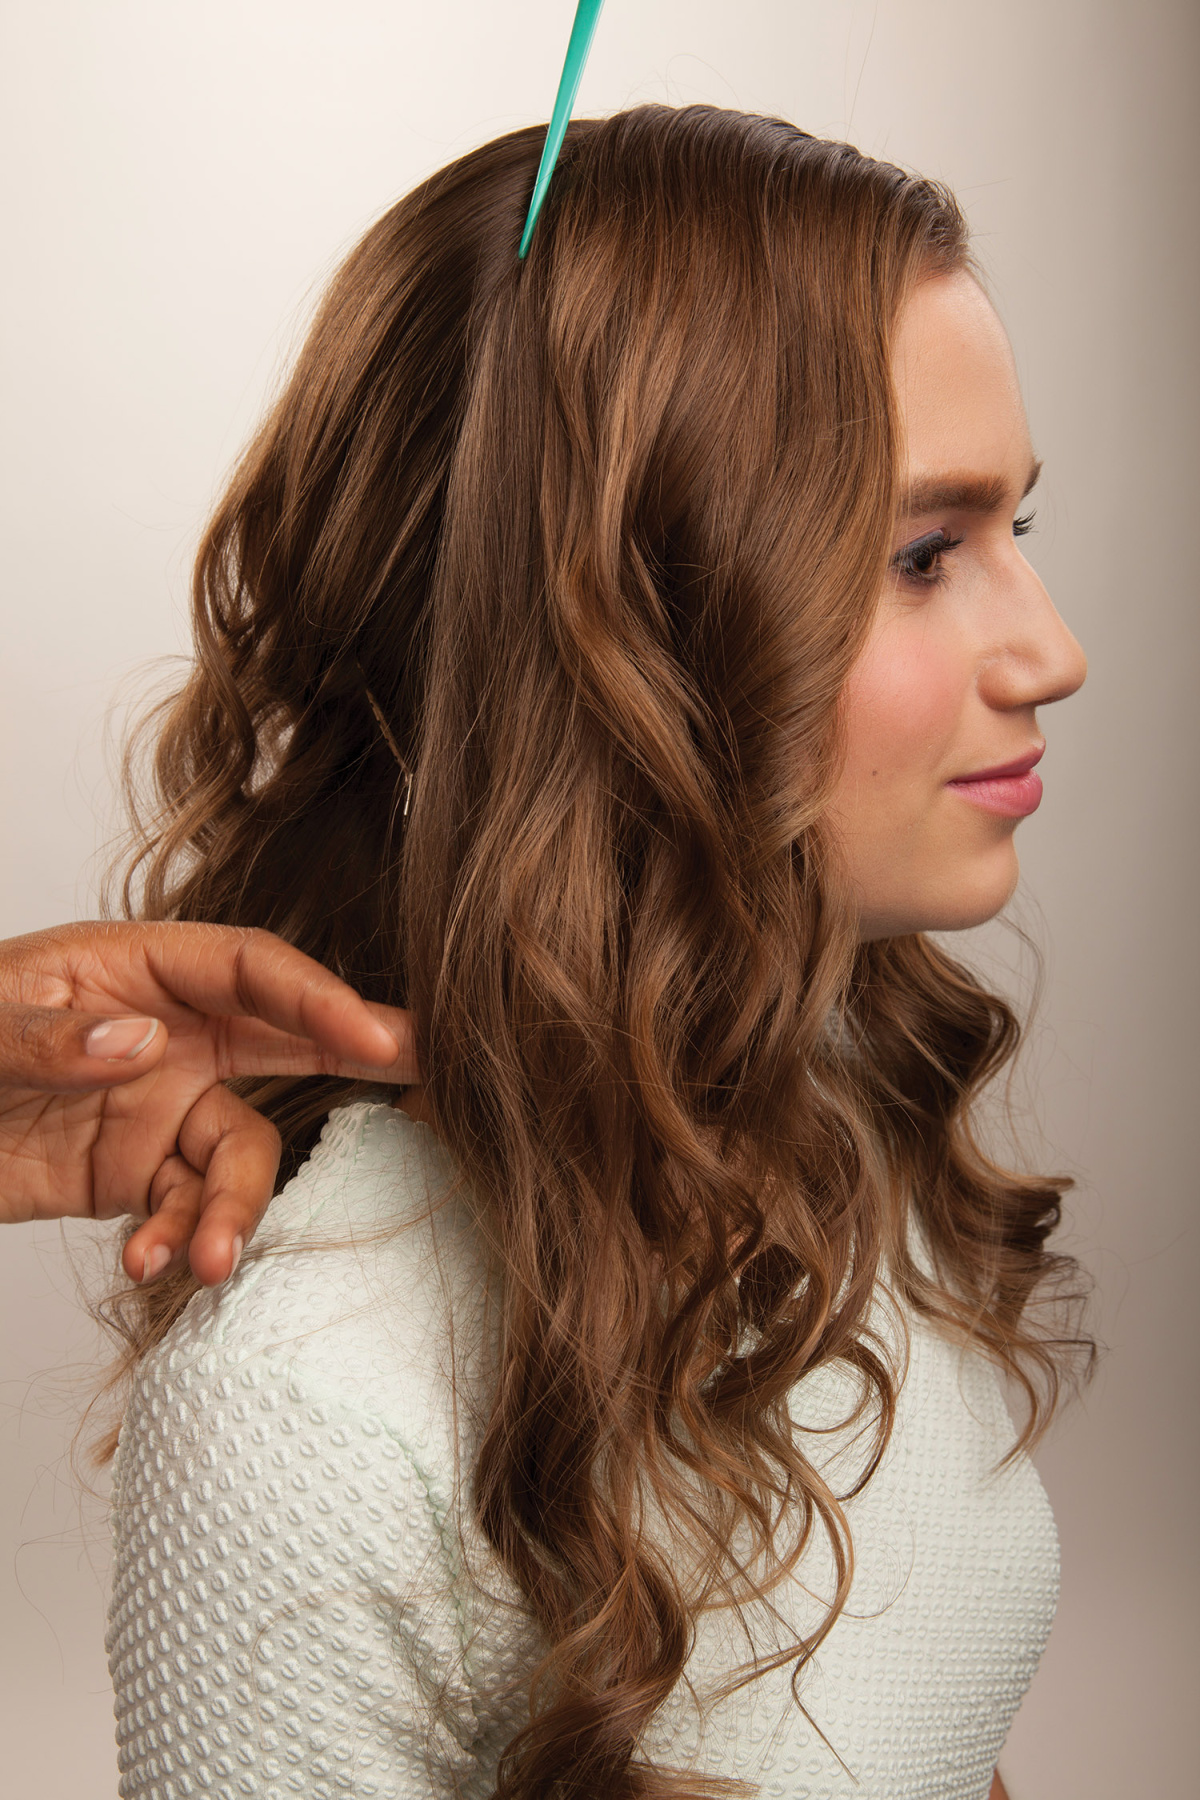
Fluff the Curls
Loosen up your waves by gently fluffing them to create your desired level of volume. If needed, use the tail of a comb to lift any sections for balance. Spray with a lightweight holding spray like L’Oréal Paris Elnett Satin Hairspray to ensure your look stays intact without feeling stiff.
Add Shine
Finish off your Half Crown Braid by spritzing your hair with spray serum like Moroccanoil Glimmer Shine to add a touch of gloss and keep frizz at bay.
Optional Tips
- If you want a more beachy, laid-back vibe, swap your curling iron for a sea salt spray like CRVFT Sea Salt Spray to get that tousled, natural texture.
- For second-day hair or extra grip, a dry shampoo like Batiste Dry Shampoo can add volume and refresh your look.
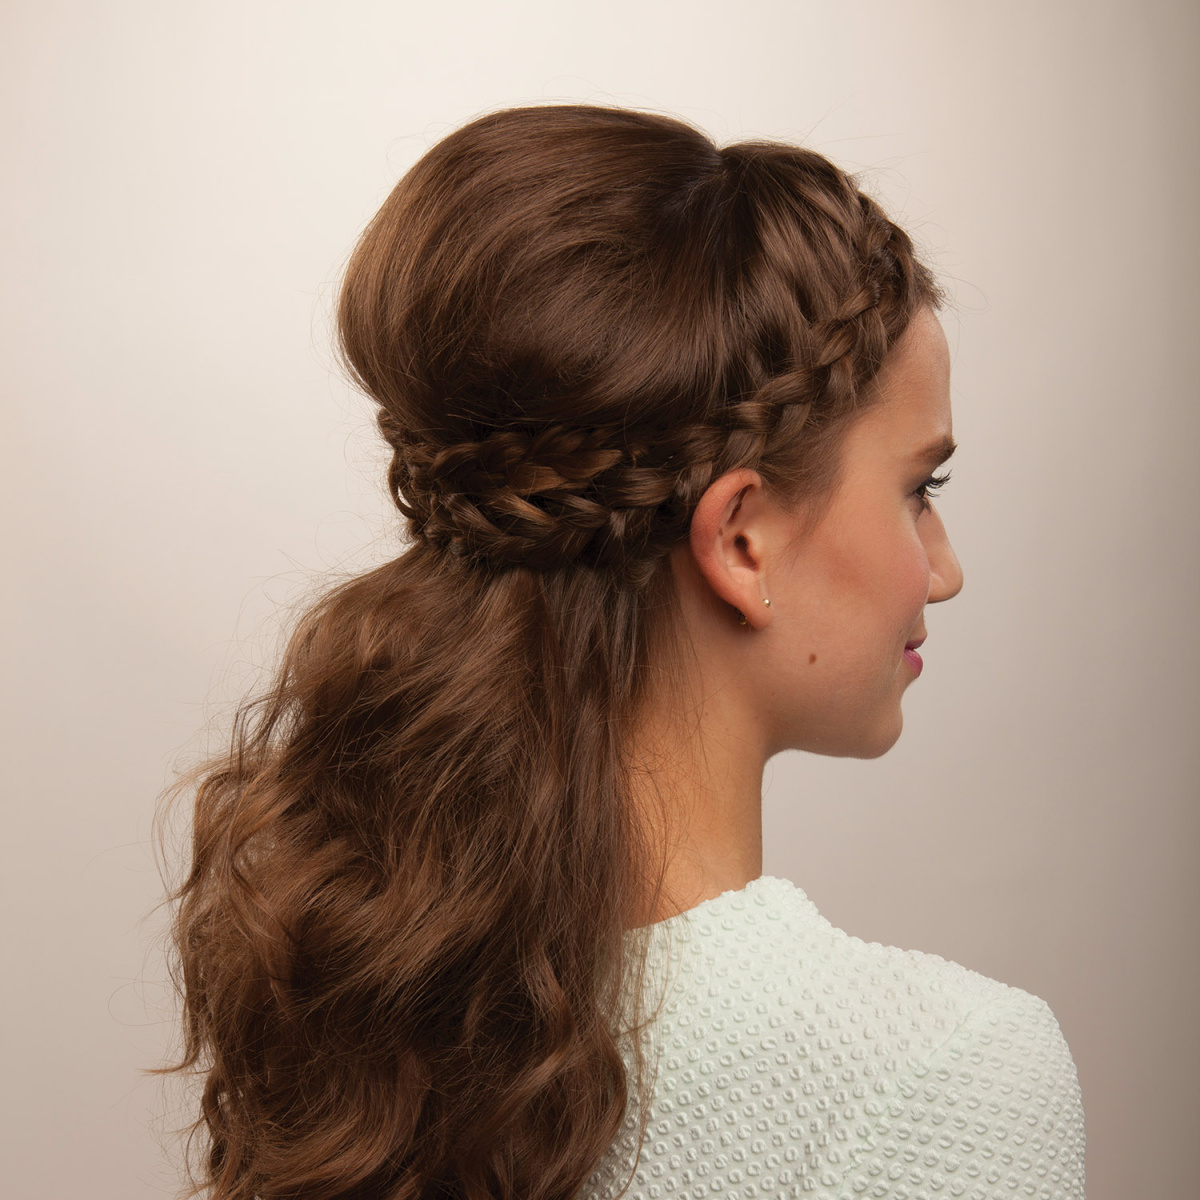
See how easy it is to create the regal inspired hair of your dreams? With just a few steps and some easy-to-find products, you can create a stunning hairstyle fit for any ball, wedding, or formal event.
And the best part? This half crown braid look will hold up all day and night with the help of these must-have products.