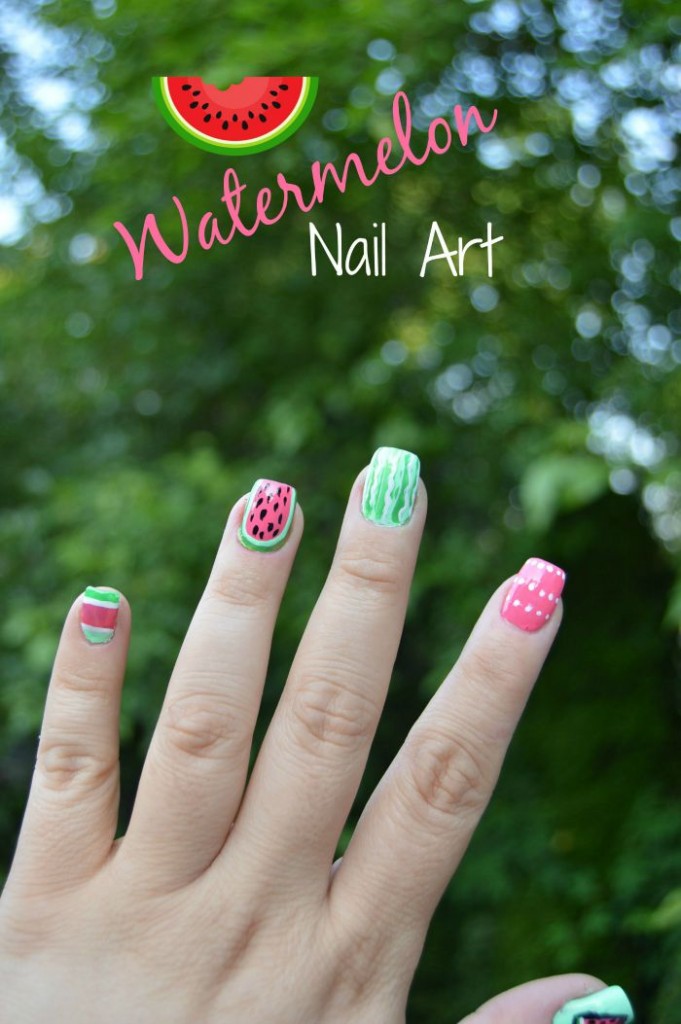
I don’t know about your area, but in my area, watermelons are one of the signs that summer is waning. They usually roll into stores about the same time as school supplies. We pick ‘em up and have one last hurrah with a float trip or a great blowout BBQ.
Never fear, though! We’re here to celebrate the end of Summer in style. Check out this adorable Half Watermelon nail art tutorial. We’ll be doing whole watermelon nail art tutorial and a watermelon wedge nail art tutorial, too. And since you cannot live by watermelon alone, we’ll be doing a fabulous rugby stripe and a sassy dots nail art tutorial too. Stay tuned for those to get your whole end of summer nail art tutorial series and master your Watermelon manicure.
What you’ll need: (affiliate links)
- Base Coat
- Mint Green Nail Polish
- Coral Pink nail polish
- Dark Green nail polish
- Black Nail Polish
- Top Coat – Seche Vite is one of my personal favorites.
- Nail art brush, regular paint brush with small bristles, large nail dotting tool or toothpick
Clear top coat
Instructions:
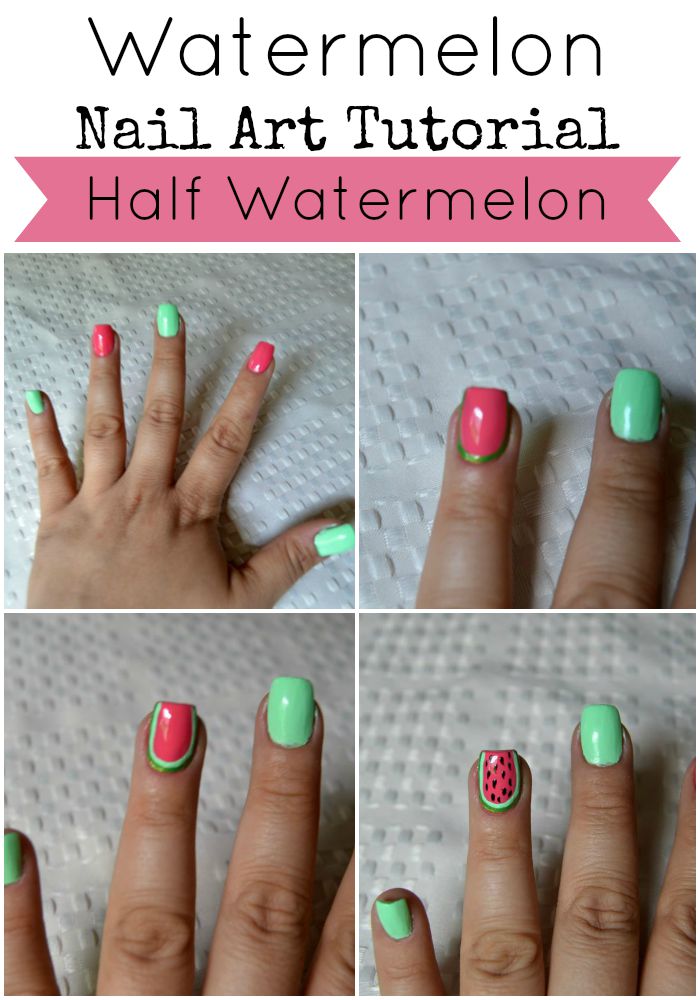
First, start off with clean and dry nails. Apply a good basecoat. Alternate painting your nails Mint Green and Coral Pink, with Mint Green on your pinky, middle, and thumb. Give these 2-3 coats of your nail polish. Let this dry really well before you start the nail art tutorial. Make sure you let the polish dry well between each step.
For the half watermelon nail art, start off by making a small outline of your nail with the dark green polish. It doesn’t have to be perfect. Next, add another outline inside of that one with the mint green polish. Add watermelon seeds with black nail polish. Add a clear top coat of polish once everything is dry to help protect your Half Watermelon nail art design.
Voila! You’ve created a super summery half watermelon nail art design. It was quick, easy, and pretty painless, right?


Leave a Reply