Looking to add a splash of color to your bath time routine? These DIY Rainbow Bath Bombs are the perfect solution.
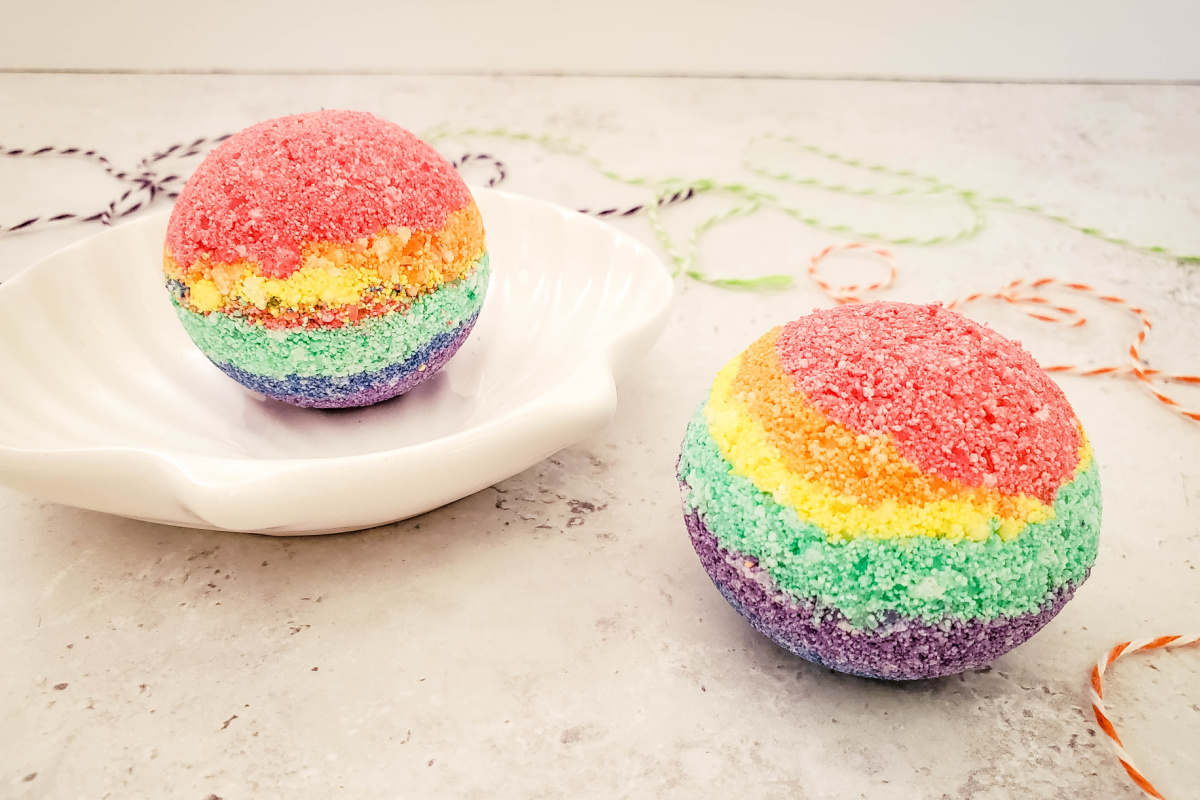
Not only are they easy to make, but they also bring a vibrant and luxurious touch to your self-care routine. Follow this step-by-step guide to create your own bath bombs that will leave your skin feeling soft and pampered.
Links may be commissioned.
How to Make Rainbow Bath Bombs
This recipe makes 4 large bath bombs. It can easily be doubled.
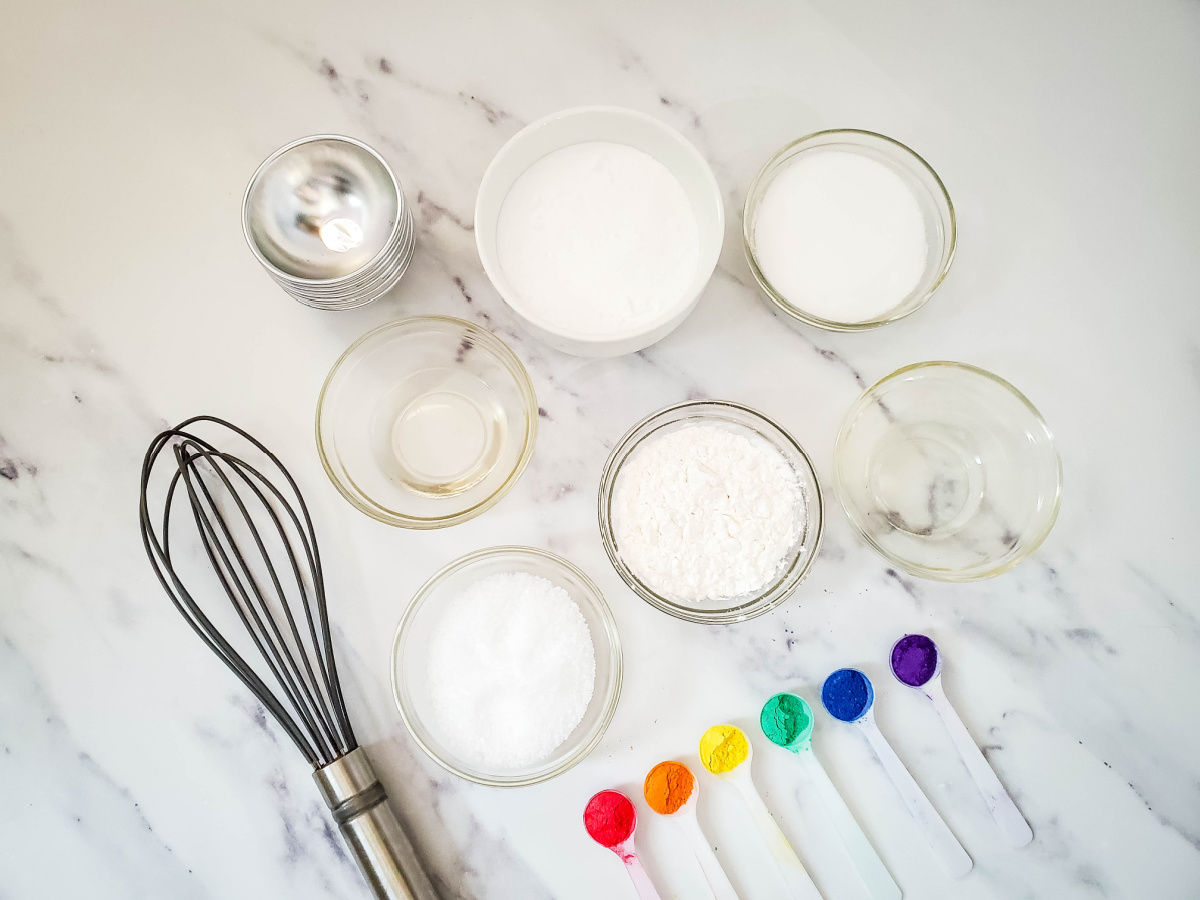
Supplies:
- ½ cup baking soda
- ¼ cup epsom salts
- ¼ cup citric acid
- ¼ cup cornstarch
- 1 ½ tbsp sweet almond oil
- 1 tsp water
- ¼ tsp each of red, orange, yellow, green, blue, and purple mica powder
- Bath bomb molds
Directions:
- Combine Dry Ingredients: Start by adding the baking soda, epsom salts, citric acid, and cornstarch to a large bowl. Use a whisk to stir the ingredients until they are fully combined. This dry mixture will form the base of your bath bombs and ensure they fizz and dissolve beautifully in the tub.
- Prepare Liquid Mixture: In a small jar with a lid, combine the sweet almond oil and water. Shake well to mix thoroughly. The almond oil will moisturize your skin, leaving it soft and smooth after your bath.
- Combine Mixtures Carefully: Slowly add the liquid mixture to the dry mixture, whisking continuously. This step is crucial to avoid prematurely activating the fizzing reaction. Stir well to ensure the mixture is even and clump-free.
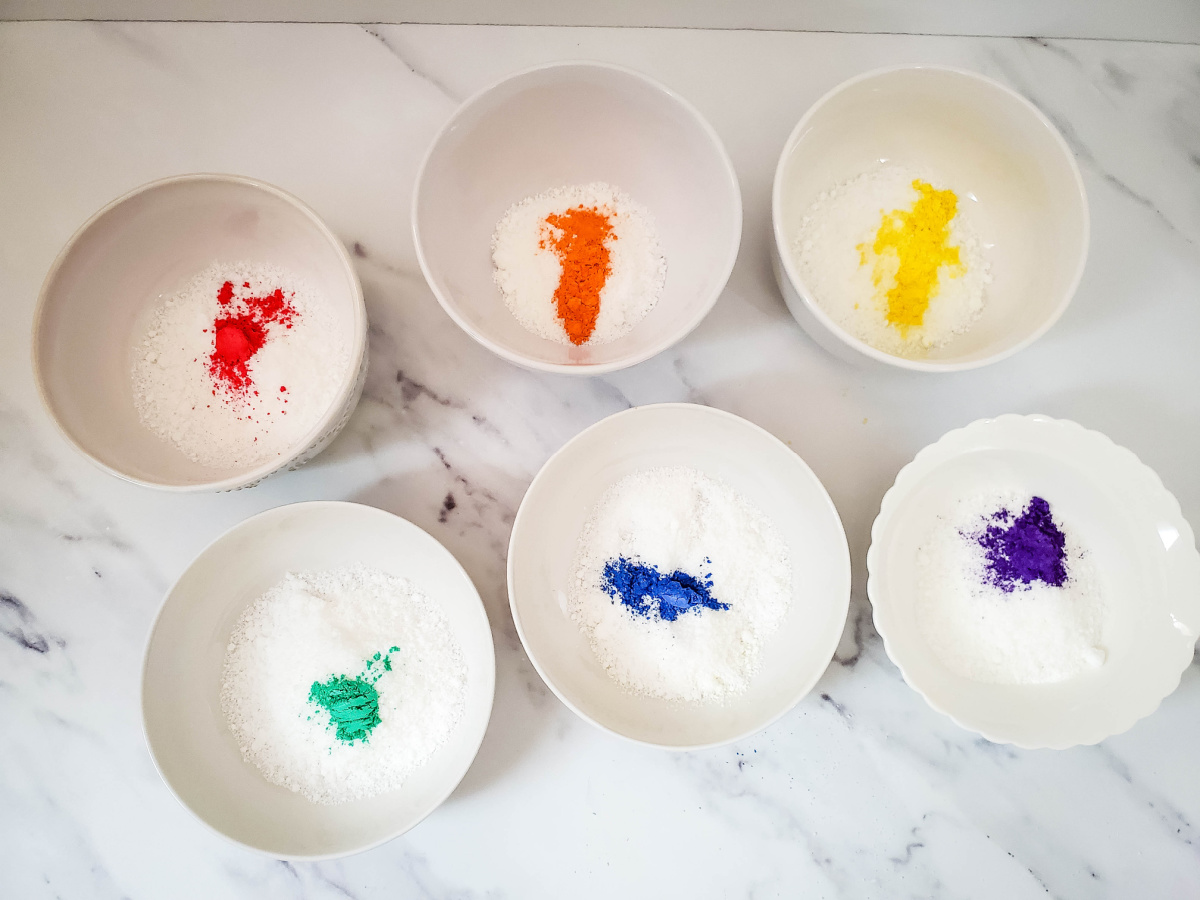
- Divide and Color: Divide the mixture evenly between 6 small bowls. Add one color of mica powder to each bowl and stir until the color is fully blended and vibrant. These colors will create the beautiful rainbow effect in your bath bombs.
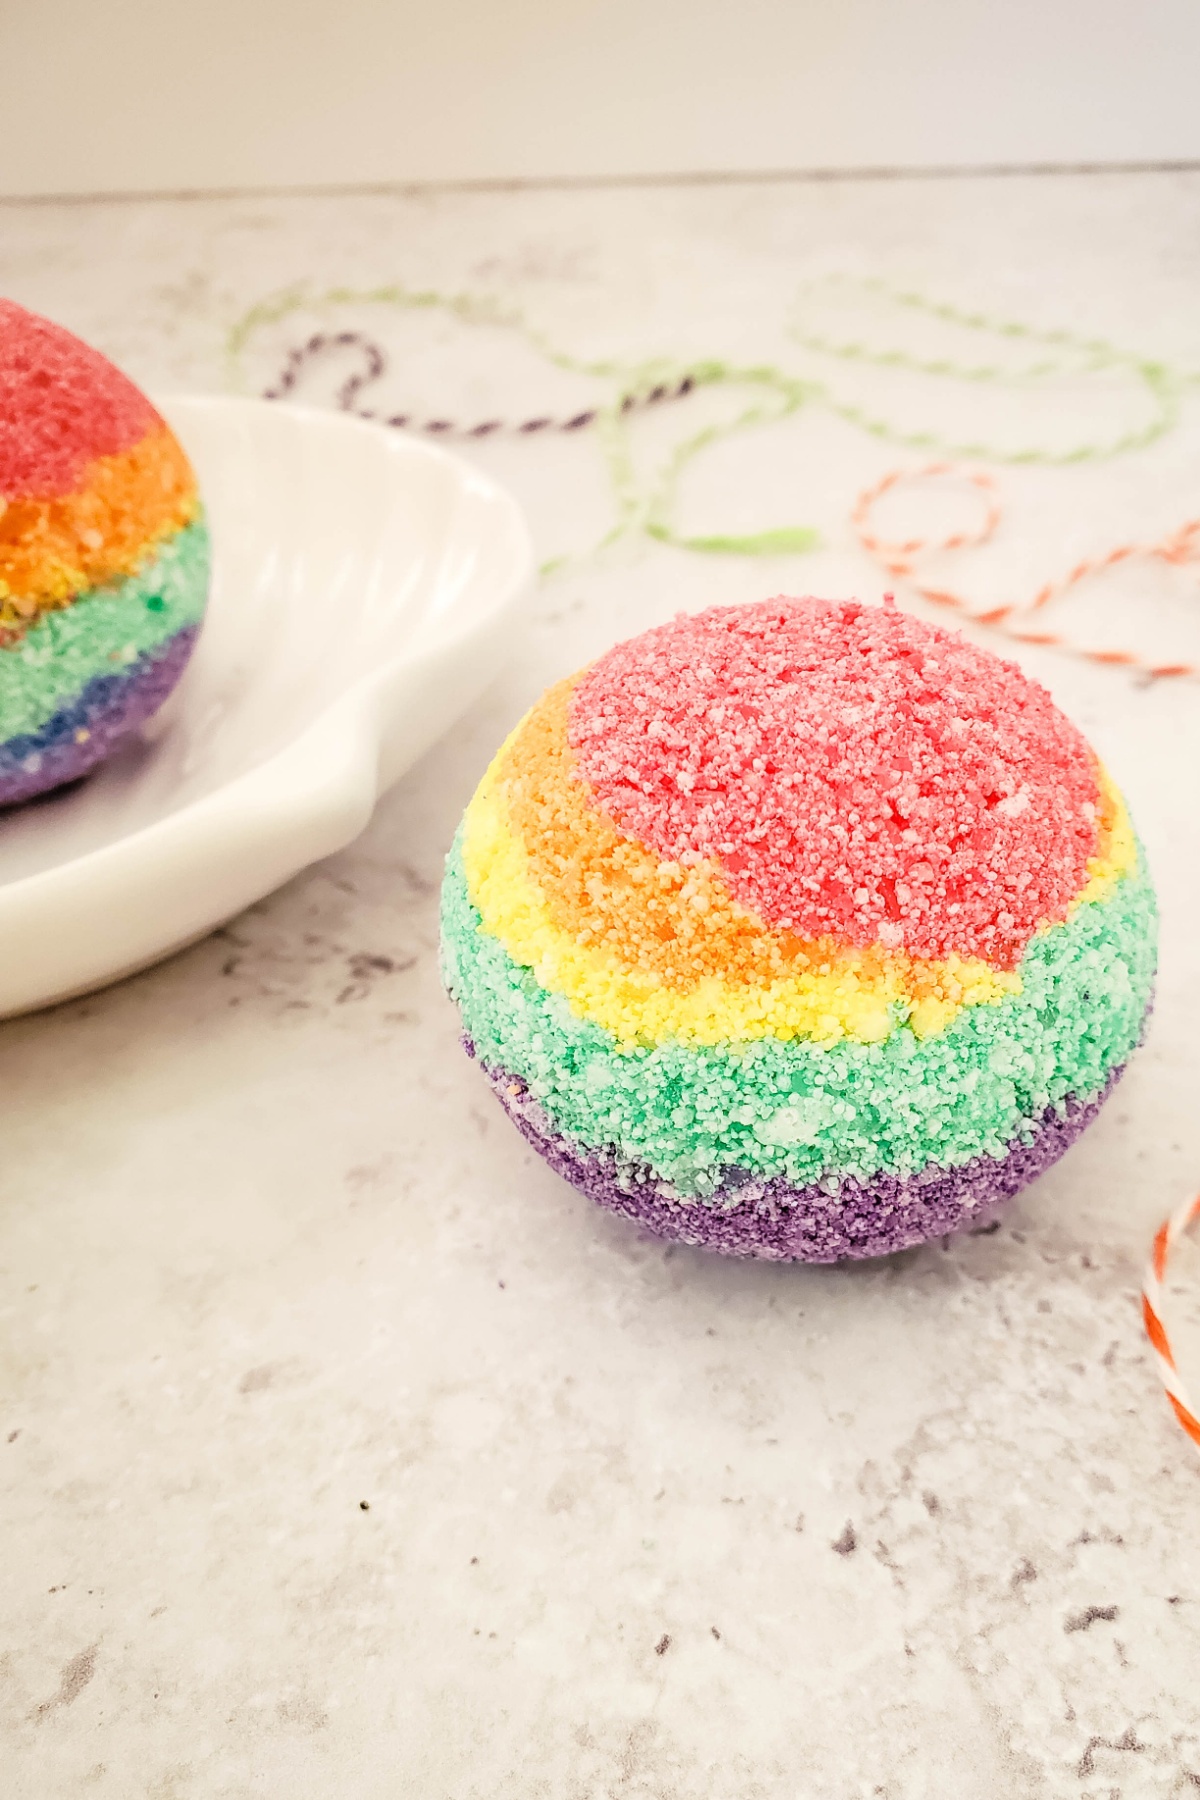
- Layer in Molds: Begin layering the colored mixtures into the bath bomb molds. For each bath bomb, layer red, yellow, and orange in one half, and green, blue, and purple in the other half. Overfill the molds slightly with the third color in each half to ensure the bath bomb holds together.
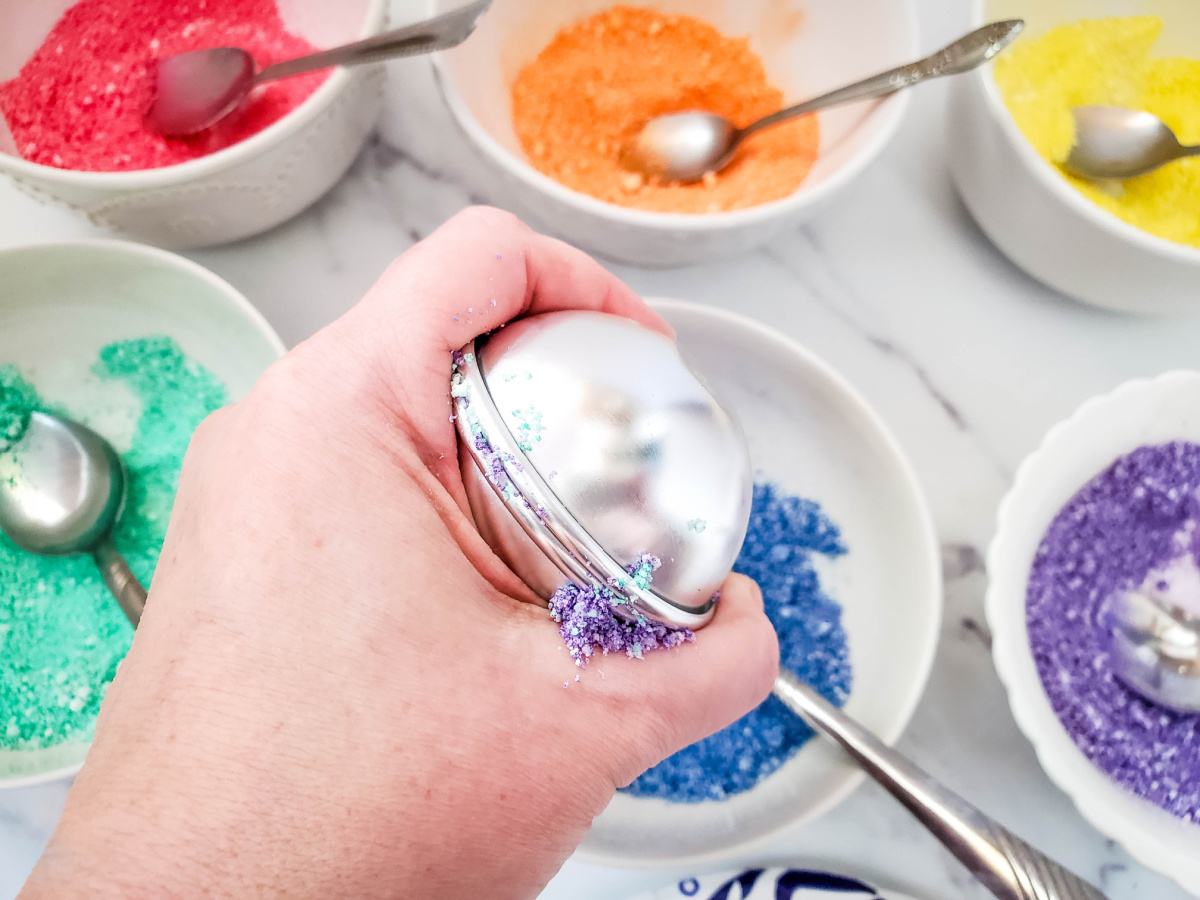
6. Form Bath Bombs: Press the two halves of the mold together and lightly twist to secure. This will create a compact bath bomb that won’t fall apart easily.
7. Set and Cure: Allow the bath bombs to set in the molds for 4-6 hours. Once set, carefully remove them from the molds and let them finish drying completely.
8. Store Properly: Store the finished bath bombs in an airtight container or bag to keep them fresh and prevent premature fizzing.
Why You’ll Love These Rainbow Bath Bombs
- Moisturizing: The sweet almond oil in these bath bombs will leave your skin feeling soft and hydrated.
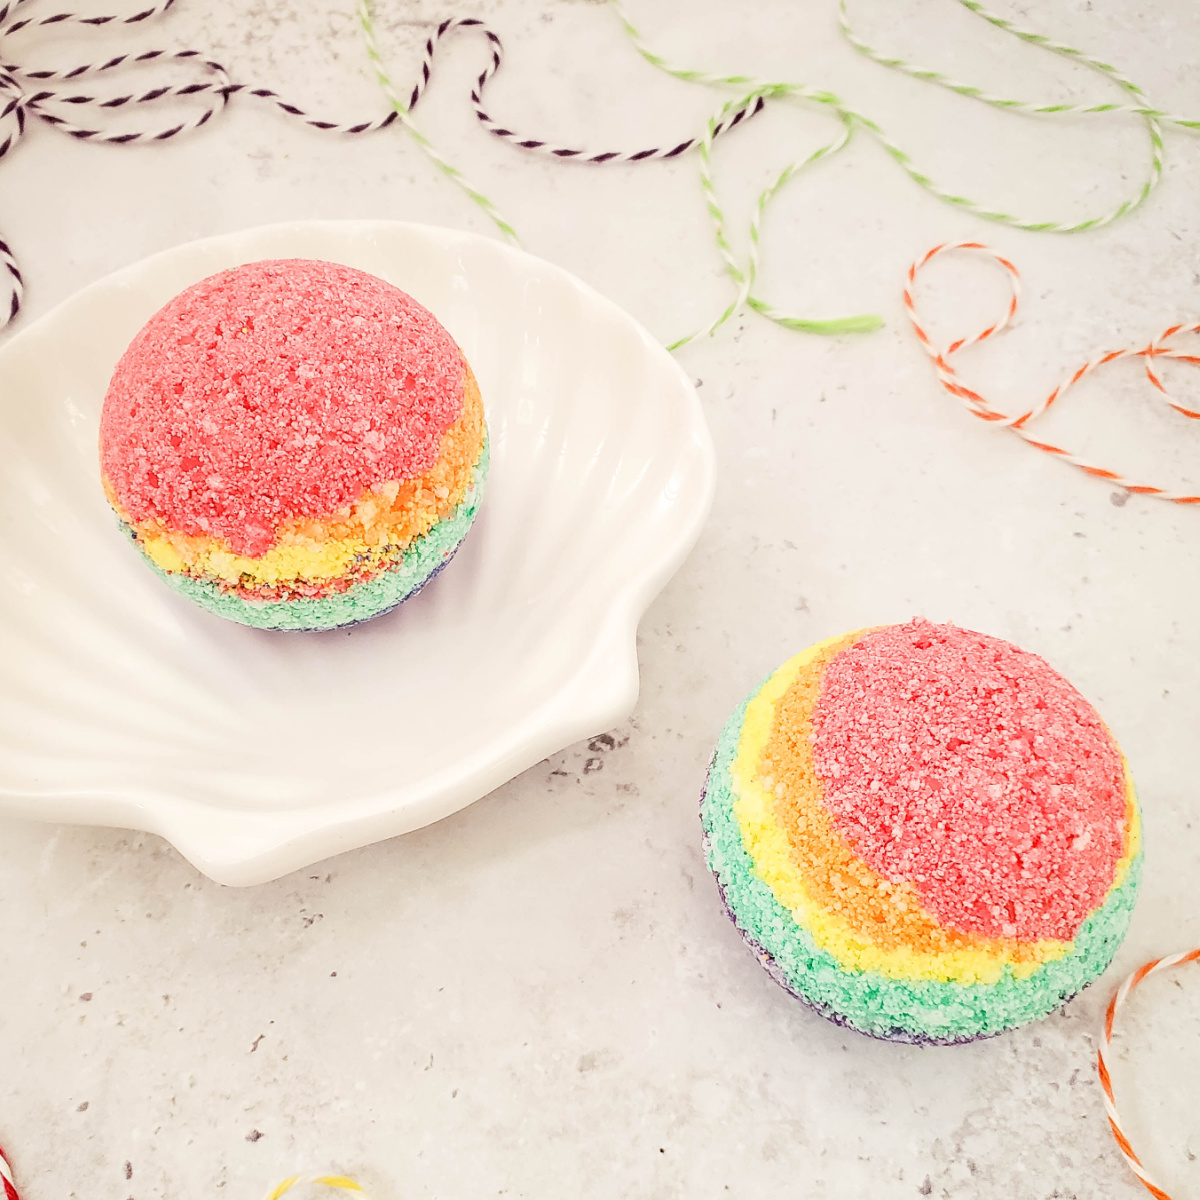
- Colorful: The vibrant mica powders create a stunning rainbow effect, turning your bath into a colorful oasis.
- Easy to Make: With just a few simple ingredients, you can create these bath bombs in no time.
Tips for Perfect Bath Bombs
- Avoid Over-Moistening: Be careful not to add too much liquid to the dry mixture, as this can cause the bath bombs to fizz prematurely.
- Pack Tightly: When filling the molds, make sure to pack the mixture tightly to ensure the bath bombs hold their shape. No one wants a crumbly bath bomb.
- Let Them Dry Completely: Allowing the bath bombs to dry thoroughly will prevent them from crumbling or falling apart when used.
Make these other DIY Bath and Body Items
These DIY Rainbow Bath Bombs make a great gift for friends or a delightful treat for yourself. Store them in a large airtight jar or wrap them with shrinkwrap to keep them fresh and prevent them from absorbing moisture. Enjoy a colorful, relaxing bath experience that pampers your skin and lifts your spirits.
Leave a Reply