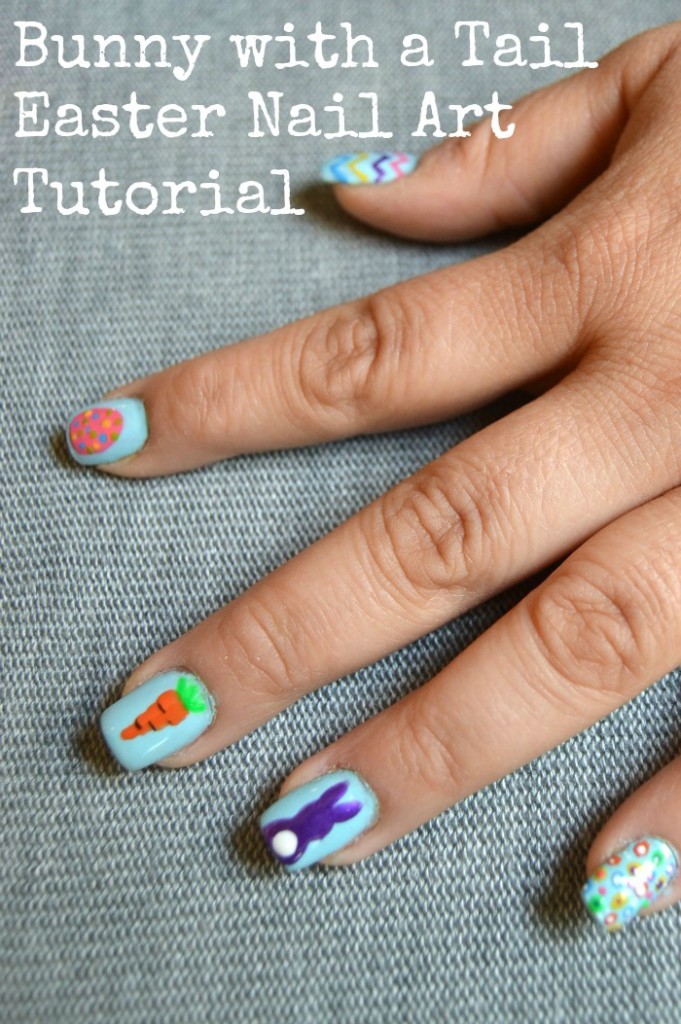
Bunnies and chicks and eggs, oh my! How can it be that Easter is almost here already? Those years that Easter arrives early always throw me off, personally. Hey…kinda like this year.
Never fear, though! We’re here to celebrate the Spring holiday in style. Check out this adorable Bunny with a Tail Easter nail art tutorial. We’ll be doing a Easter Egg nail art tutorial and a carrot nail art tutorial, too. Stay tuned for those to get your whole Easter nail art tutorial series and master your Easter manicure.
Bunny Easter Nail Art Tutorial
What you’ll need:
Base Coat
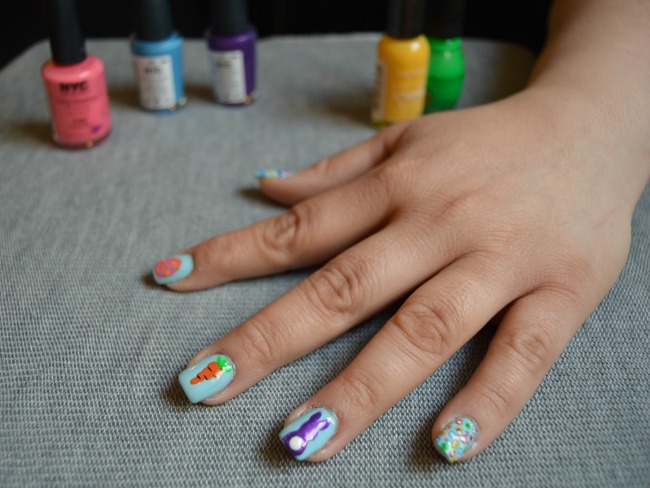
Pastel Blue nail polish
Purple nail polish (or color of your choice)
White nail polish
Nail art brush, regular paint brush with small bristles, large nail dotting tool or toothpick
Clear top coat
Instructions:
First, start off with clean and dry nails. Apply a good basecoat and 2-3 coats of a pale/pastel light blue nail polish. Let this dry really well before you start the nail art tutorial. Make sure you let the polish dry well between each step.
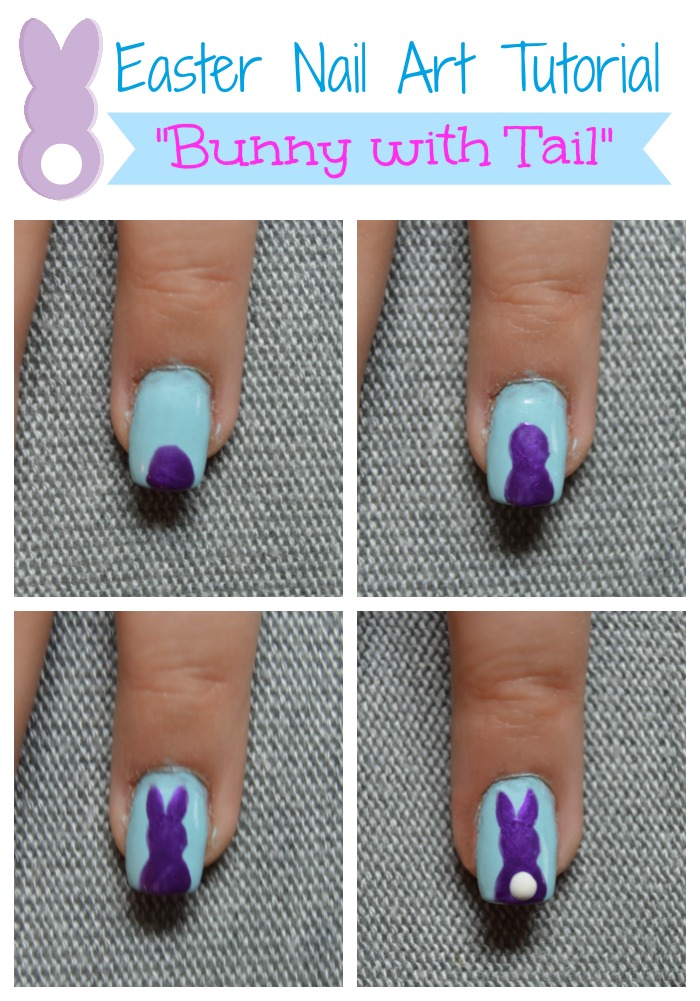
For the bunny nail art, start off by making a small circle at the tip of the nail with the purple polish. It doesn’t have to be perfect. Next, add a smaller circle above it. Add two elongated ovals for ears on top of that. Once fully dry, add a white dot for the tail. Add a clear top coat of polish once everything is dry to help protect your Bunny Easter nail art design.
Voila! You’ve created an adorable bunny with a tail Easter nail art design. It was quick, easy, and pretty painless, right?


So freaking cute!