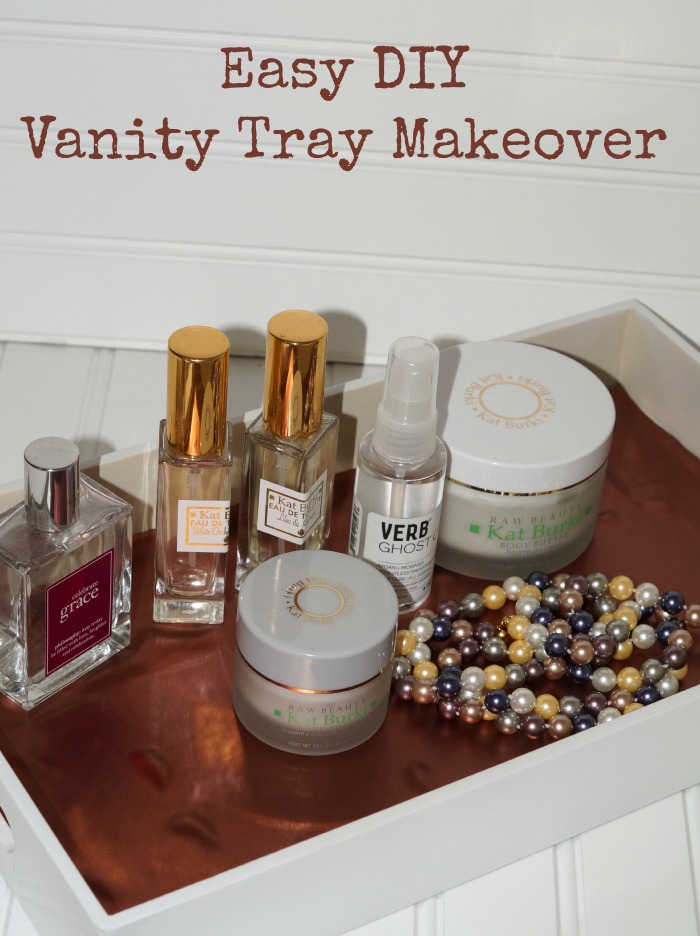
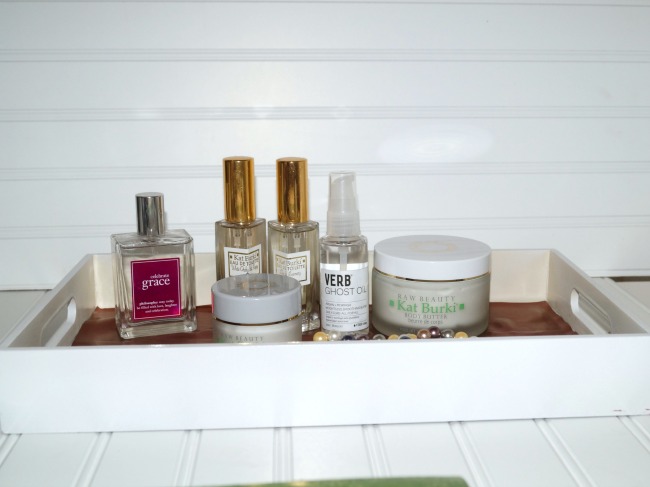
I’m always looking for some kind of something to organize my cra….errr…treasures. Yeah, treasures. For a while it was trinket boxes, and then it was storage bins. While those are both great solutions, I needed something different. Something to sort of wrangle the bottles of perfume and larger items that I use regularly. I was looking at these vintage silver trays one day, and it hit me. A vanity tray DIY project! I had all these pink vanity trays left over from a baby shower, just hanging out. Now, these are pretty nice items, but they do not fit with my personal aesthetic or my décor.
What is a girl to do? If she’s a crafty and creative type, she’s gonna take one of these vanity trays and give it a total facelift.
Vanity Tray DIY Makeover
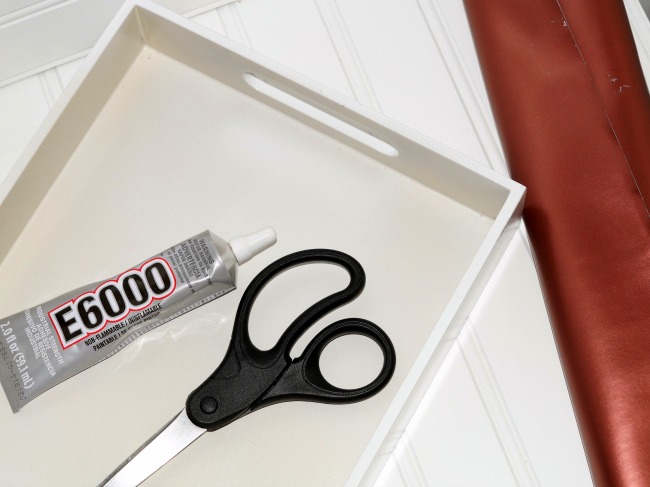
Items needed
- Vanity Tray. Mine is lacquered wood.
- Spray Paint – I used white. You can use whatever color you want.
- Vinyl fabric in a color that coordinates with your décor. I used a piece that was about 8 x 13, so you don’t need much.
- E6000 adhesive. It really is the best.
- Old credit card or store rewards card to spread the glue
- Ruler
- Pen
- Scissors
Directions
Clean your vanity tray and dry well. You want the paint to stick to it.
Spray paint your tray. Depending on the starting color and the ending color, it may take several coats. Let dry well between coats.
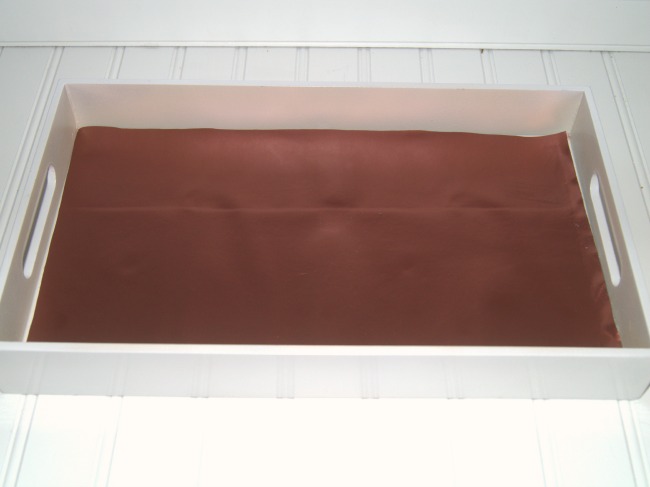
Once your vanity tray is nicely painted, and totally dry, measure it for your fabric. I’m using a nice quality pleather vinyl in a gorgeous metallic coppery-rose for my vanity tray DIY project. It’s water resistant and easy to clean up dust, debris, or small spills. It also doesn’t have to be sewn or have an edge tucked under.
After measuring for your fabric, cut out a piece about the same size as you’ll need.
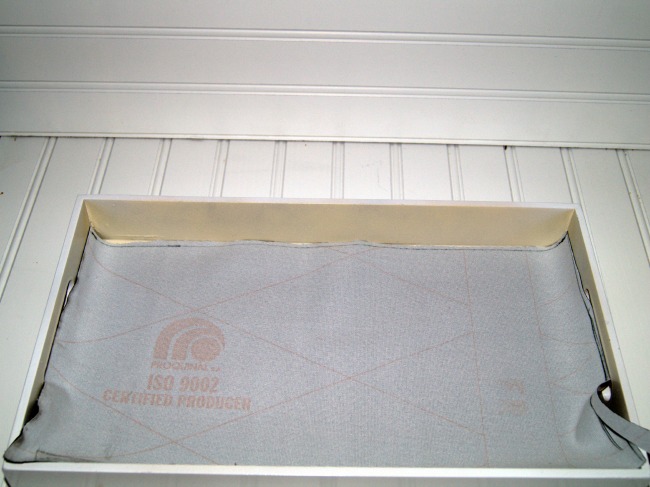
Place the fabric in your vanity tray to see how the size needs to be adjusted. Mark this with a pen. Cut & trim.
Now that your fabric is the right size, here comes the fun part. Gluing your fabric. Put glue all over the base of your vanity tray. Take your plastic card and spread it around. You’ll probably need more glue than you’ll think you will.
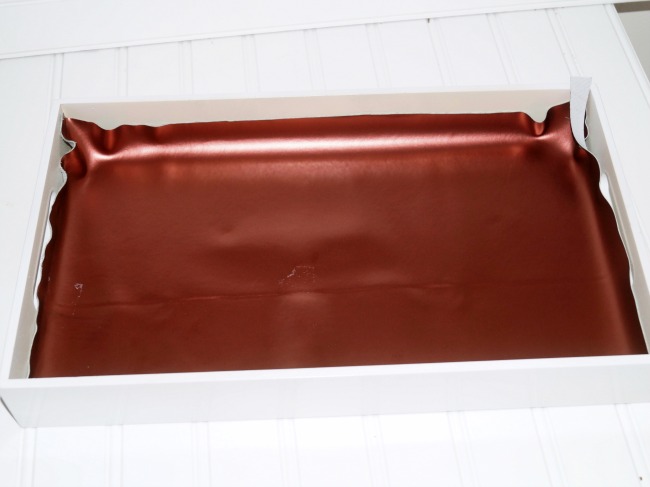
Once the glue is spread, put the fabric down – carefully. Make sure to get the edges lined up, and the fabric into the corner.
Spread the vinyl out, making sure that it sticks well and is tacked down around the edges.
Voila! You can finish your vanity tray off with some trim around the edge, but I found that I didn’t really need it.
If you get bubbles under your vinyl fabric, don’t worry. Try to work them out by gently pushing to a corner or edge. If that doesn’t work, just poke them a couple times with a pin and they should go away.
This vanity tray would make a great gift for mom, or any other lady in your life. For more easy gift ideas, visit a few of my favorite bloggers:
- DIY Lavender Facial by Confessions of an Overworked Mom
- Easy Cookie Platter Mother’s Day Gift by A Mom’s Take
- DIY Mother’s Day Herb Garden Gift by Mom Does It All
- Homemade Painted Glass Bottle by Our Family World
- Thanks a Latte Teacher Gift by Simply Southern Mom
- DIY Shea Butter Lotion Bars by Better in Bulk
- DIY Mother’s Day Coupon Book for Twin Moms by Mom on the Side
- DIY Butterfly Wall Hanging by Home and Garden Cafe
- Party Worthy Spinach Salad with Strawberries by Day by Day in Our World
- DIY Aromatherapy Shower Fizzies by My So Called Balanced Life
- Easy DIY Photo Coasters & a Delicious Mocktail to Spoil Mom by Two Boys One Girl One Crazy Mom
- Add Some Style to Your Sunglasses by Greta’s Day
- DIY Kitchen Herb Garden Gift by About a Mom
- Pasta Picture Frame by Upstate Ramblings
- Easy Marquee Letter Craft by Momma D Jane’s Blog
- School’s Out for Summer Gift by The Guavalicious Life
So many great DIY projects! Thanks for sharing.
Love that copper color!
This is such a great way to freshen up a room. I need this to corral all my makeup!
I love this! I should definitely make one of these for my Mom. I think she would really enjoy it.
I love this idea. My vanity needs a serious refresh
This would be a nice surprise to serve breakfast in bed for mom on Mother’s Day. The added bonus is the tray is a gift.
This is a cute and easy tray to make. I sure could use one!