Any person that has to put their hair up knows that bobby pins are not only a lifesaver, they’re basically a must have hair product. There’s two kinds of bobby pins, though – the ones that aren’t meant to be seen, and these fab embellished bobby pins.
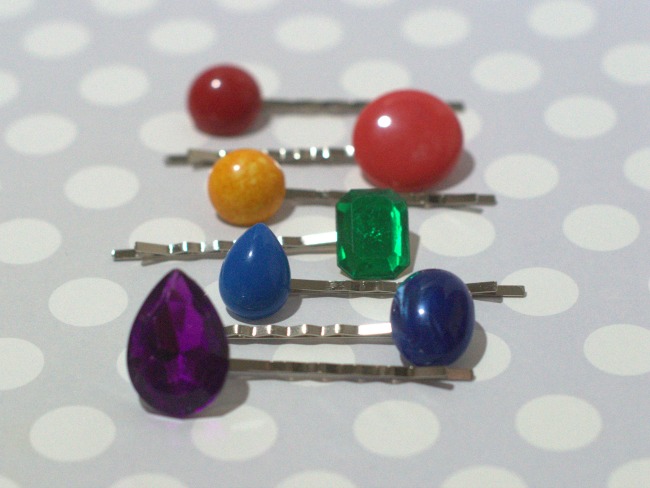
We’re showing you how easy it is to make rainbow embellished bobby pins. Personally, I love these for date night, work, or special events. And when you’re growing your hair out, they’re practically a must have.
How to Make Rainbow Embellished Bobby Pins
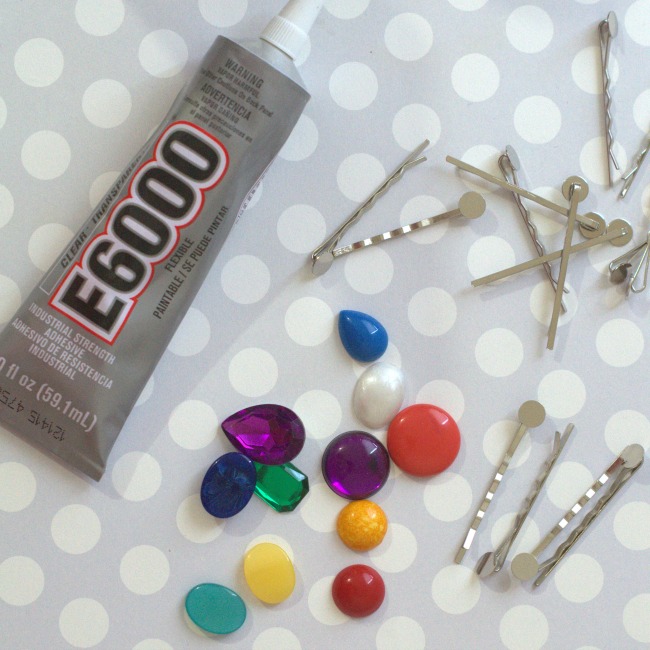
Embellished Bobby Pins Supplies
- Bobby Pins with a flat surface
- Vintage pieces in rainbow colors. I’m using an assortment of vintage lucite and vintage rhinestones.
- E6000
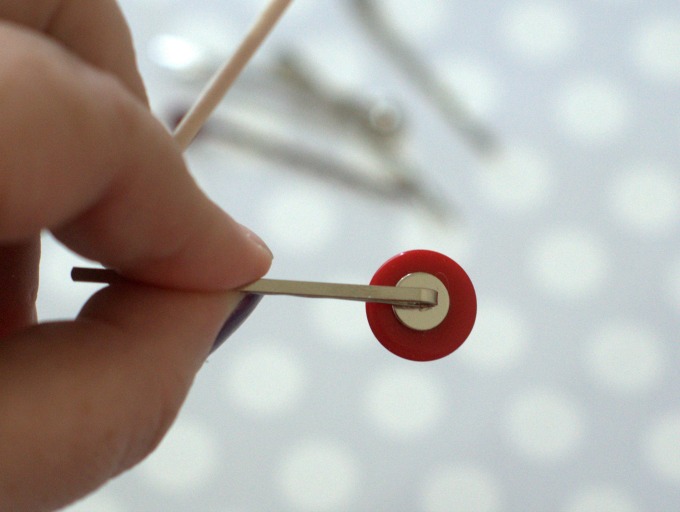
- Some type of applicator. I used a cotton swab with the end cut off.
- Alcohol wipes
Embellished Bobby Pins Directions
Clean your bobby pins and vintage pieces with alcohol. An alcohol wipe makes this super quick and easy.
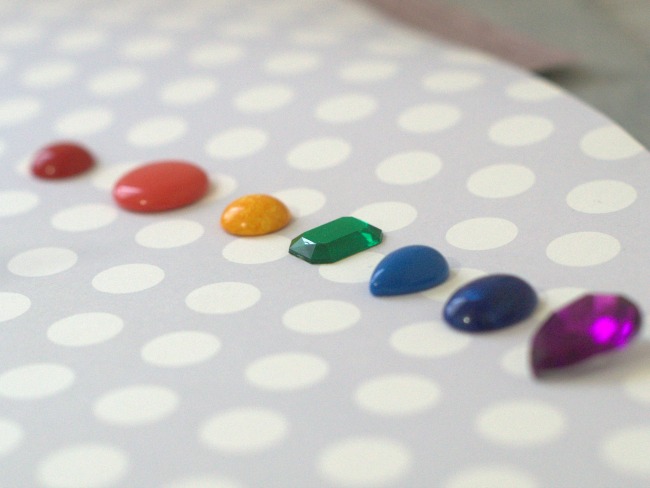
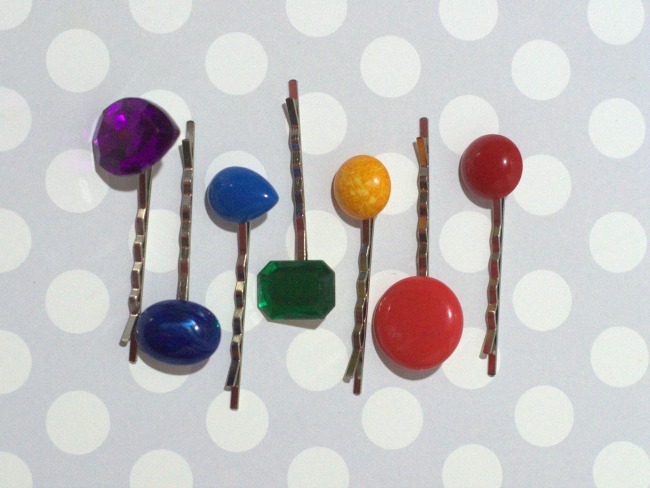
Select vintage pieces in colors of the rainbow. I found it easiest to follow the ROYGBIV pattern to make sure I got all the colors.
Squeeze out a little bit of E6000 onto a scrap piece of paper or a little container. I’m using a container that contact lenses came in.
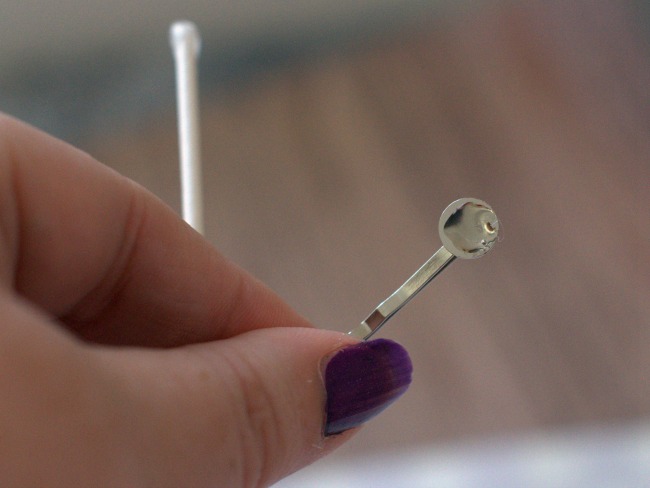
Using the cotton swab stick, spread a little bit of E6000 Glue onto your bobby pin surface, and a tiny dab onto the back of your vintage piece. Wait about 5-10 seconds, then press them together. Hold together for 15-20 seconds, then set aside and let dry.
I find it best to set the pieces on their face with the bobby pin up to dry.

Finish gluing all your rainbow vintage pieces. Let dry for a few hours or overnight.
Voila! Your Vintage Rainbow Embellished Bobby Pins are completed. You can wear them all, or pick and choose which embellished bobby pins to wear.
Be sure to press your luck, and see all the other fab St Patrick’s Day projects
- Pot of Gold Crochet Cup Cozy – Busy Creating Memories
- St Patrick’s Day Printable Cupcake Toppers – Diana Rambles
- Lucky Mini Terrarium – How Was Your Day?
- Shamrock Emoji Pudding Cups – Cutefetti
- St Patrick’s Day Glass Map Necklace – Food Fun Family
- St Patrick’s Day DIY Slime – Views from the ‘Ville
- Easy St Patrick’s Day Centerpiece – Upstate Ramblings
What a fun rainbow array of bobby pins. Cute!
My daughter loves arranging things by color to make a rainbow. She also loves anything that has to do with her hair or “fashion” as she says. I will have to set up an afternoon to make these with her.