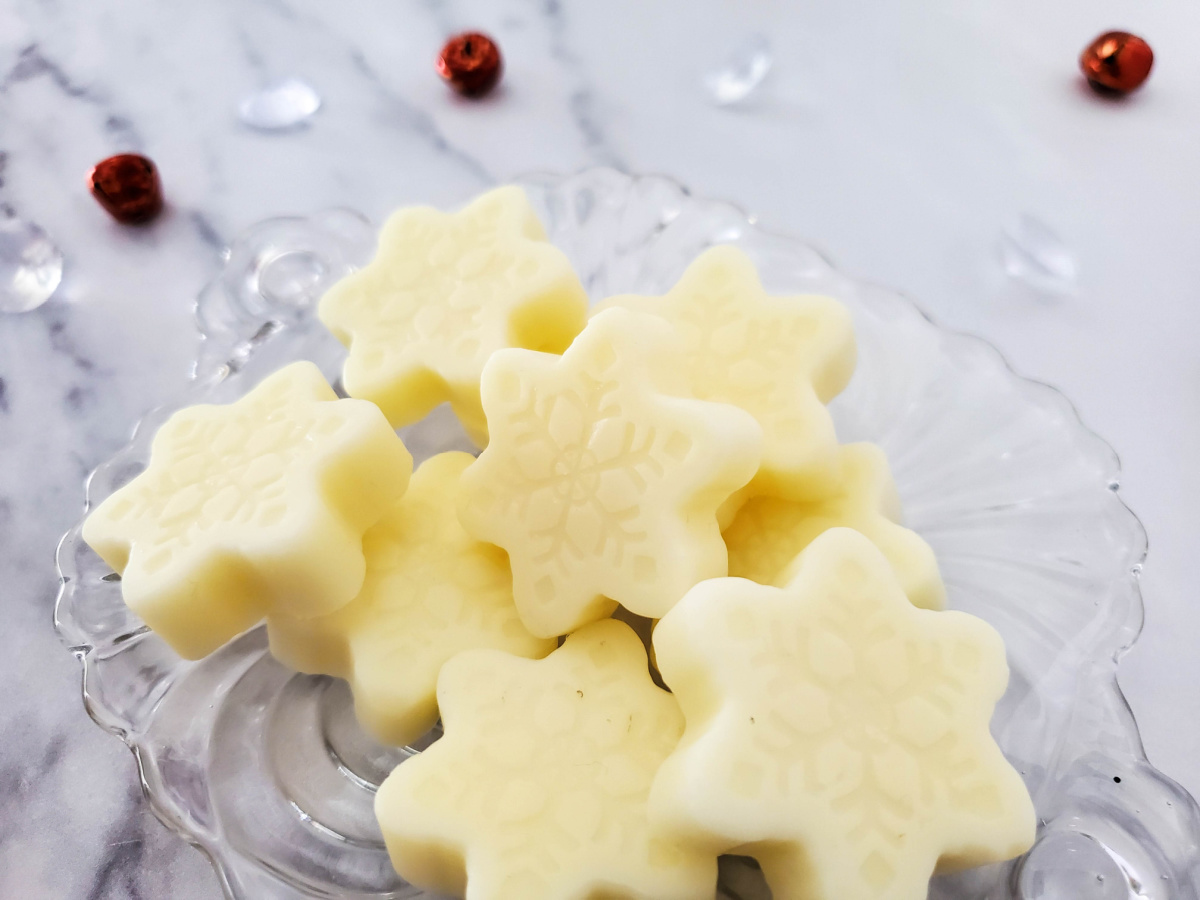
As winter seemingly drags on, our skin often feels the effects of the cold, dry air. To combat this, why not try making your own nourishing snowflake lotion bars?
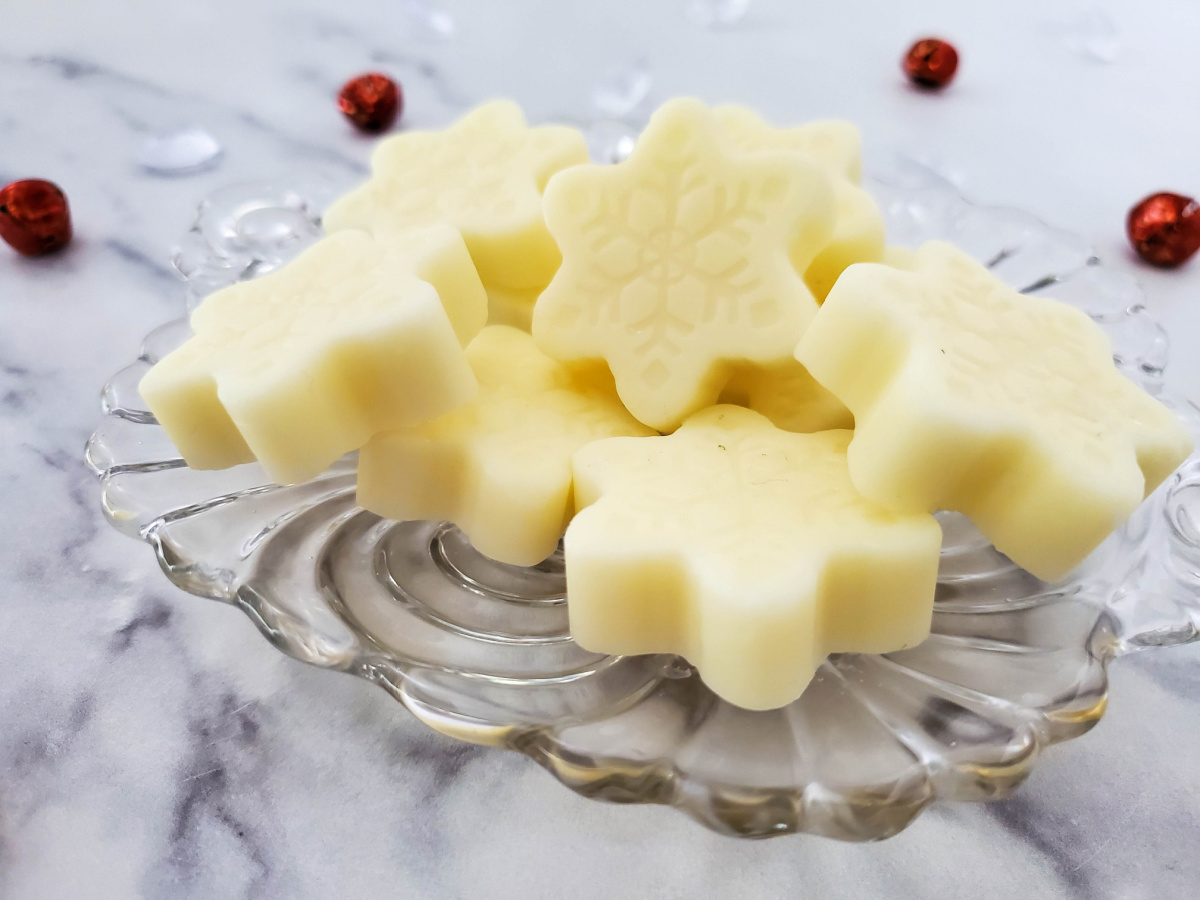
These delightful bars are not only practical but also make for a thoughtful handmade gift. With just a few simple ingredients and a bit of creativity, you can whip up a batch of these festive and useful lotion bars in no time.
Links may be commissioned.
How to Make DIY Snowflake Lotion Bars
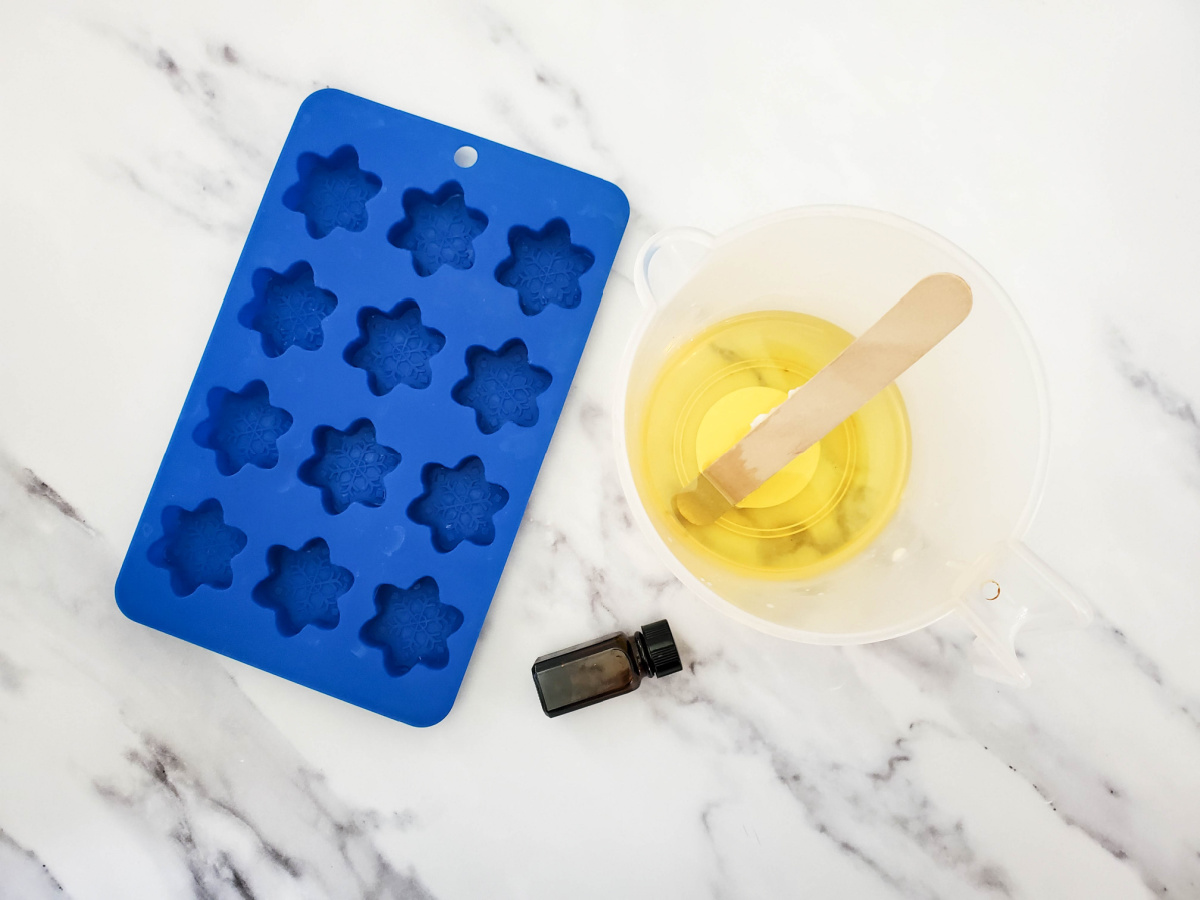
Ingredients:
- 2 oz beeswax
- 2 oz shea butter
- 2 oz coconut oil
- 7 drops eucalyptus essential oil
- 10 drops peppermint essential oil
- 6 drops lemon essential oil
- 3 drops tea tree essential oil
- Snowflake mold
- 4 cup microwave-safe measuring cup with spout
- Wood craft stick for stirring
Directions:
- Gather all your ingredients and equipment. Place the snowflake mold on a flat surface, ready for pouring.
- In the microwave-safe measuring cup, layer the beeswax, shea butter, and coconut oil. Heat in the microwave in 30-second intervals, stirring between each session, until fully melted. Be careful not to overheat the mixture.
- Allow the melted mixture to cool for a few minutes. Then, add the eucalyptus, peppermint, lemon, and tea tree essential oils. Stir well to combine, ensuring the oils are evenly distributed throughout the mixture.
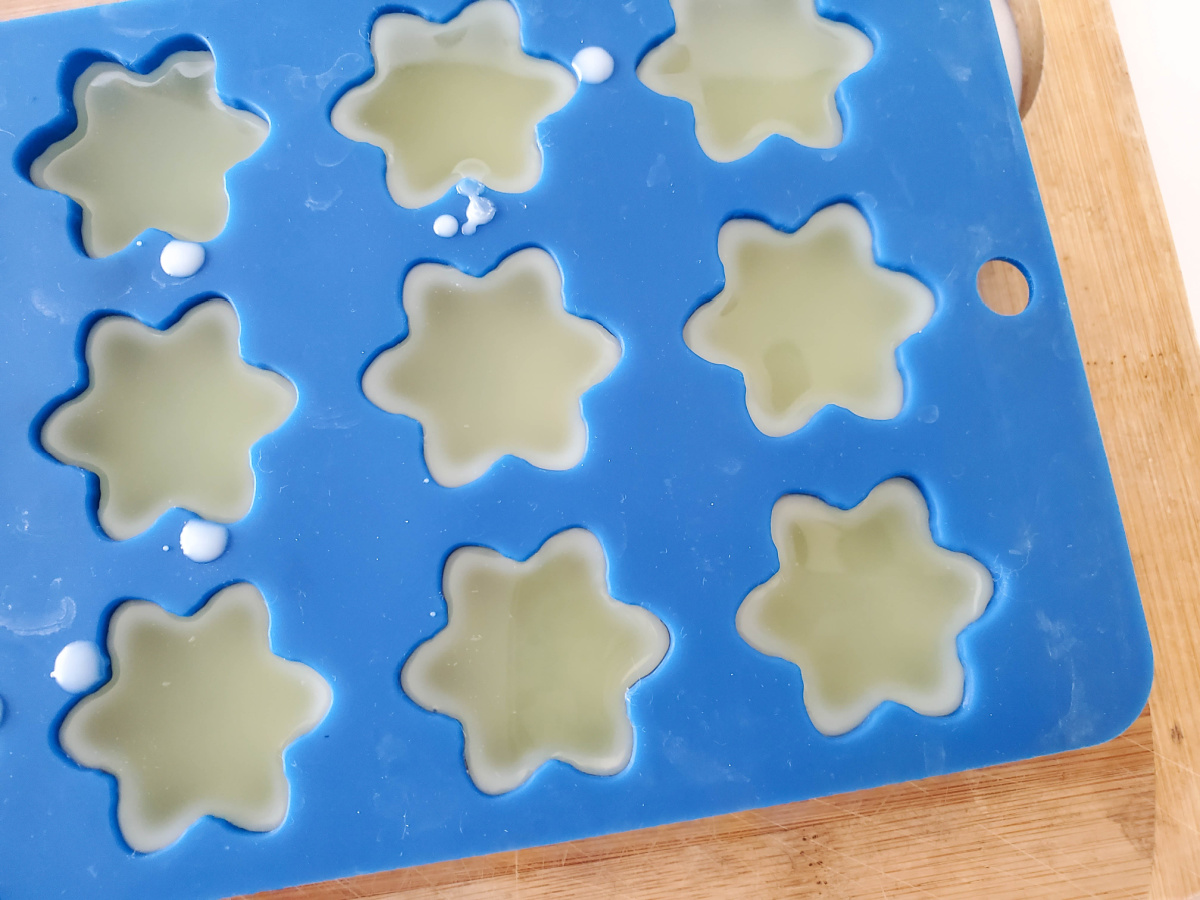
- Carefully pour the mixture into the snowflake mold, filling each cavity to the top. Use the wood craft stick to smooth the surface if necessary.
- Leave the mold undisturbed for 2-3 hours, or until the lotion bars have completely hardened.
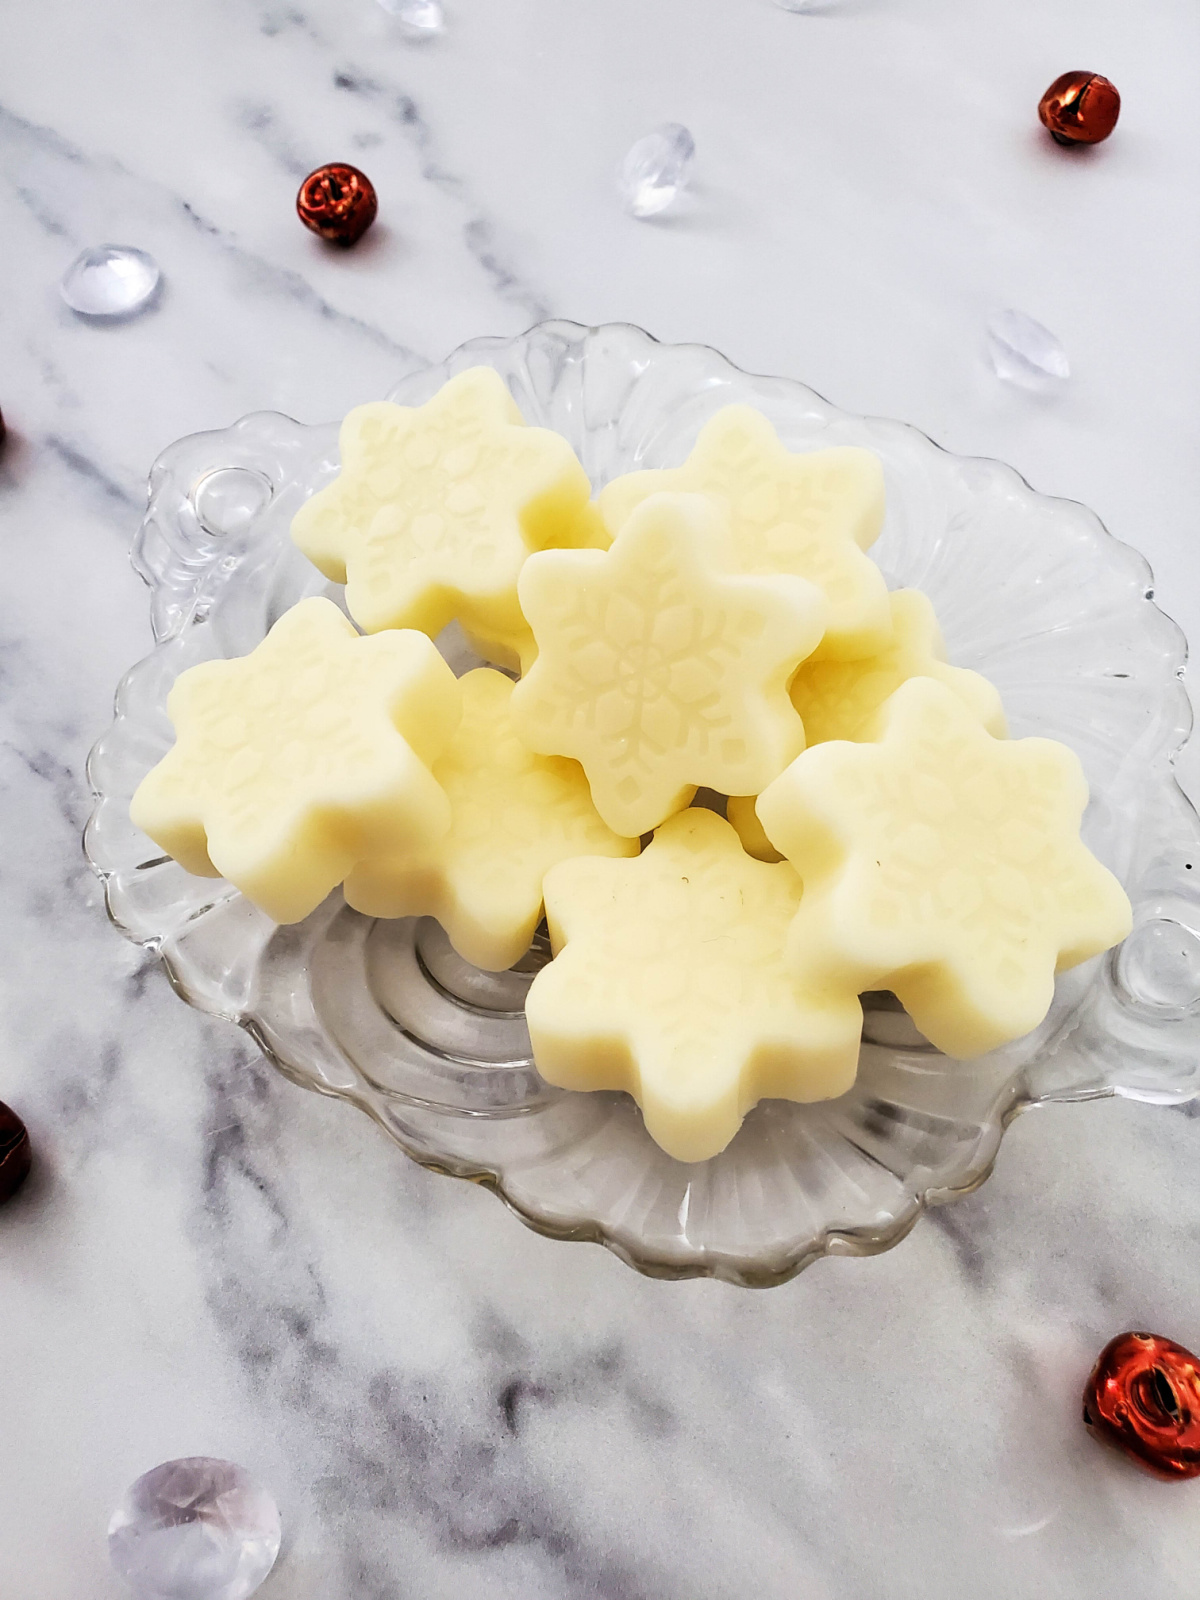
- Once set, gently pop the lotion bars out of the mold. Store them in a cool, dry place or wrap them up in pretty packaging to give as gifts.
Benefits of Snowflake Lotion Bars
Moisturizing: The combination of shea butter, coconut oil, and beeswax helps to deeply moisturize and nourish the skin, leaving it soft and supple.
Aromatherapy: The addition of essential oils not only adds a delightful fragrance but also provides therapeutic benefits. Eucalyptus and peppermint oils can help to clear the sinuses and invigorate the senses, while lemon and tea tree oils offer antibacterial and antifungal properties.
Convenience: Lotion bars are easy to use and mess-free. Simply rub the bar between your hands or directly onto your skin to release the moisturizing oils.
DIY Snowflake Lotion Bars Tips and Tricks
When making lotion bars, it’s important to use high-quality ingredients to ensure the best results. Here are a few additional tips to keep in mind:
Storage: Store your lotion bars in a cool, dry place away from direct sunlight. This will help prevent them from melting or becoming too soft.
Use Sparingly: A little goes a long way with lotion bars. Start with a small amount and add more if needed.
Avoid Heat: Be cautious when heating the ingredients, as overheating can cause them to lose their beneficial properties. Use short intervals in the microwave and stir frequently.
Customization: Feel free to experiment with different essential oil combinations to create your own unique scents. Lavender, chamomile, and rosemary are popular choices for soothing and calming effects.
Gift Giving: These lotion bars make a great gift. Package your lotion bars in airtight containers or wrap them in waxed paper and tie them with a ribbon for a beautiful presentation.
Creating your own snowflake lotion bars is a fun and rewarding DIY project that can help keep your skin hydrated and healthy during the winter months. Experiment with different essential oil blends and molds to customize your lotion bars to suit your preferences. Whether you keep them for yourself or give them as gifts, these lotion bars are sure to be a hit.
Leave a Reply