With the holiday season upon us, it seems that we’re wearing more and more updos. We all know what that means – bobby pins galore.

Even though they aren’t usually seen, sometimes they are. Plain ol’ bobby pins just aren’t acceptable, though. No way! We need something a little fancier. We will make our own altered bobby pins, quickly and easily.
Altered Bobby Pins Supplies Needed
- Bobby Pins – preferably new ones
- Nail Polish
- Cardstock
Altered Bobby Pins Directions:
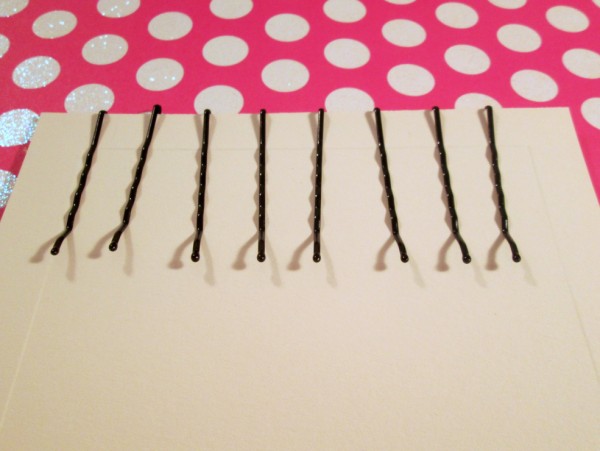
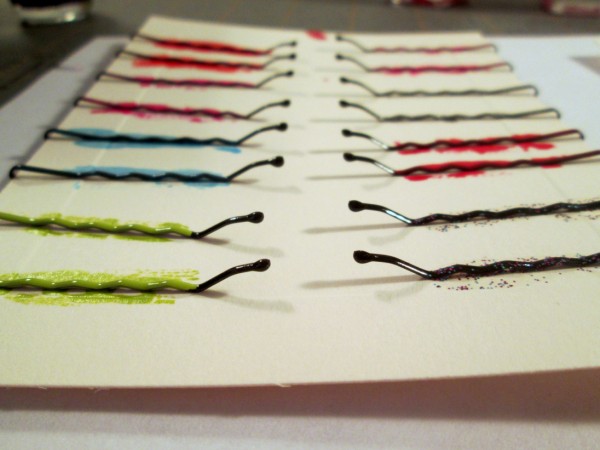
Slide bobby pins onto the piece of cardboard. I’m using a paneled card from a wedding invitation, because I have a ton of them on hand.
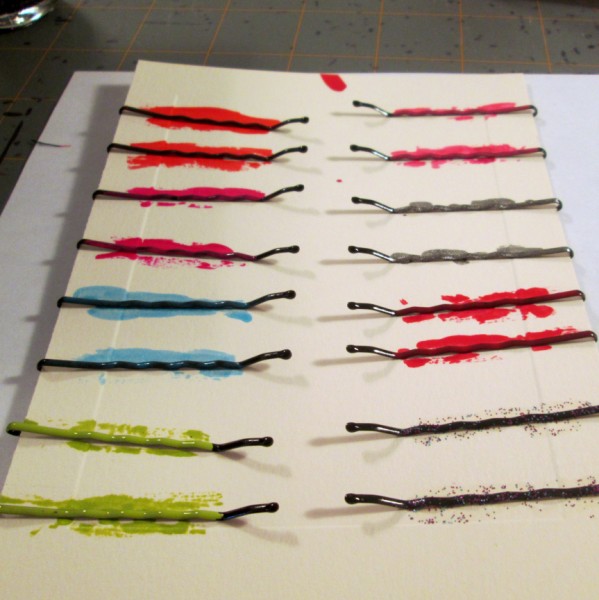
Paint your nail polish onto the bobby pin. Try to get a nice, even coat. Let dry.
After the first coat is dry, paint another coat of nail polish on your bobby pins. Let dry again.
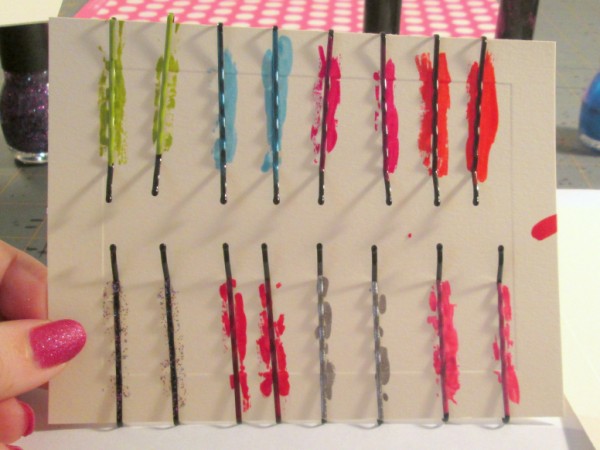
Voila!
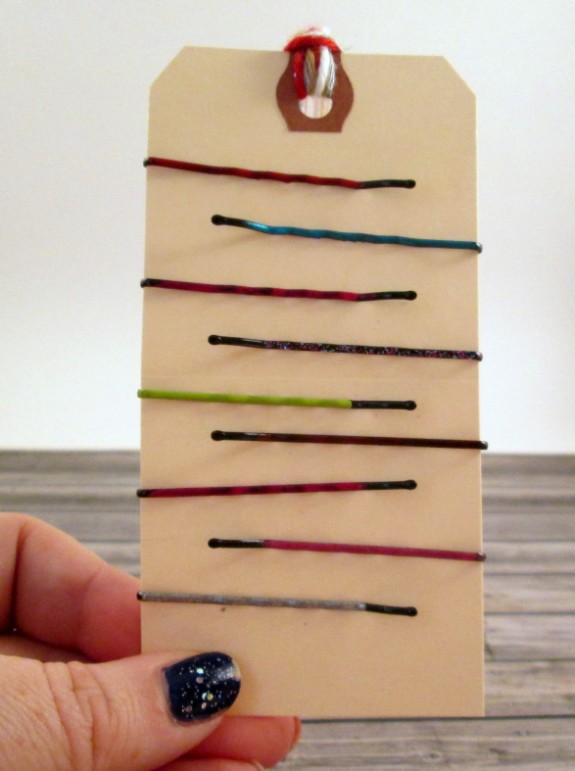
You now have gorgeous altered bobby pins, quickly and easily. I slid these onto a plain old shipping tag that I added some fancy yarn to the hole. They’re ready for gift giving or for a craft fair.
Altered Bobby Pins Tips:
I let my bobby pins dry for about an hour or two between coats. Mainly because I went and ran errands, but they were really dry.
Lighter colored bobby pins generally work a little better, as they allow the nail polish colors to pop better.
Opaque polishes work the best for the pop of color.
I used expensive polishes, cheap polishes, mid-range polishes, and they all worked about the same. The brighter, opaque colors popped the best, though.
Total time: 2 hours, including drying time.
Total Cost: The bobby pins were $1.79 for 60, and I used nail polish from my collection.
Those are so cute! What a fantastic idea!
How fun – now you can make them match any outfit!! Great idea. These would even be great to use on notes, etc. Pinned & Tweeted!
so cute, practical and easy to do.
How creative! I never thought to use nail polish to decorate bobby pins! You could even add some beads to highlight the color! Very cool!
That’s cute, quick, easy and personalizable! Love it! Going to make some for my girl!
I think this is a great idea. I am definitely going to try this.
These are so cute! It would be a great way to add a little sparkle to holiday outfits….am I now insane for wanting to match my nail polish to my hair accessory?!
Seriously, such a great idea. I have a huge bin of nail polish and when will I ever use it all? This is perfect.
Such a great idea. I think my girls would love to do this!
What a great idea! I was in Sally’s today and they wanted $6 for 4-6 bobby pins that simply had a rhinestone on them I bet you could glue one to the end of these and get a great look!