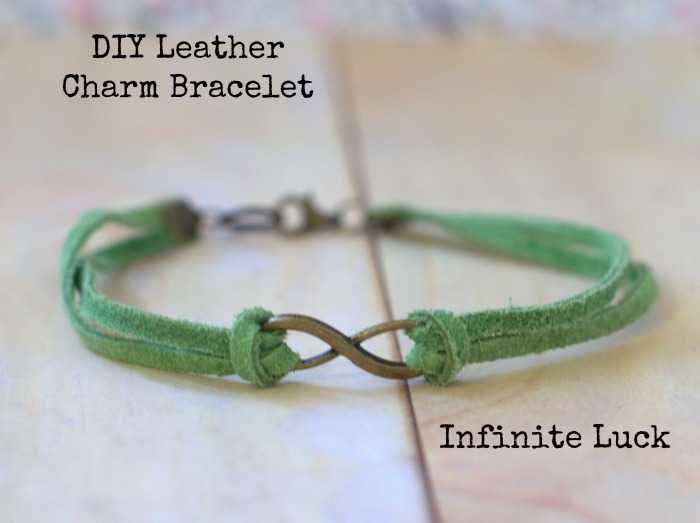
These leather charm bracelets have been popular for a while now. They make a great simple statement piece, or a fab addition to an arm party. The leather charm bracelets have a rocker chic vibe or a simple and elegant feel. They really take on the attitude you want to give them.
Wanna know a secret, though? Leather charm bracelets are really easy to make. And inexpensive. For about the cost of one bracelet, you could buy everything you need to make several of these leather charm bracelets yourself – including a good pair of pliers.
How to Make Leather Charm Bracelets
Links may be affiliate links.
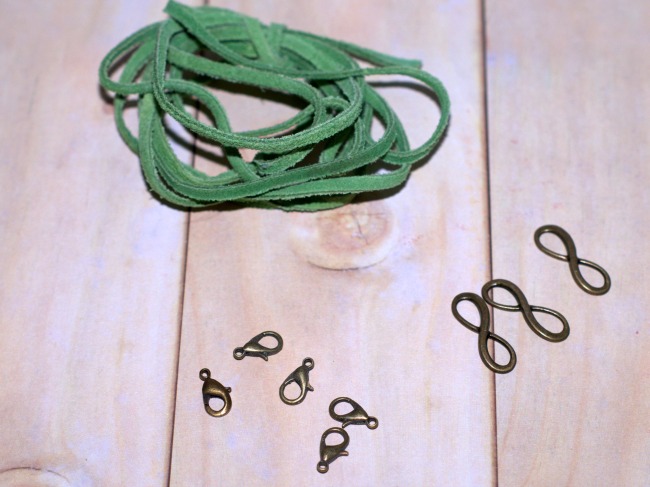
Supplies needed:
Two feet of green suede lacing
Infinity charm in Antique Bronze finish.
2 – Cord ends or ribbon clamps in antique bronze
1 – Clasp in antique bronze
2 – 4 mm jump rings in antique bronze
1 – 12mm jump ring or chain tab in Antique Bronze – omit if you use a toggle clasp.
Directions
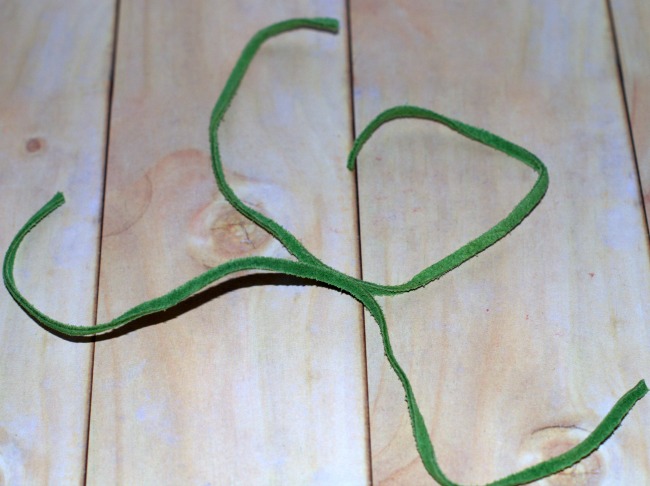
Take your suede lacing, and cut it into two 1-foot sections. Set one aside.
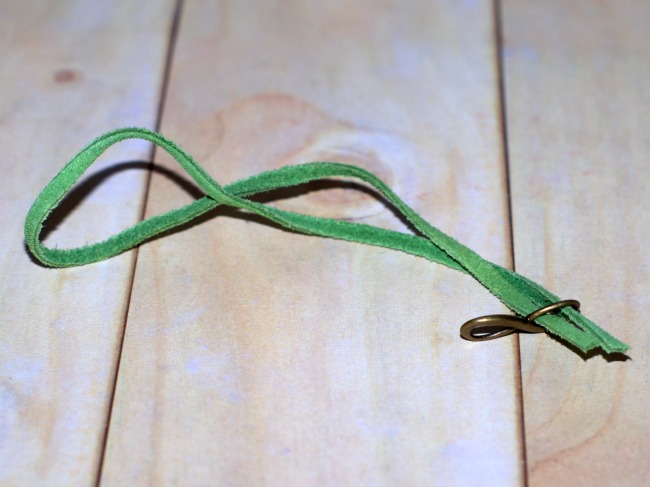
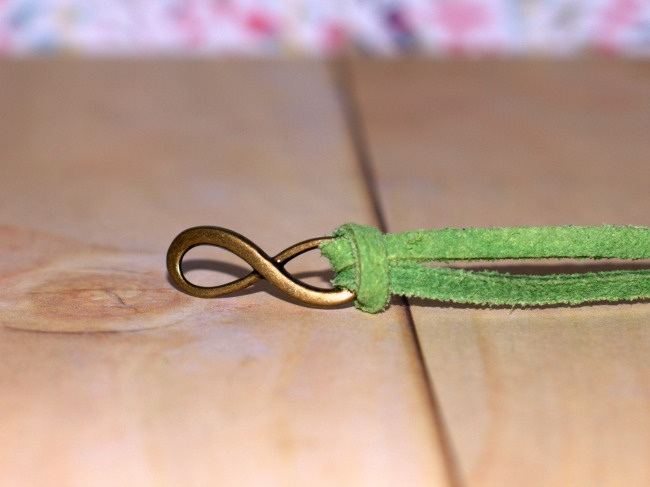
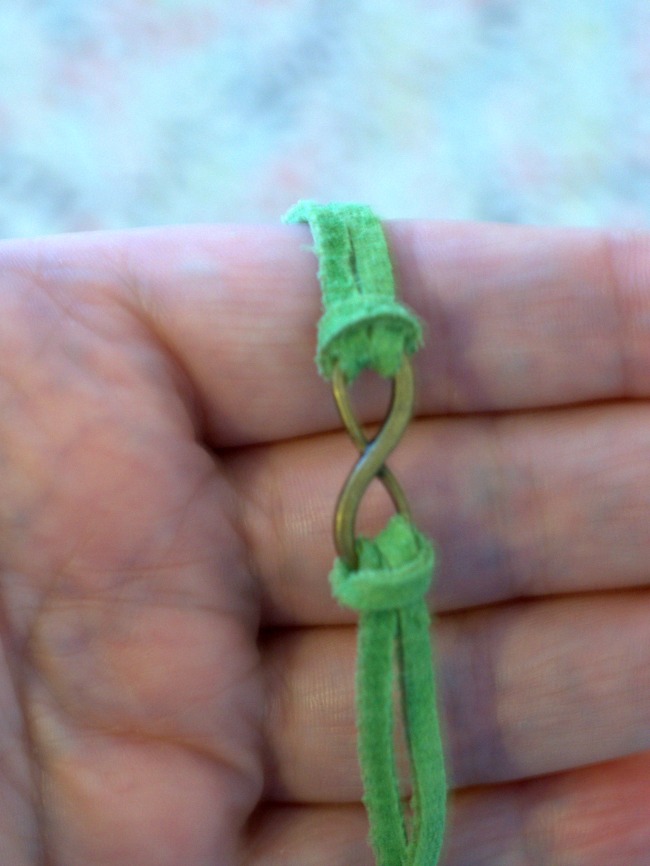
Fold the other green lacing in half, with the two cut ends together. Feed these two ends through one end of your charm.
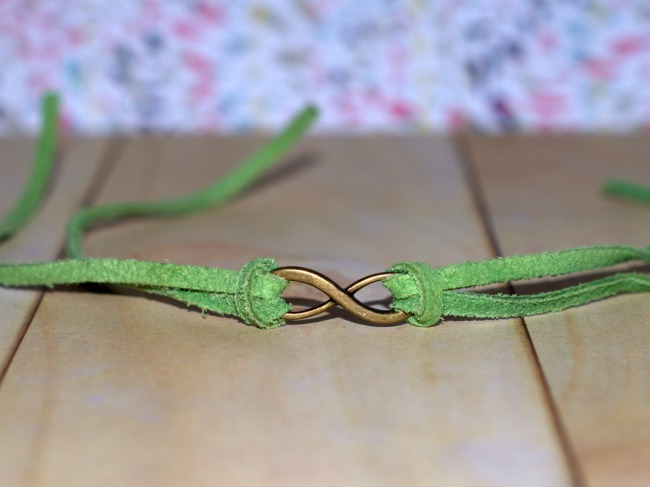
Loop the leather ends back through the leather loop you’ve formed to create a half-hitch knot. Pull tightly. You may need to manipulate this a little with your fingers to get it tight and attractive.
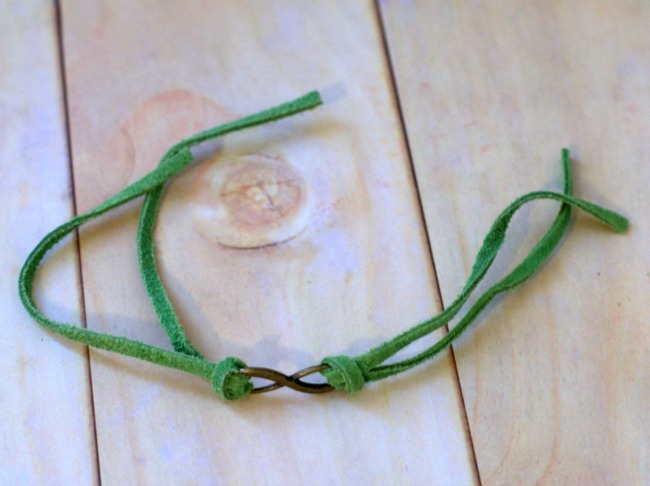
Repeat for the other piece of leather on the other side.
Decide how long you’d like your bracelet. Trim the excess leather. Now, trim a little more. The clasp will add a good ½-1 inch to the length of your bracelet.
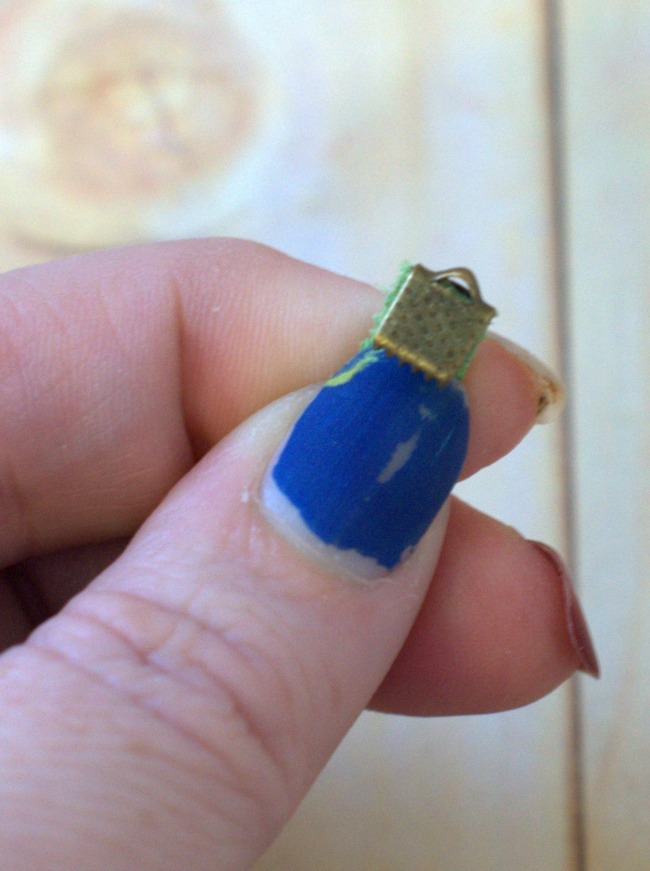
Attach cord ends or ribbon clasps to each end. Simply slide your leather ends in, and clamp the finding down. You may want to add a dab of glue like E-6000. Sometimes I do, sometimes I don’t.
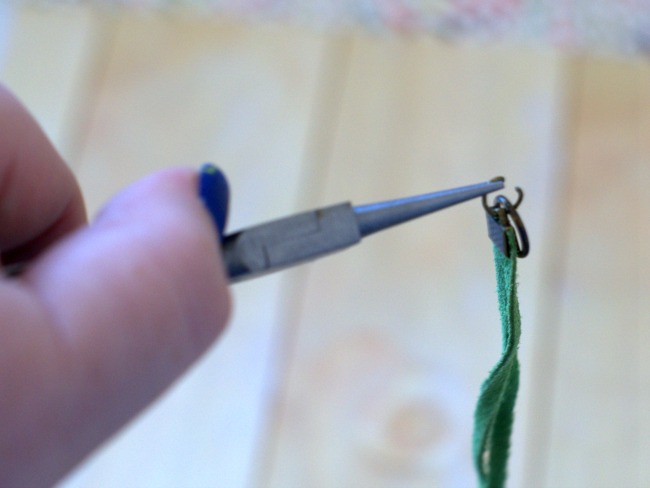
Open your jump ring and attach the clasp to one of your ends. Repeat with the other end and the chain tab or large jump ring. If you’re using a toggle clasp, attach the other half of the toggle. Remember, you want to twist your jump rings to open and close them, not pull them apart.
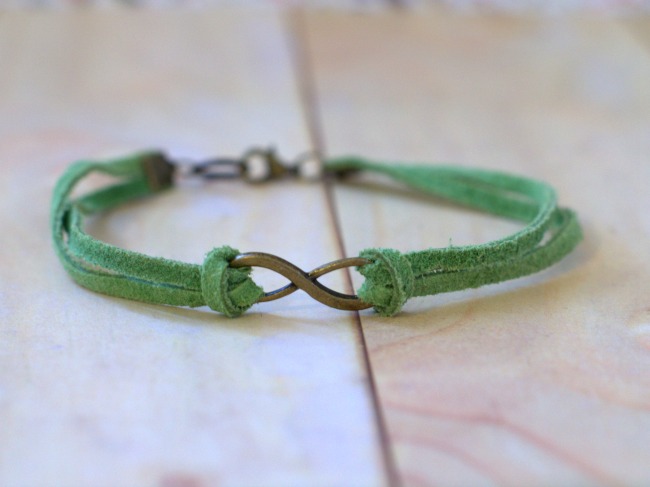
Voila! Put your Leather Charm bracelet on your wrist and admire your handiwork.
Total time: 10 minutes
Total cost: About $2
For more amazing St. Patrick’s Day ideas, check out some blog posts from a few of my favorite bloggers:
- Bailey’s Irish Cream Non Alcoholic Irish Coffee Creamer from Confessions of an Overworked Mom
- Irish Potatoes Candy Recipe from My So Called Balance Life
- Simple No Bake Chocolate Crossies in Green from Two Girls One Boy and a Crazy Mom
- DIY St. Patrick’s Day Mason Jar Planters from Home and Garden Cafe
- St. Patrick’s Day cupcakes with a healthier twist from Our Family World
- Simple Shamrock Picture (DIY Shamrock Crafts) from Simply Southern Mom
- Kiss Me I’m Irish DIY Burlap Bag from A Mom’s Take
- Mint Sugar Scrub from Better in Bulk
- Green Tea Shamrock Cookies from About a Mom
- Mason Jar Tealights from Upstate Ramblings
- White Hot Chocolate Recipe from This Mama Loves
- DIY Hulk Green Slim from Momma D Jane
- A simple Irish dinner from Day by Day in Our World
- Reuben Sandwich from How Was Your Day?
Very cute! I love the way the antique bronze looks with the green!
This is super cute and looks easy enough that I could do it! I don’t wear much jewelry as I have sensitivities to metal so I’d love this!
Your bracelet turned out really nice. I love how the green complements the colors of the charm. I love trying new things and this project looks like something that I could do.
This is just amazing. I love how easy it is to make
I know that this post was for St. Patricks day, but these would surely make adorable Christmas gifts for friends!
It definitely would! They’re quick & easy too.