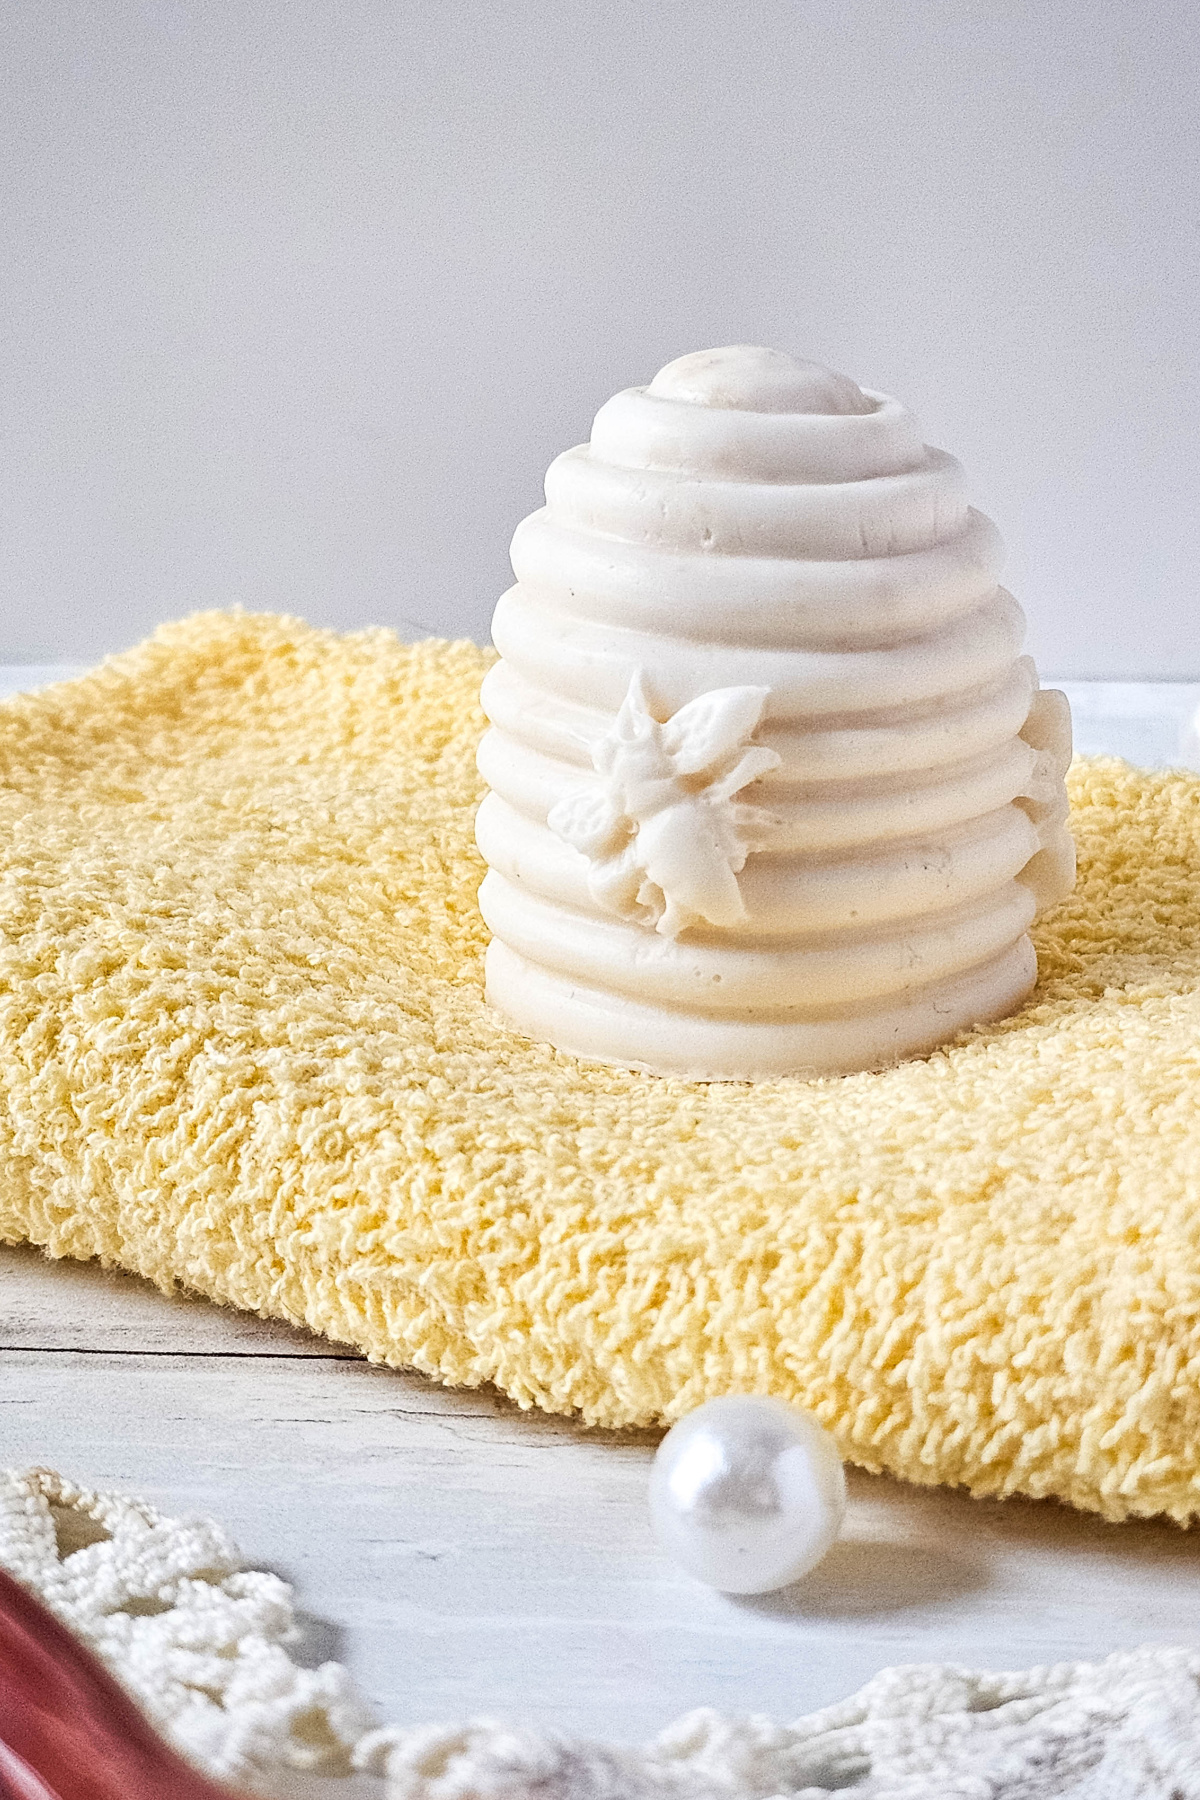
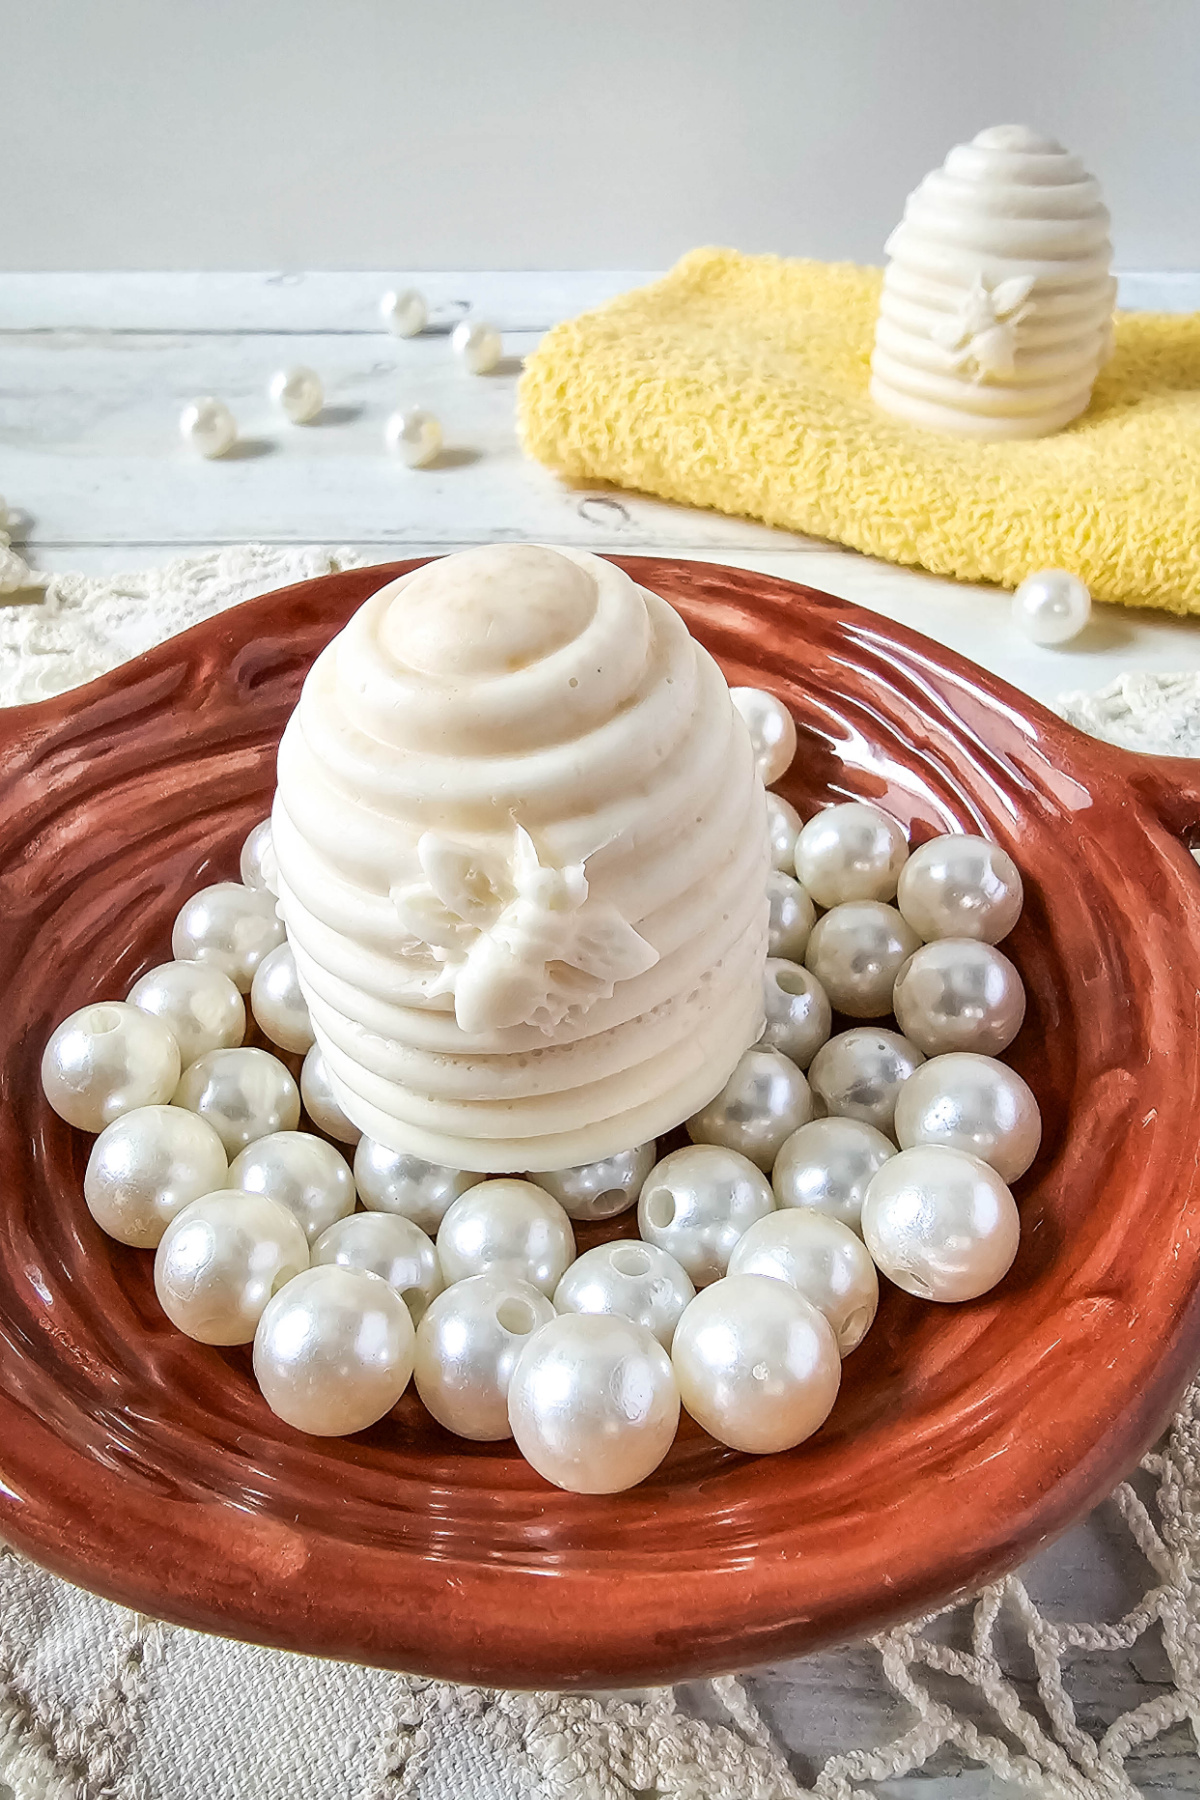
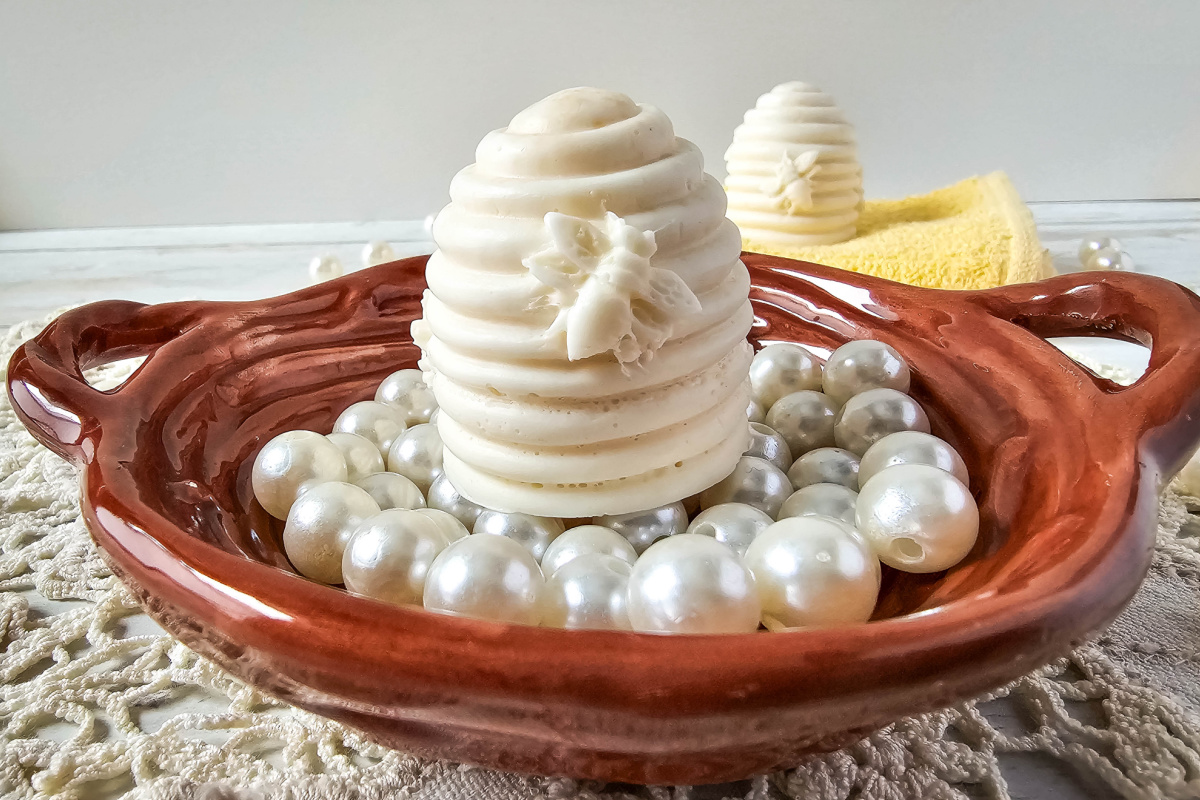
Handmade soap is one of those little luxuries that everyone can afford. These adorable Bee Skep soaps can be made in your own home in an afternoon.
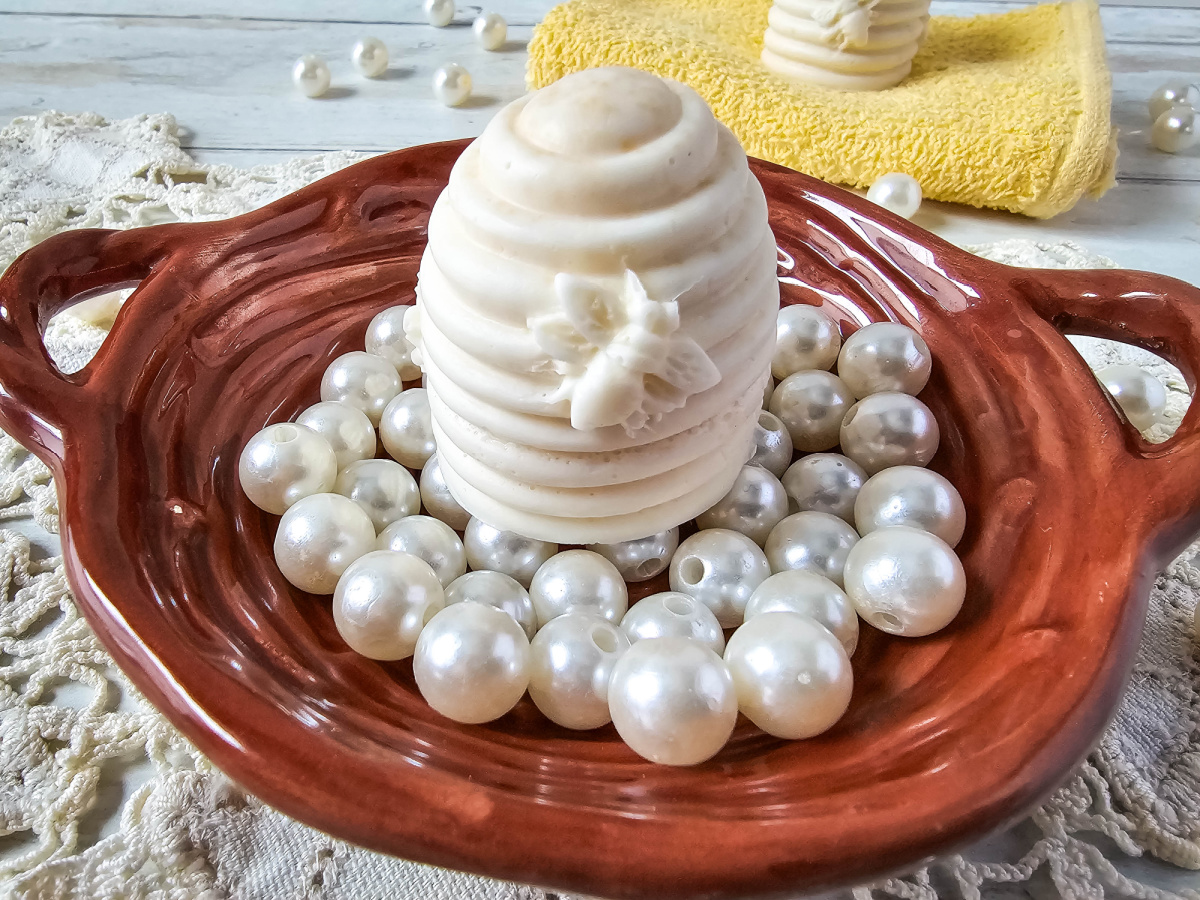
This easy DIY Honey Vanilla Shea Butter Soap recipe is the perfect way to pamper yourself or create thoughtful handmade gifts.
Links may be commissioned.
With its natural ingredients and soothing scent, it’s sure to become a favorite in your home.
DIY Honey Vanilla Shea Butter Bee Skep Soap
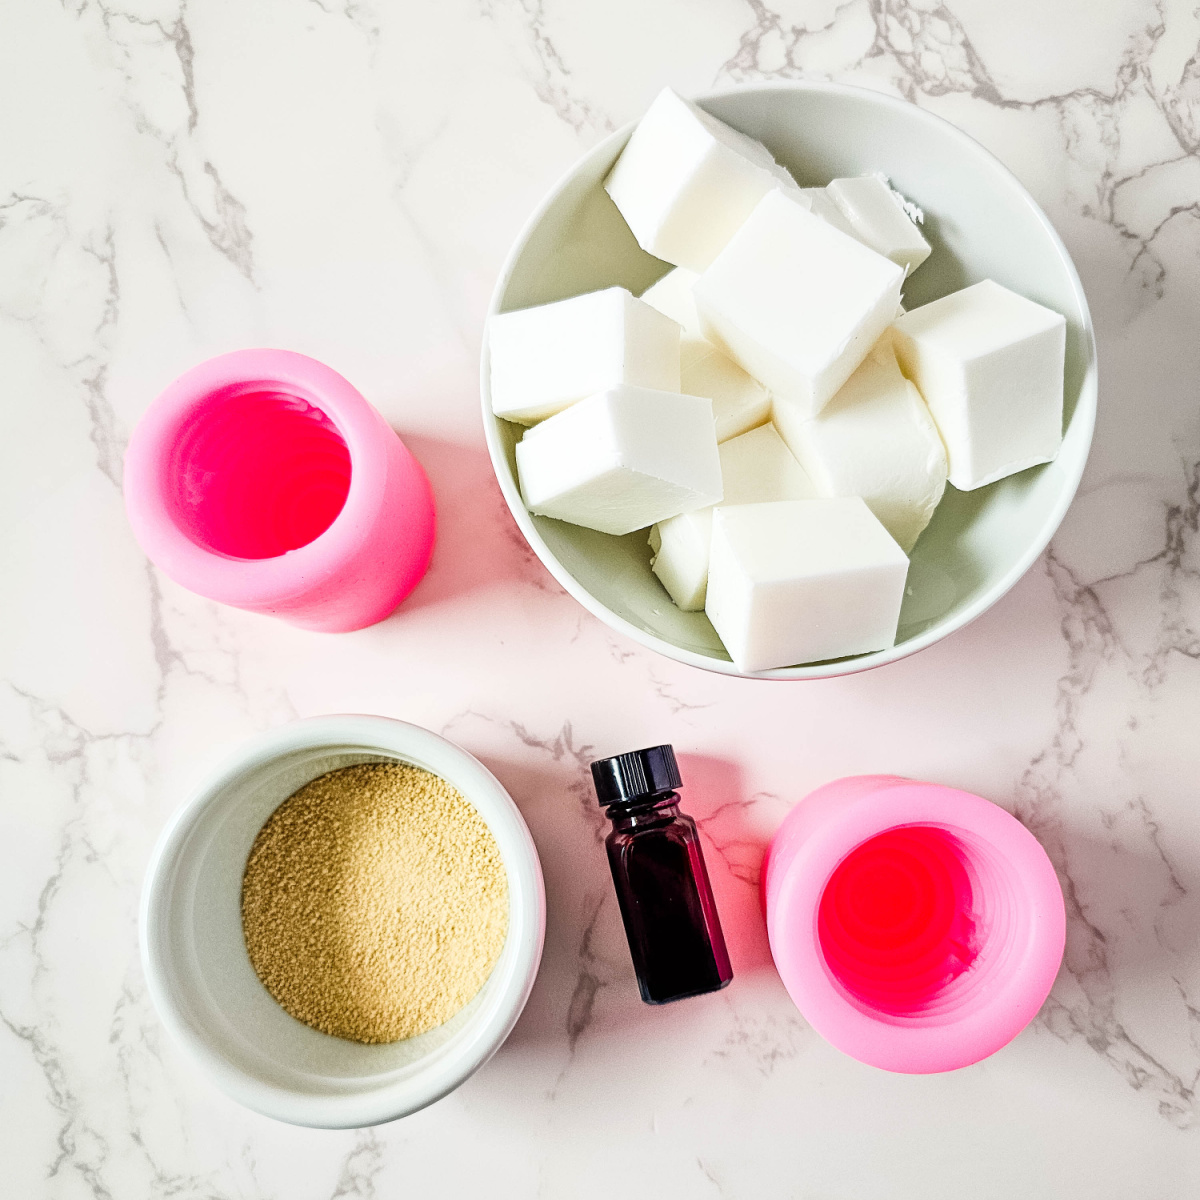
What You’ll Need
Before you start, gather the following supplies:
- Beehive soap mold: These adorable molds add a charming beehive or bee skep shape to your soap bars.
- Microwave-safe measuring cup with a spout: Ideal for melting and pouring the soap base.
- Wooden craft stick for stirring: A simple tool for mixing your ingredients.
Ingredients
For this recipe, you will need:
- ¼ lb shea butter melt and pour soap base: This creates a moisturizing and gentle soap that’s great for your skin.
- 1 ½ tsp honey powder: Honey powder naturally colors the soap and adds skin-loving benefits.
- 15 drops vanilla soap safe fragrance oil: Adds a warm, comforting scent to your soap.
Step-by-Step Instructions
Follow these simple steps to create your own Honey Vanilla Shea Butter Soap:
1. Prepare the Soap Base:
-
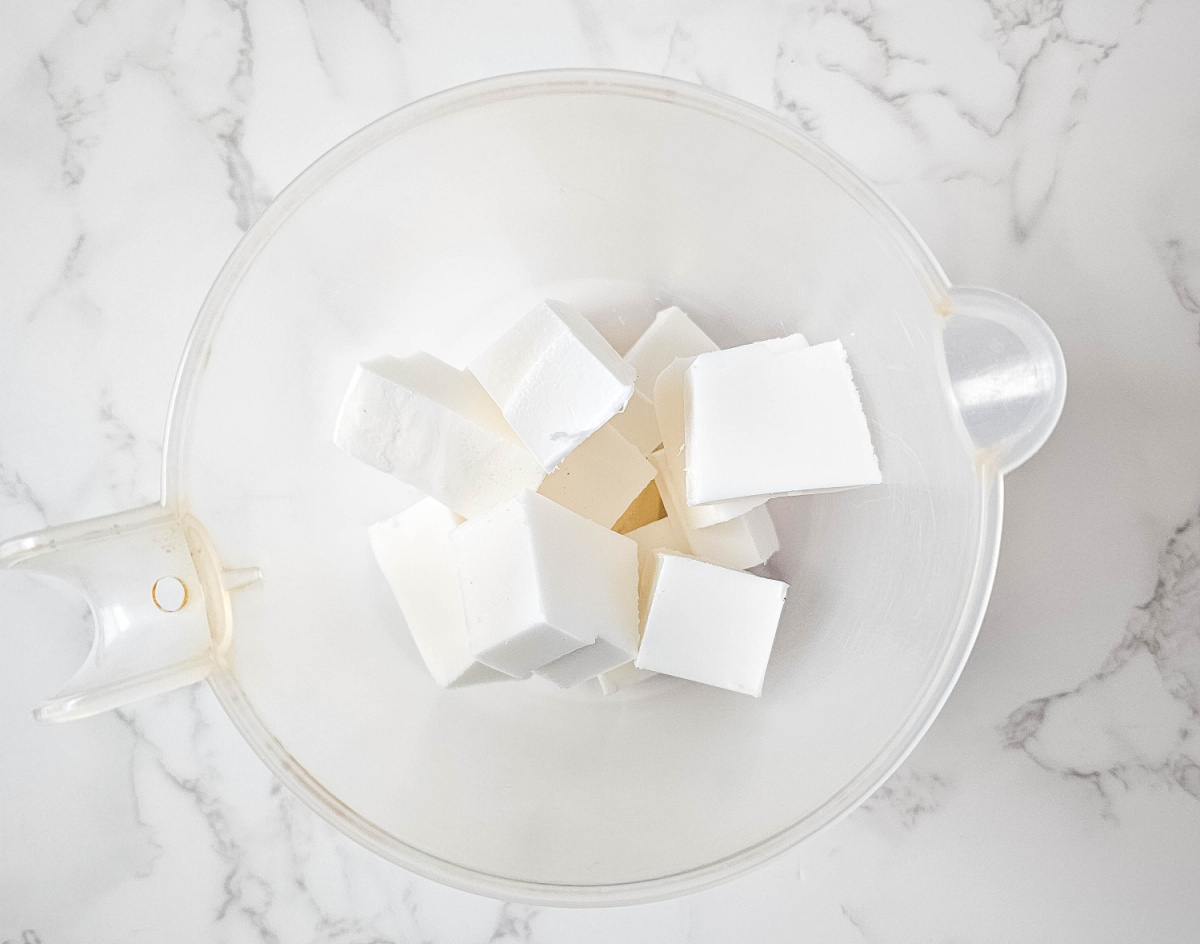
- Cut the shea butter melt and pour soap base into 1-inch cubes. This helps it melt evenly and quickly.
- Place the soap cubes into the microwave-safe measuring cup.
2. Melt the Soap Base:
-
- Heat the soap base in the microwave on high in 30-second intervals. Stir between intervals until the soap is fully melted. Be careful not to overheat it.
3. Add Honey Powder and Vanilla:
-
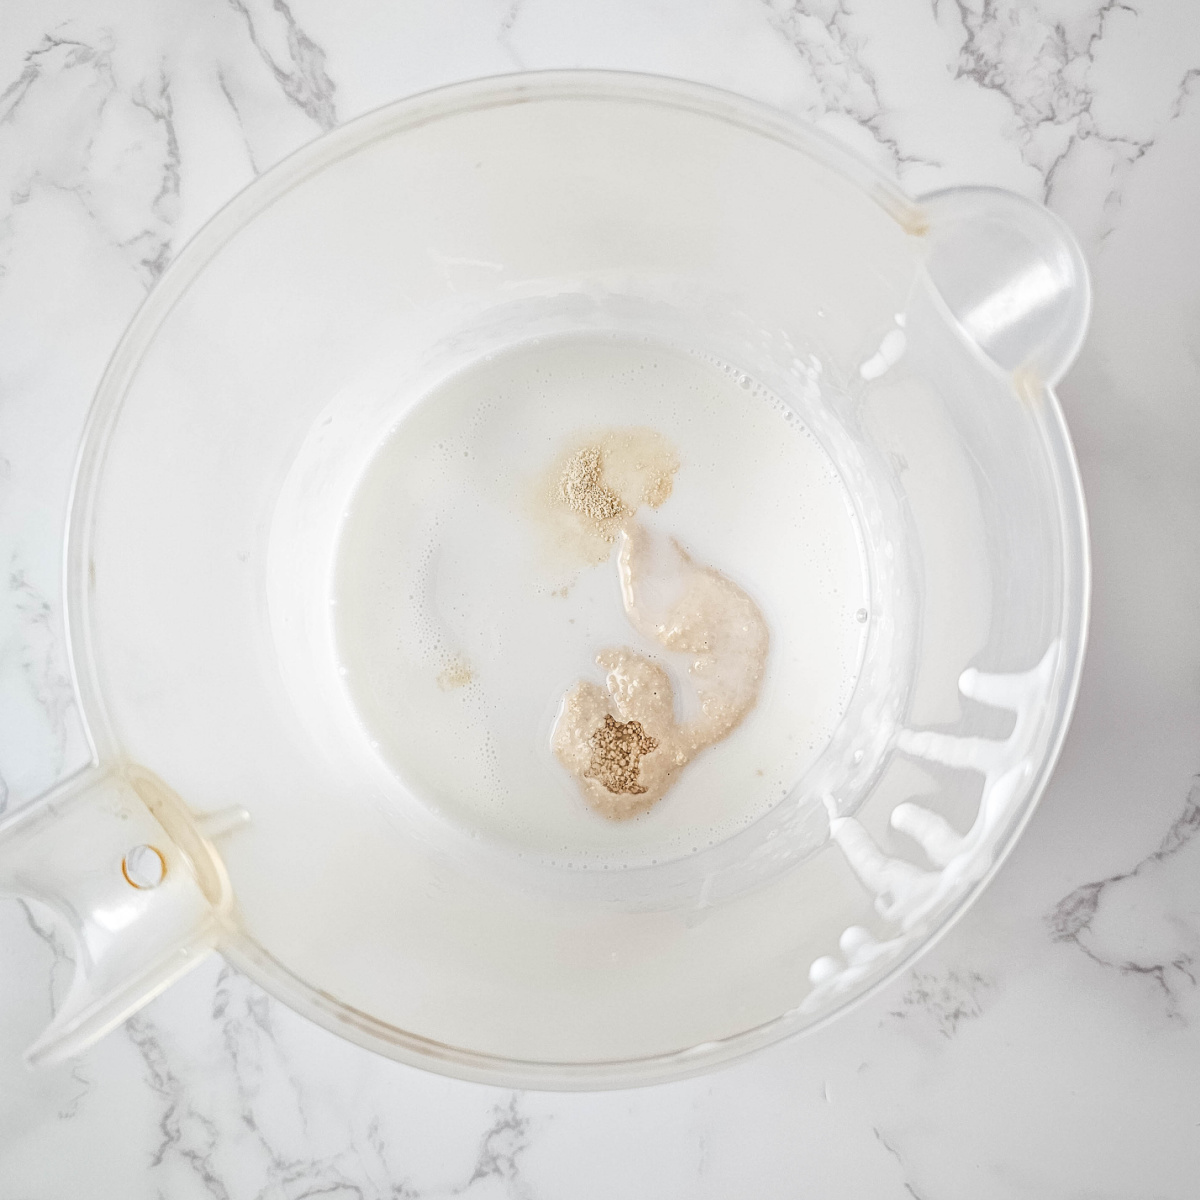
- Once the soap base is melted, add 1 ½ teaspoons of honey powder.
- Add 15 drops of vanilla fragrance oil.
- Stir the mixture with the wooden craft stick until everything is well combined.
4. Pour and Set:
-
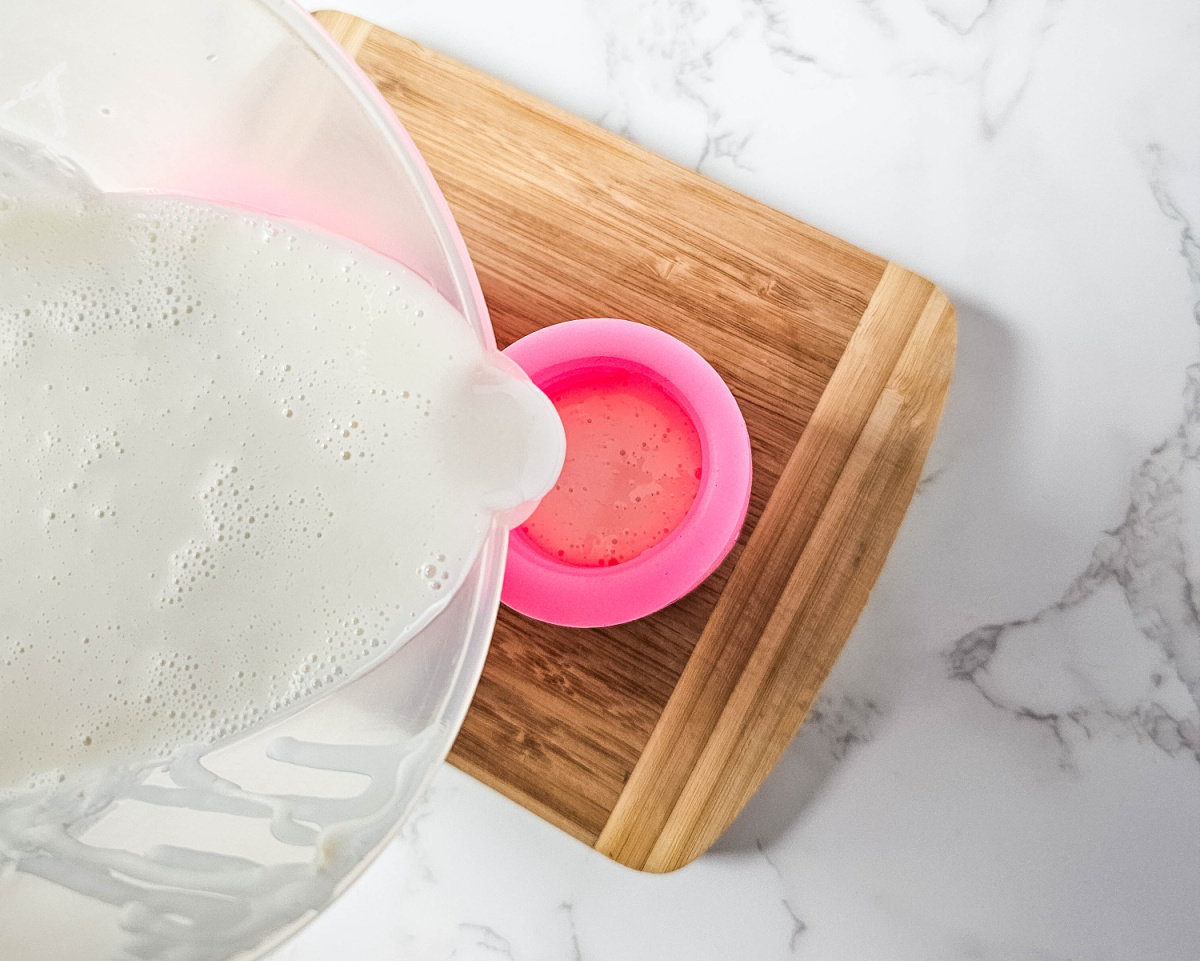
- Carefully pour the mixture into the beehive soap molds.
- Allow the soap to set for about 1 hour. You can place the molds in the refrigerator to speed up the process.
5. Unmold and Enjoy:
- Once the soap has fully set, gently remove the bars from the molds.
- Your Honey Vanilla Shea Butter Soap is now ready to use!
Benefits of Honey Vanilla Shea Butter Soap
- Moisturizing: Shea butter is known for its rich moisturizing properties, making this soap perfect for dry or sensitive skin.
- Natural Color: Honey powder adds a lovely, natural color to the soap without any synthetic dyes.
- Soothing Scent: The warm, comforting aroma of vanilla essential oil provides a relaxing experience with every use.
Additional Tips and Tricks for Soap Making
Customizing Your Soap
- Essential Oil Blends: While vanilla essential oil adds a warm, sweet scent, you can experiment with other essential oils to create your custom fragrance blend. Lavender, citrus, or peppermint oils are great options.
- Additives: For added texture and benefits, consider adding oatmeal, dried herbs, or even coffee grounds to your soap.
Soap Making Safety
- Microwave Safety: Always use microwave-safe containers and avoid overheating the soap base to prevent burns or damage to your microwave.
- Handling Hot Soap: Use caution when handling melted soap base as it can be very hot. Consider using oven mitts and having a bowl of ice water nearby to protect your hands.
Storing Your Soap
- Proper Storage: Store your finished soap bars in a cool, dry place. Use airtight containers to keep them fresh and maintain their scent.
- Shelf Life: Handmade soap has a shelf life of about a year. Over time, the scent might fade, and the soap may become less effective, so it’s best to use it within this period.
Troubleshooting Common Issues
Making soap is fun and fairly easy. However, there are some issues that can, and do, arise. They’re usually easy to correct, though.
- Air Bubbles: If you notice air bubbles in your soap, lightly spritz the top with rubbing alcohol right after pouring it into the mold to help them dissipate. You might also want to tap your mold gently couple times as you’re filling them to make sure the soap mixture gets into all the nooks and crannies.
- Uneven Color: Ensure the honey powder is thoroughly mixed in to avoid streaks or clumps. Stirring consistently will help achieve an even color.
Eco-Friendly Tips
- Sustainable Ingredients: Look for sustainably sourced shea butter and essential oils to make your soap more eco-friendly.
- Reusable Molds: Silicone molds are a great choice as they are reusable and easy to clean, reducing waste.
Frequently Asked Questions (FAQs)
Q: Can I use a different soap base instead of shea butter?
A: Yes, you can substitute with other melt and pour soap bases like goat milk, olive oil, or glycerin. Each type has its own unique benefits and properties.
Q: How long should I wait before using the soap?
A: Once the soap has fully set, it’s ready to use. This usually takes about an hour, but waiting a bit longer ensures it’s completely hardened. Personally, I like to let it cure for a week or two before using handmade soap made from melt and pour bases.
Q: Can I double the recipe?
A: Absolutely! You can double or even triple the ingredients to make more soap bars at once. Just make sure your microwave-safe container is large enough to handle the increased volume.
Q: Is this soap safe for sensitive skin?
A: This recipe uses natural ingredients that are generally gentle on the skin. However, if you have very sensitive skin or allergies, it’s always a good idea to do a patch test first.
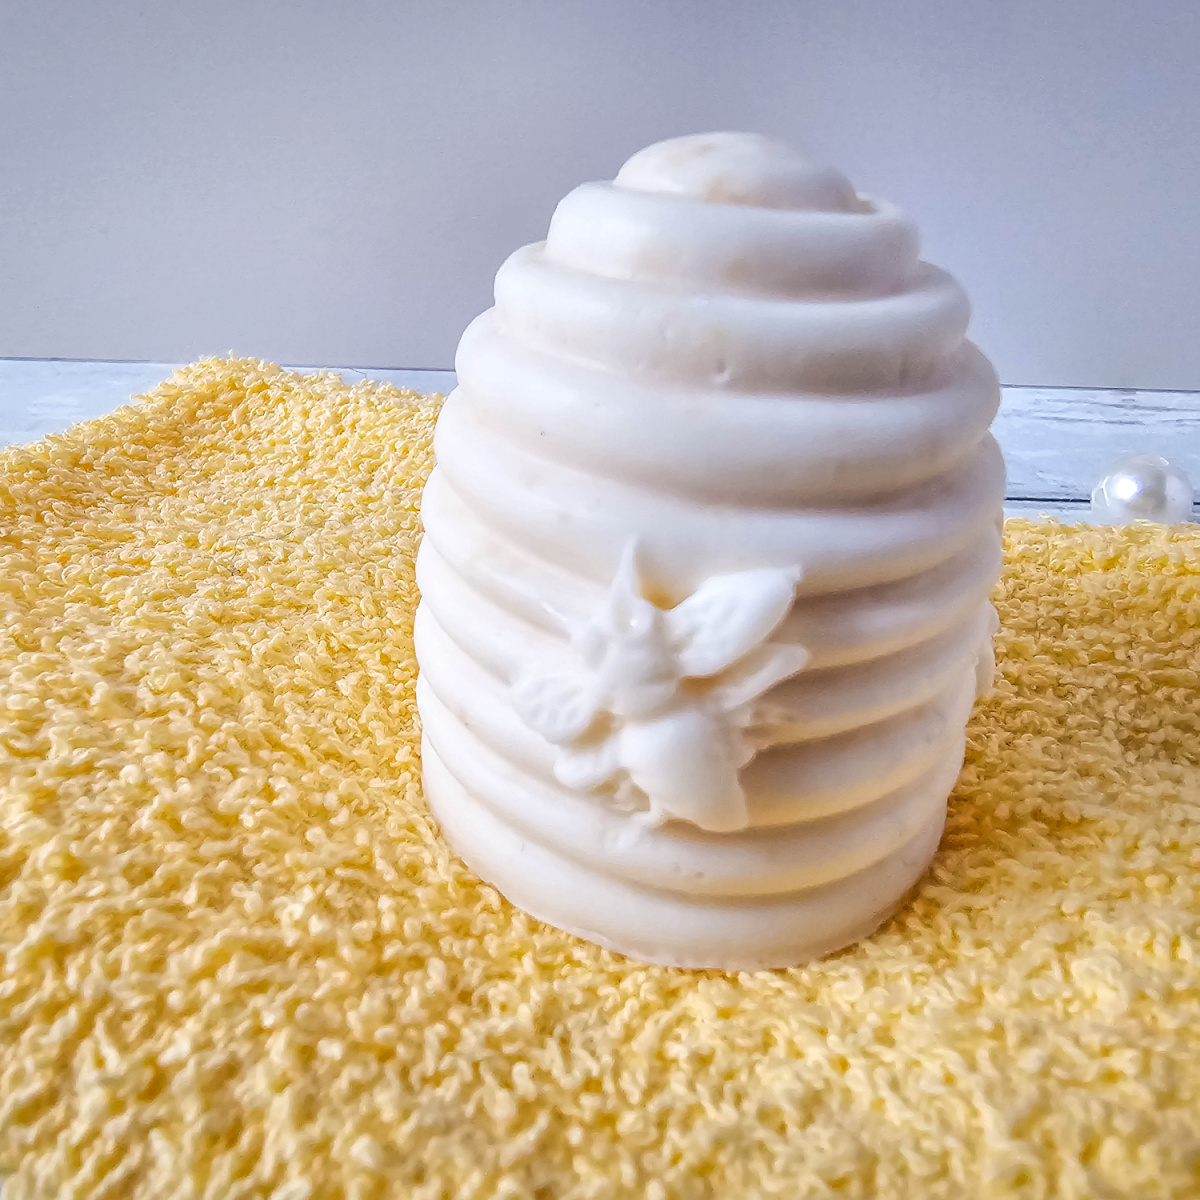
By following this simple recipe and these additional tips, you’ll be able to create beautiful, fragrant, and moisturizing decorative handmade soaps. You can enjoy these yourself or give them as thoughtful handmade gifts. How cute would these be for wedding favors? They also make great craft fair sellers. Happy soap making!
If you have any questions or tips of your own, feel free to share them in the comments below.
Leave a Reply